So, build has been complete for a few months now, but I just joined the site and figured I would throw this up there, especially since I might be changing stuff soon. Heres a brief rundown of the notable pieces:
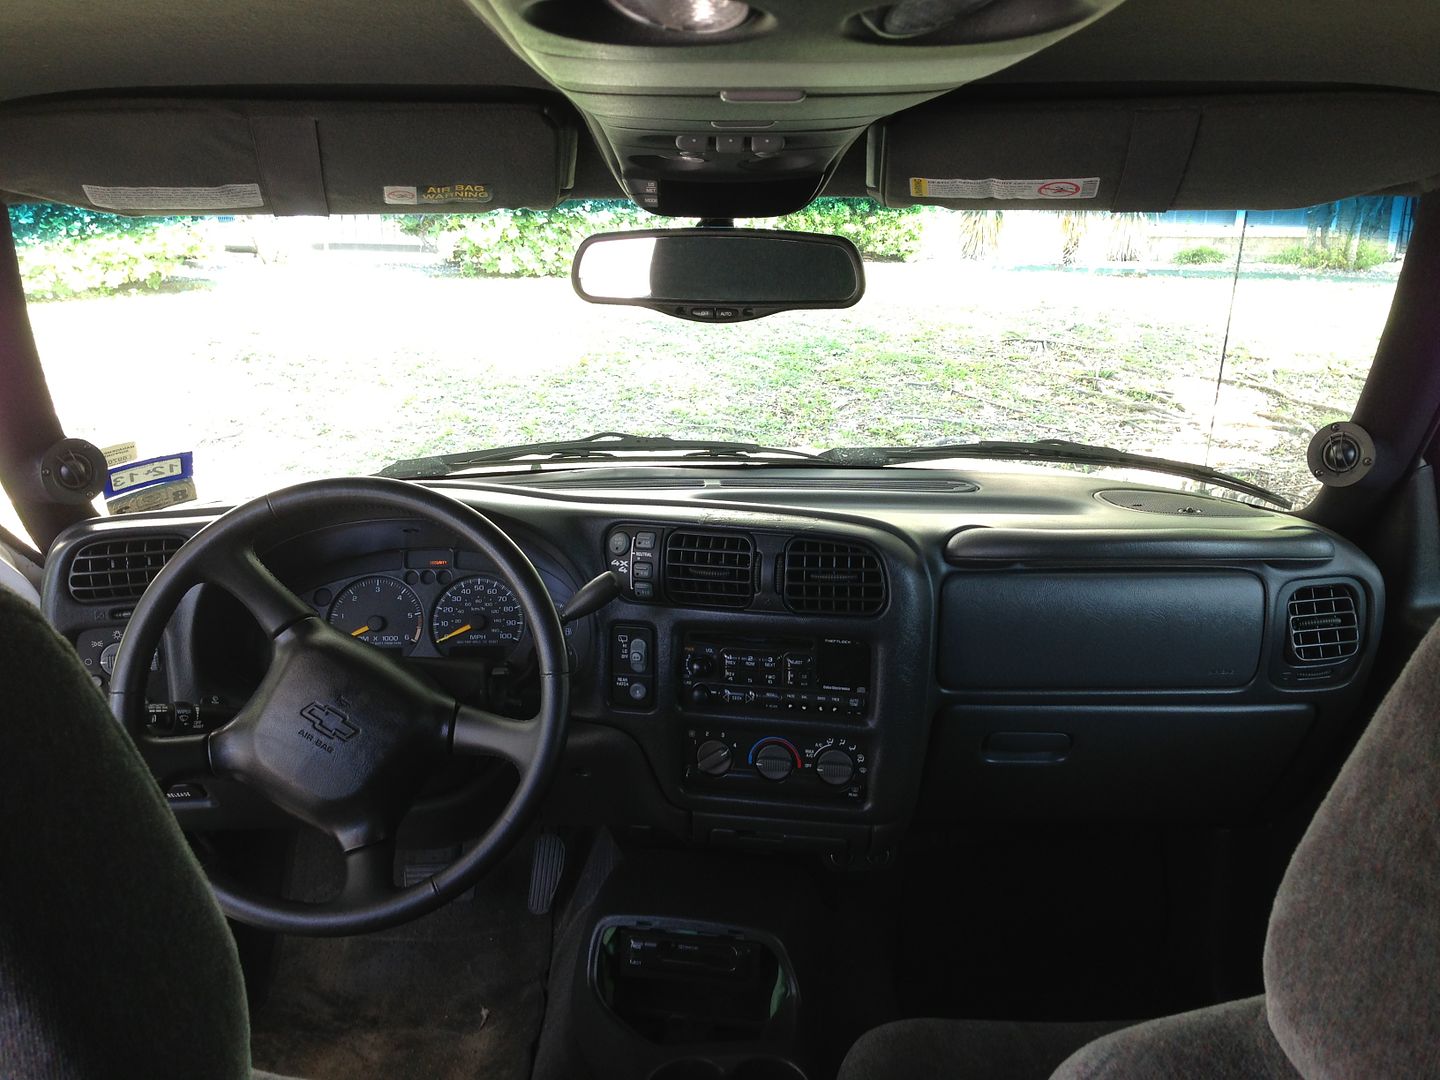
Pioneer DEH-80PRS Head unit
Vifa NE25VTS-04 - Tweeters
Exodus Anarchy Mids
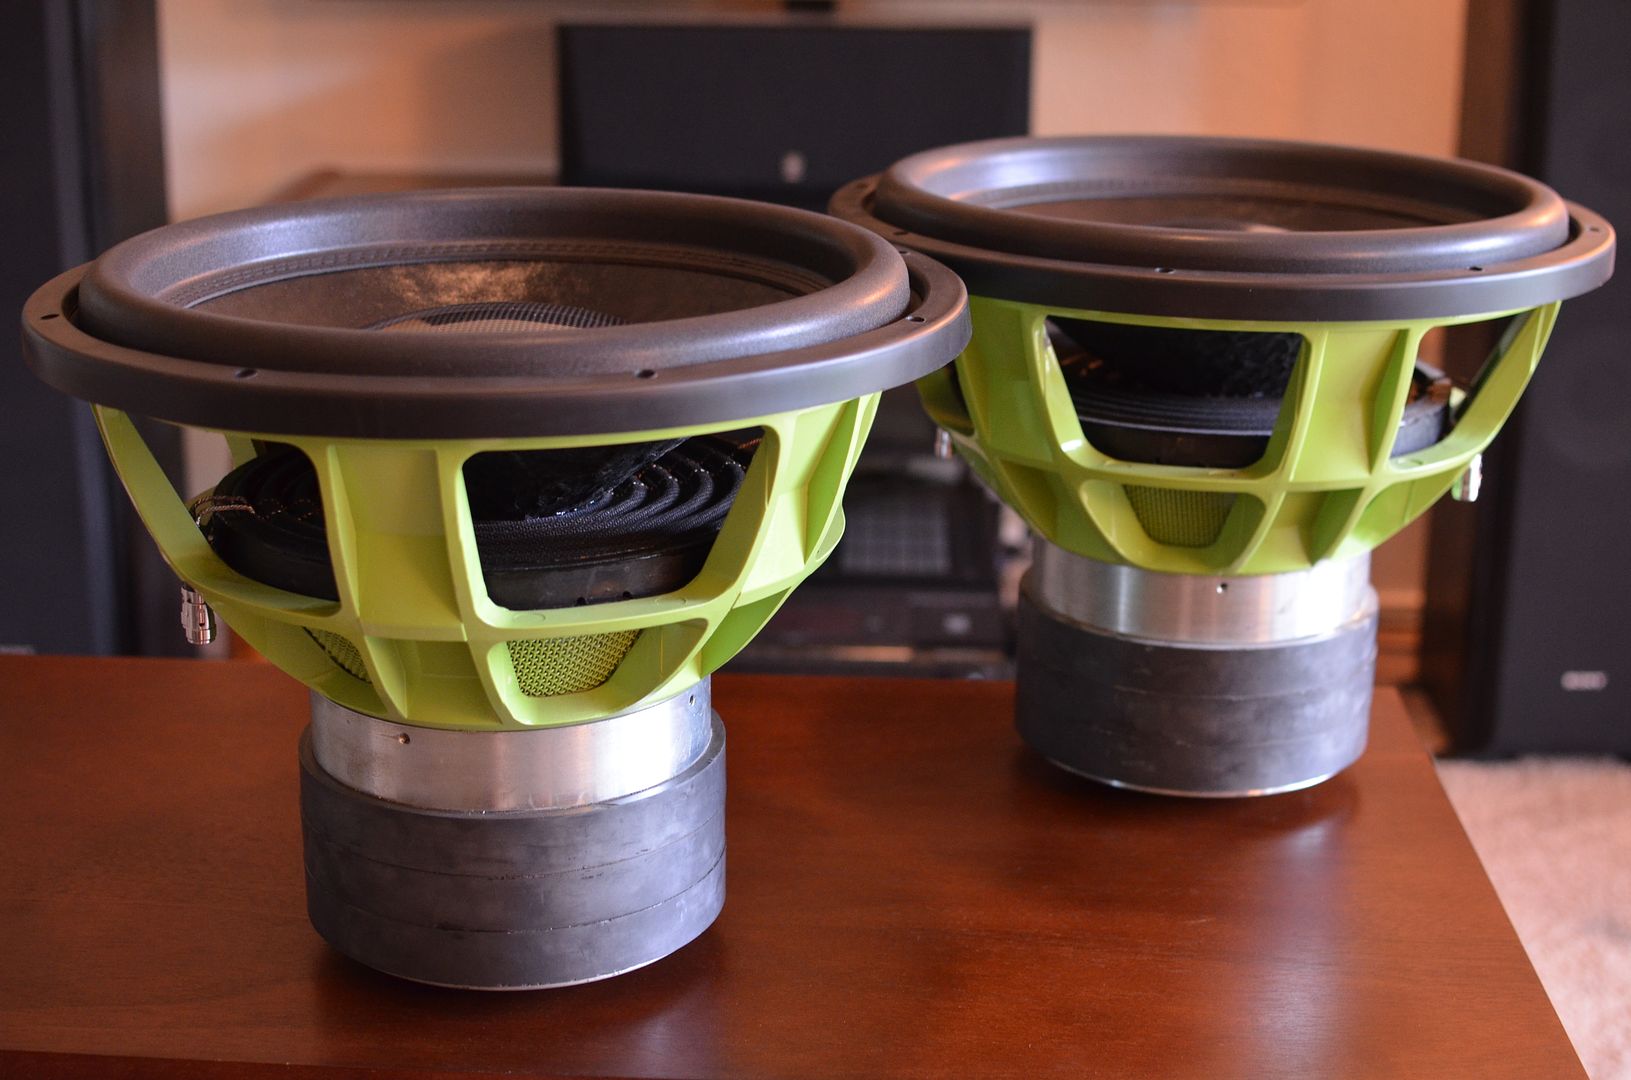
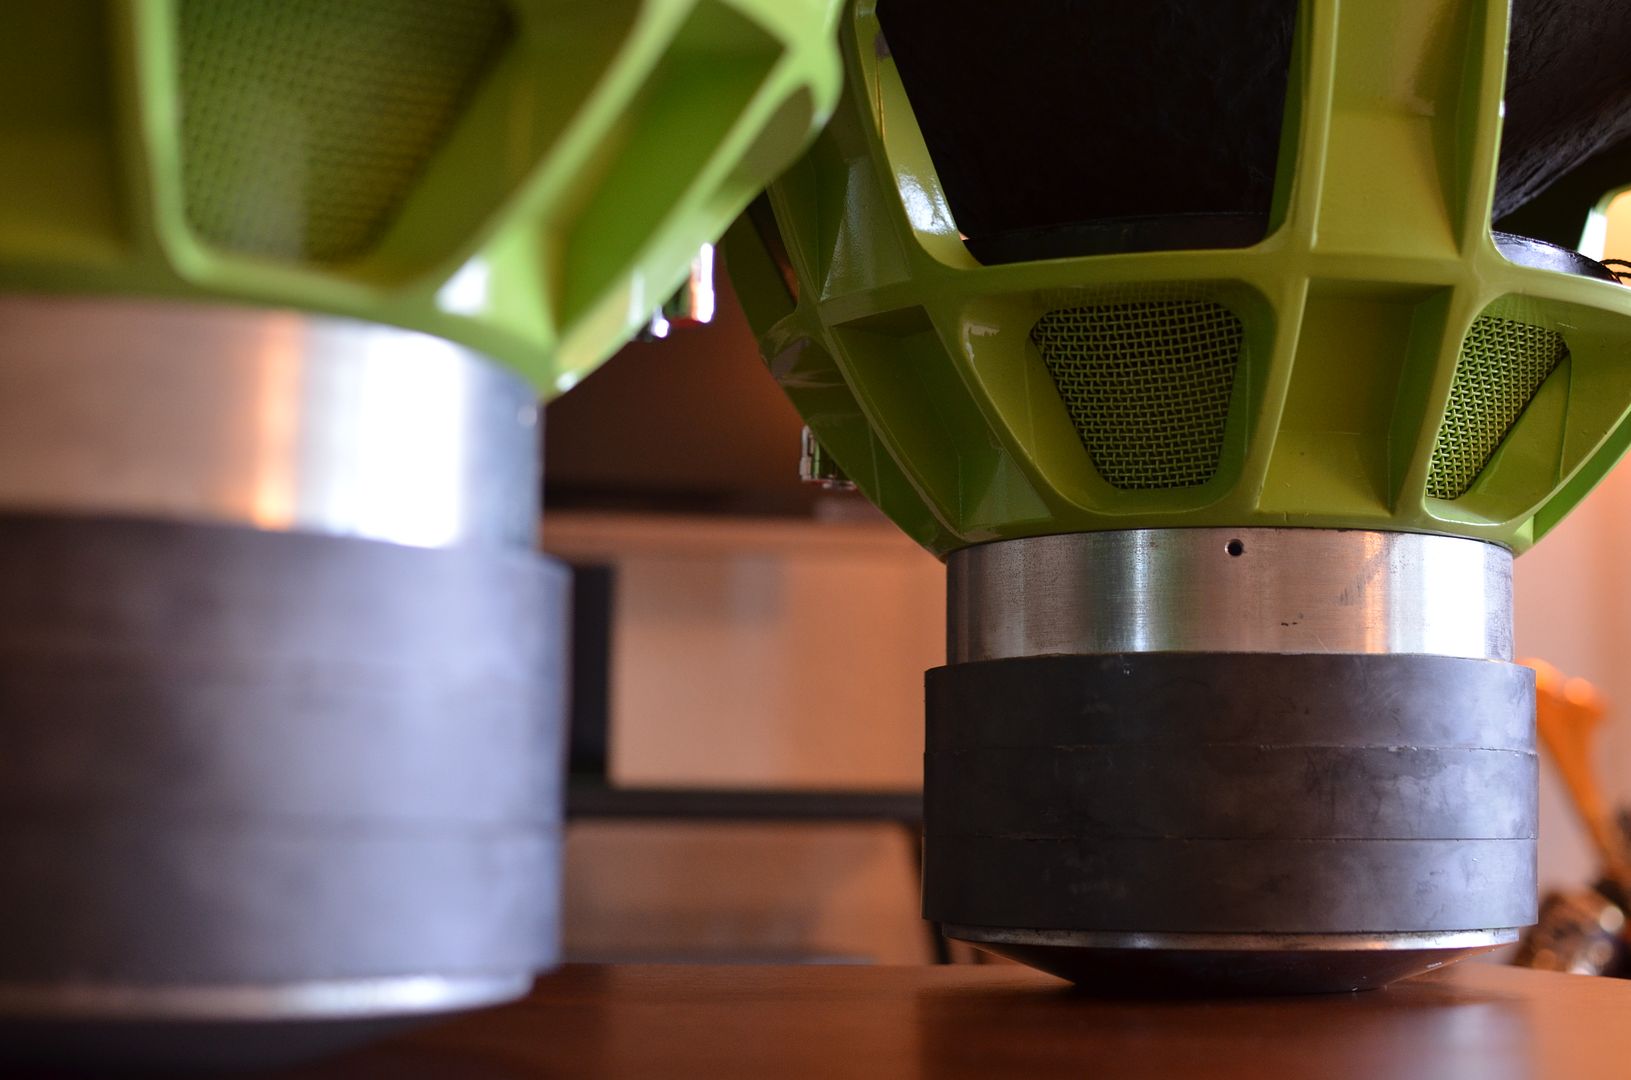
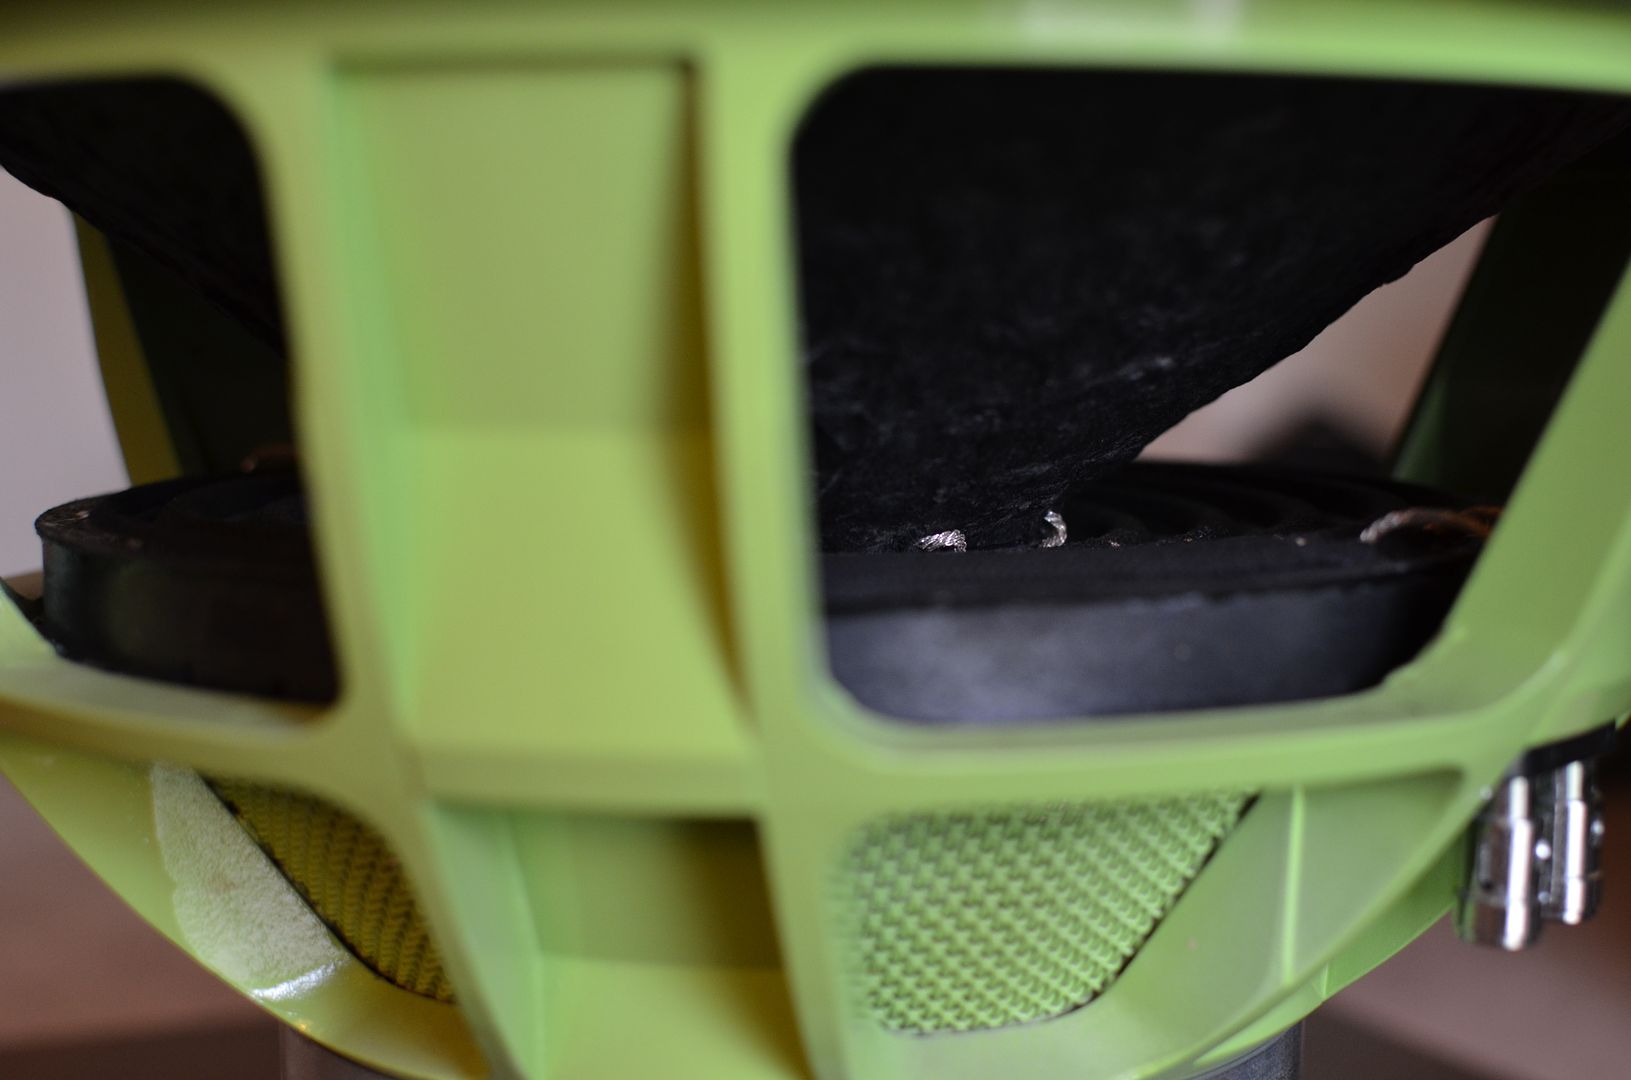
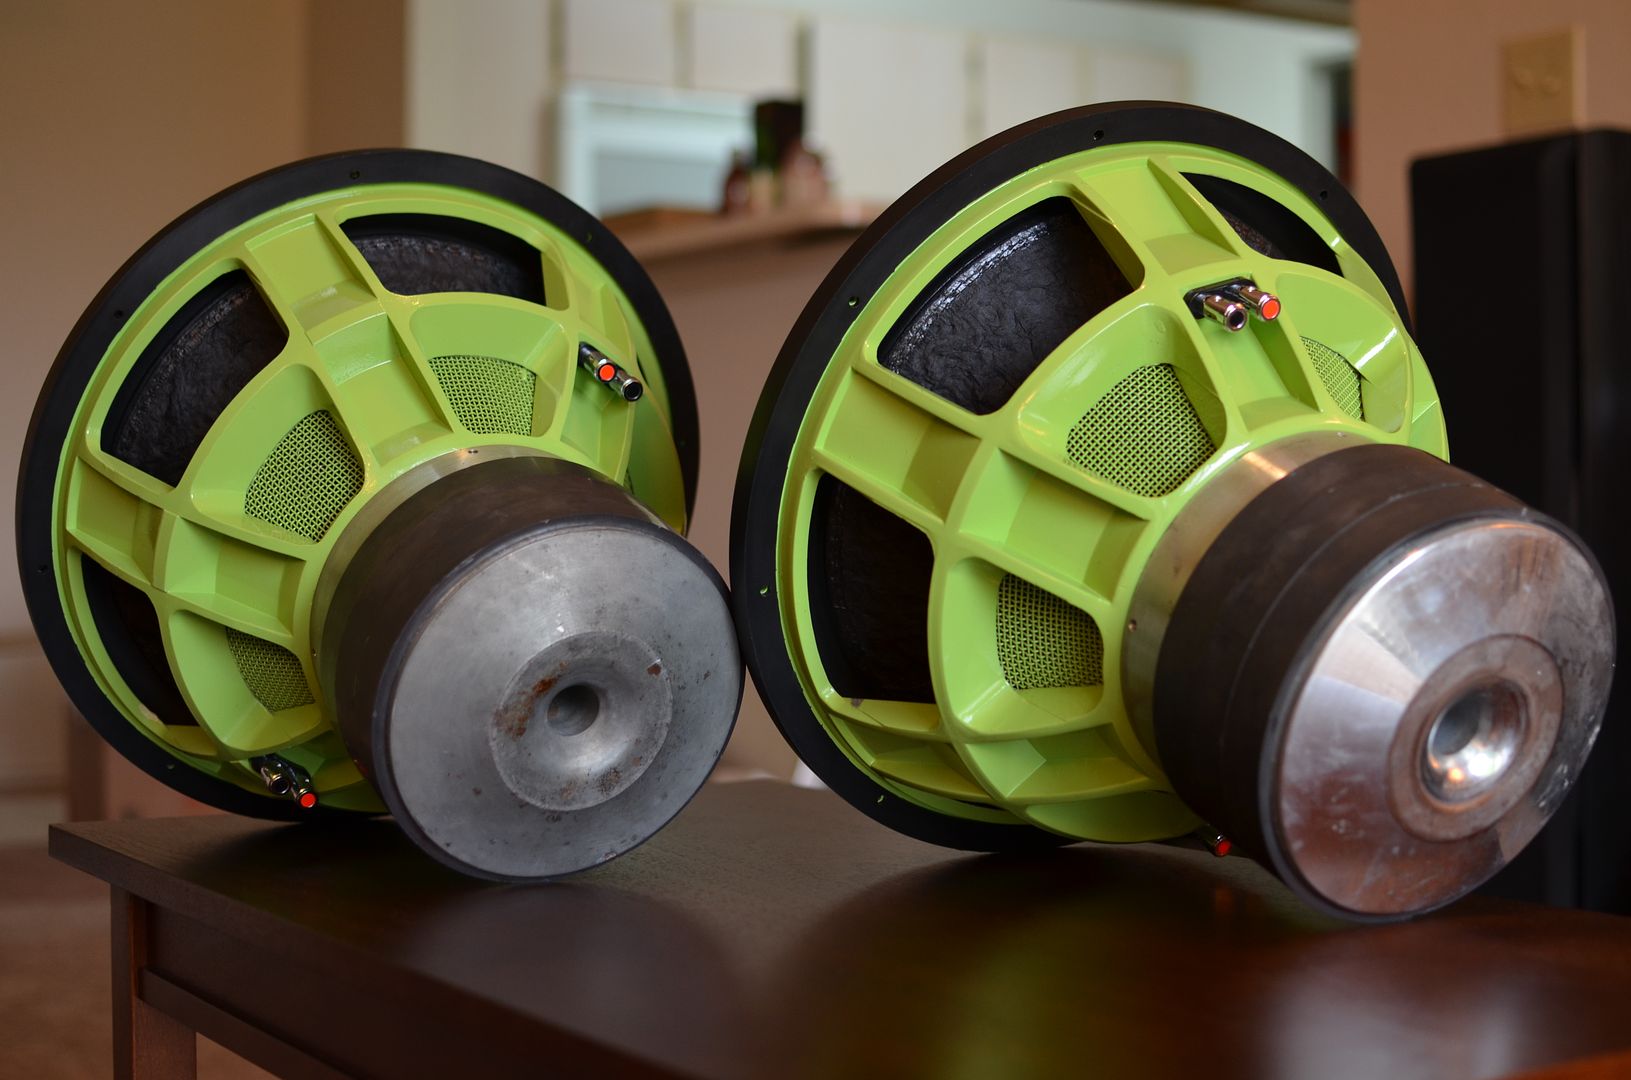
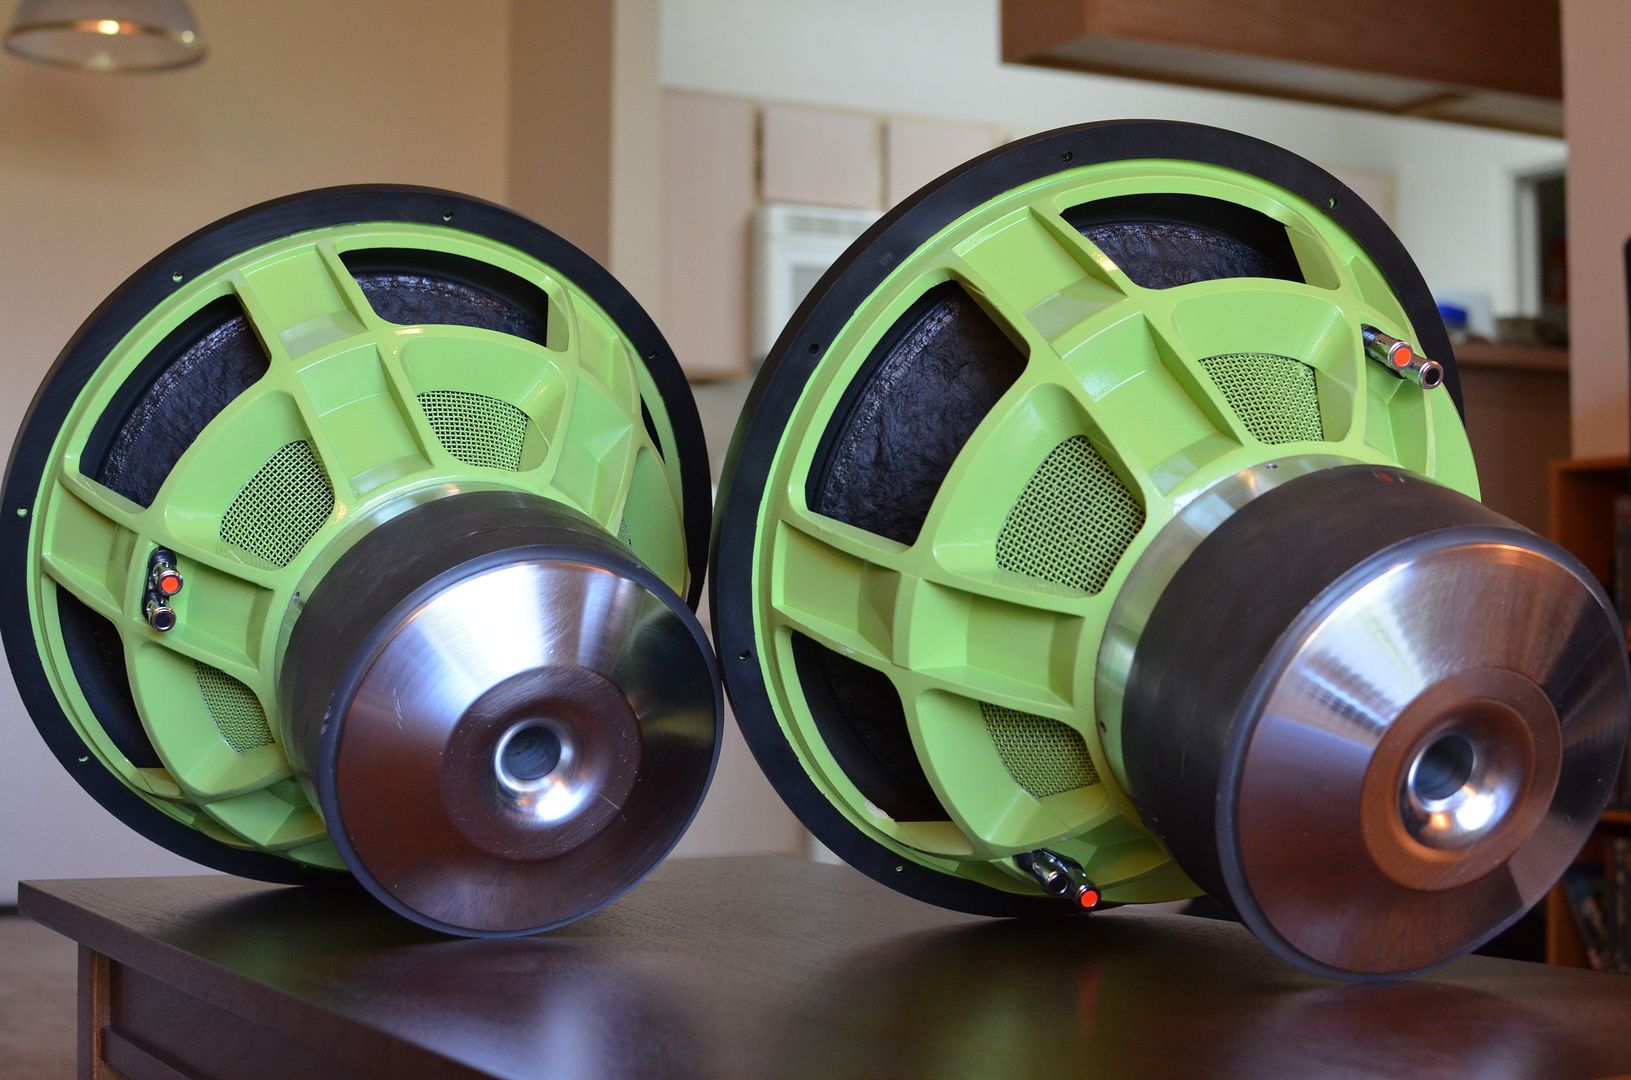
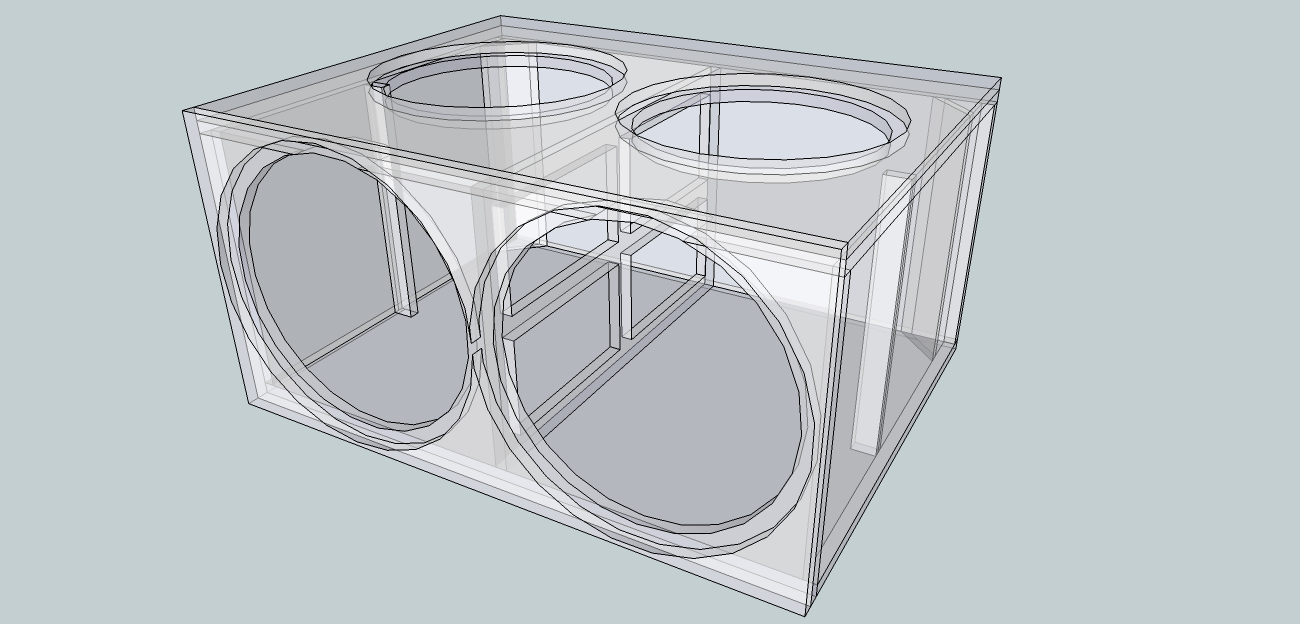
Custom 3HP 15 Subs
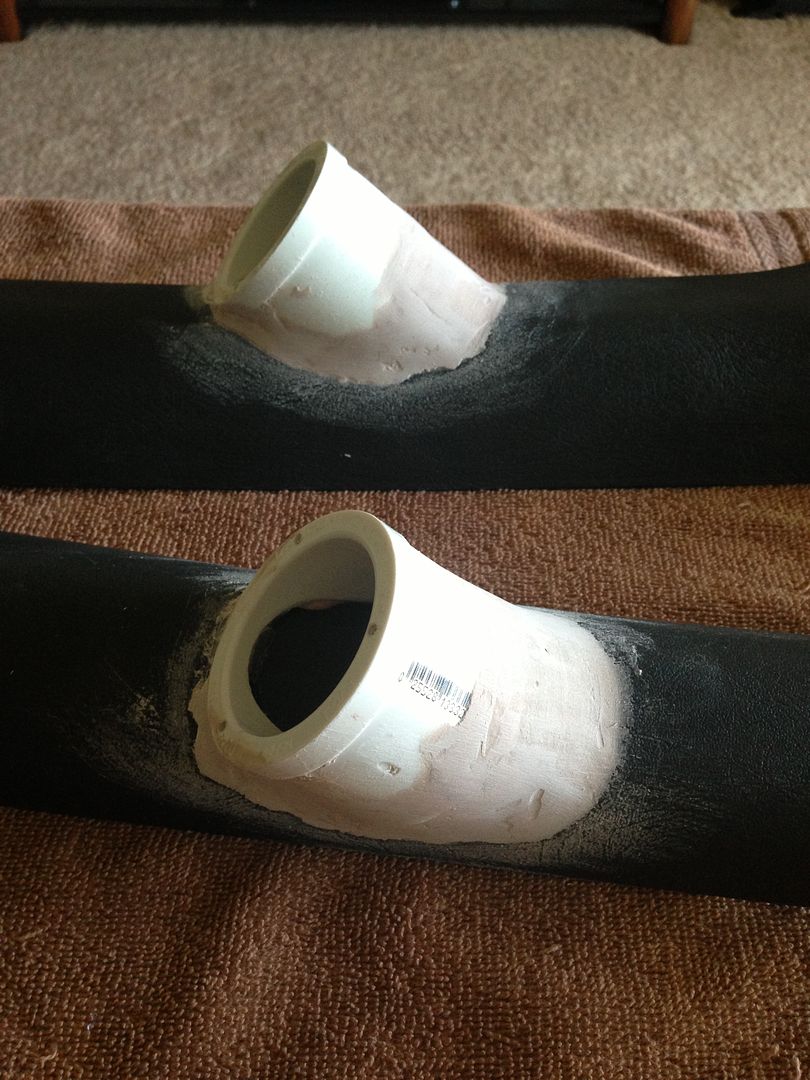
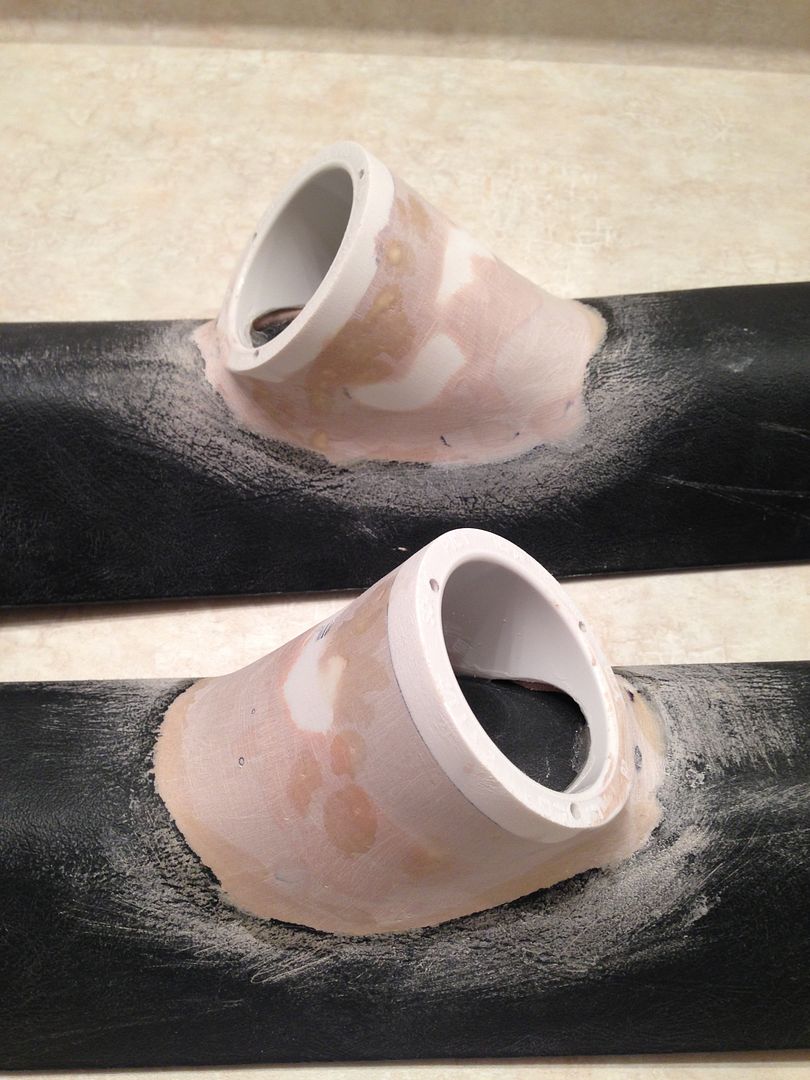
PSI 18 passive radiator Passive Radiators
DC Power Inc 270XP Alternator
Sears Diehard Platinum Batteries
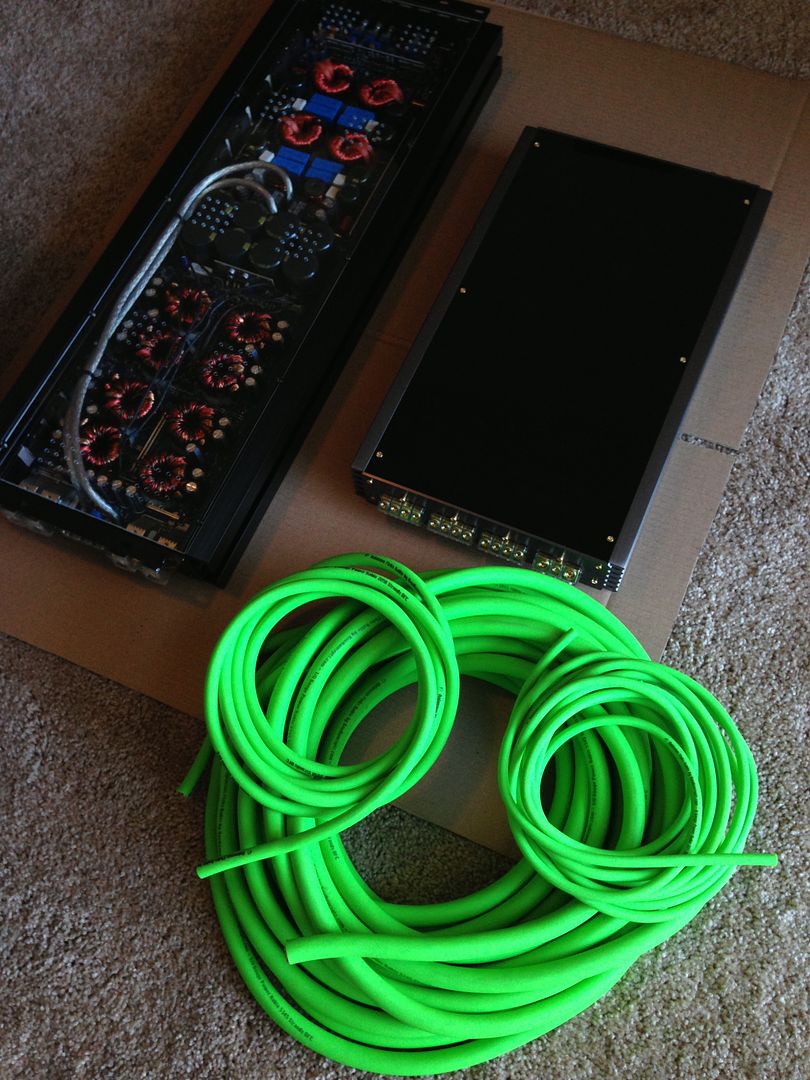
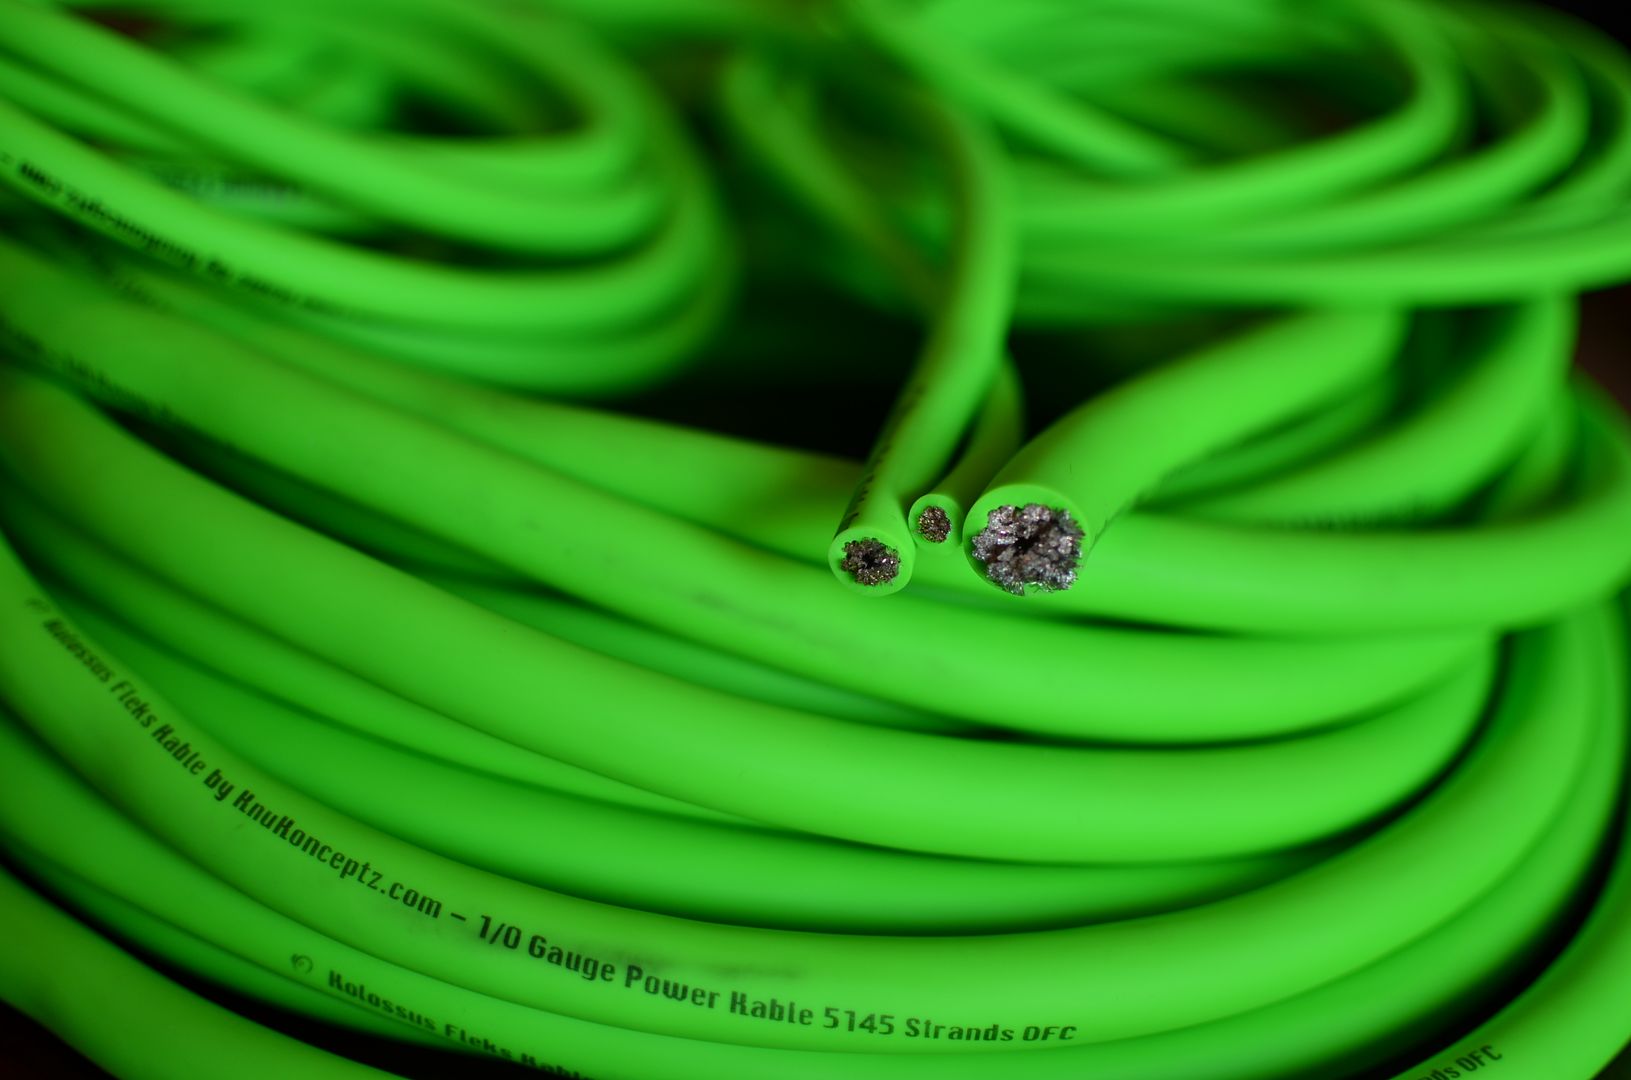
KnuKonceptz and Sky High Car Audio Wiring
Goal for this build is basically the definition of SQL. Dont plan on seeing a meter other than to just see where I am once or twice, haven't yet. I wanted it to sound great first and foremost, and it does that.
I will just be copying and pasting, so most posts will be in present-tense, but all this is done. There's a LOT of pictures incoming, so be patient with the posts.
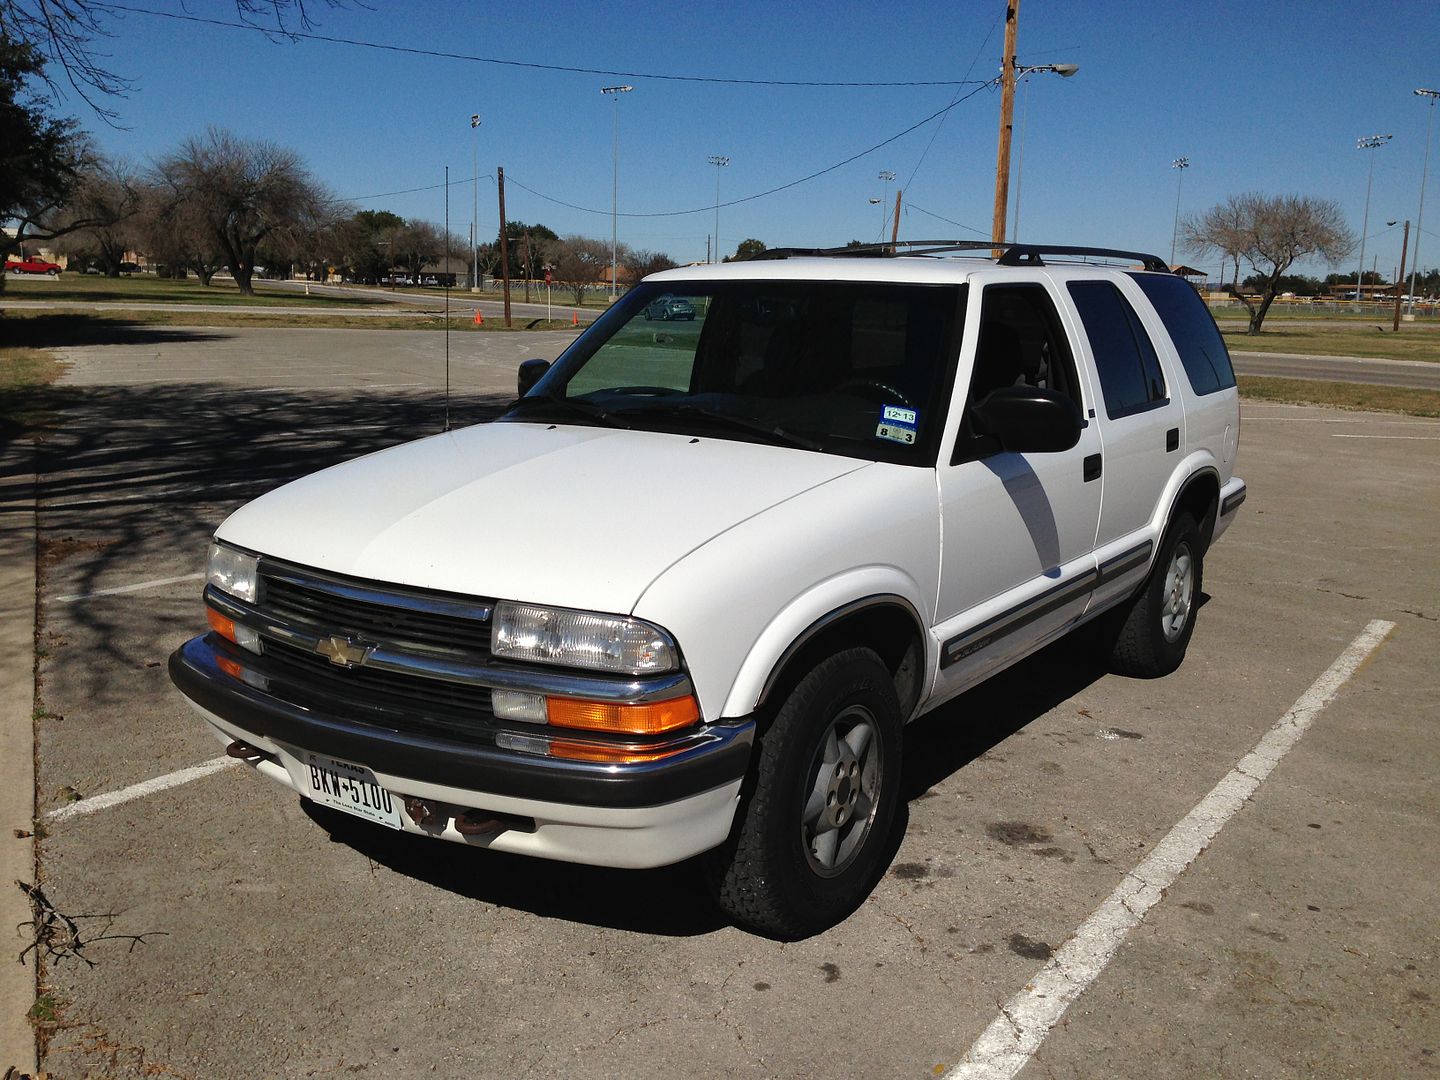
Heres the ride when I bought it. I have since taken off the roof rack:
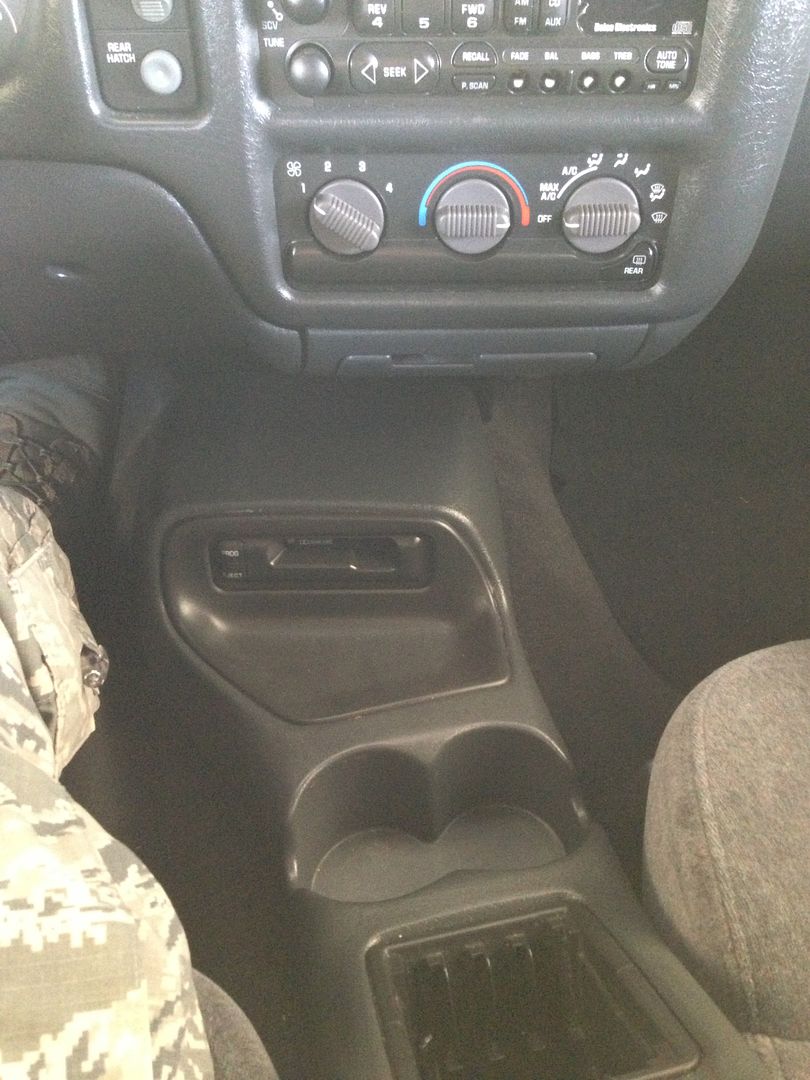
First up, Pioneer DEH-80PRS. This was in my last ride, love this HU. Will be the first time running it active. Planning to cross at 63Hz and 2kHz. Will be using an iPod/iPhone via USB most of the time, dont really use CDs.
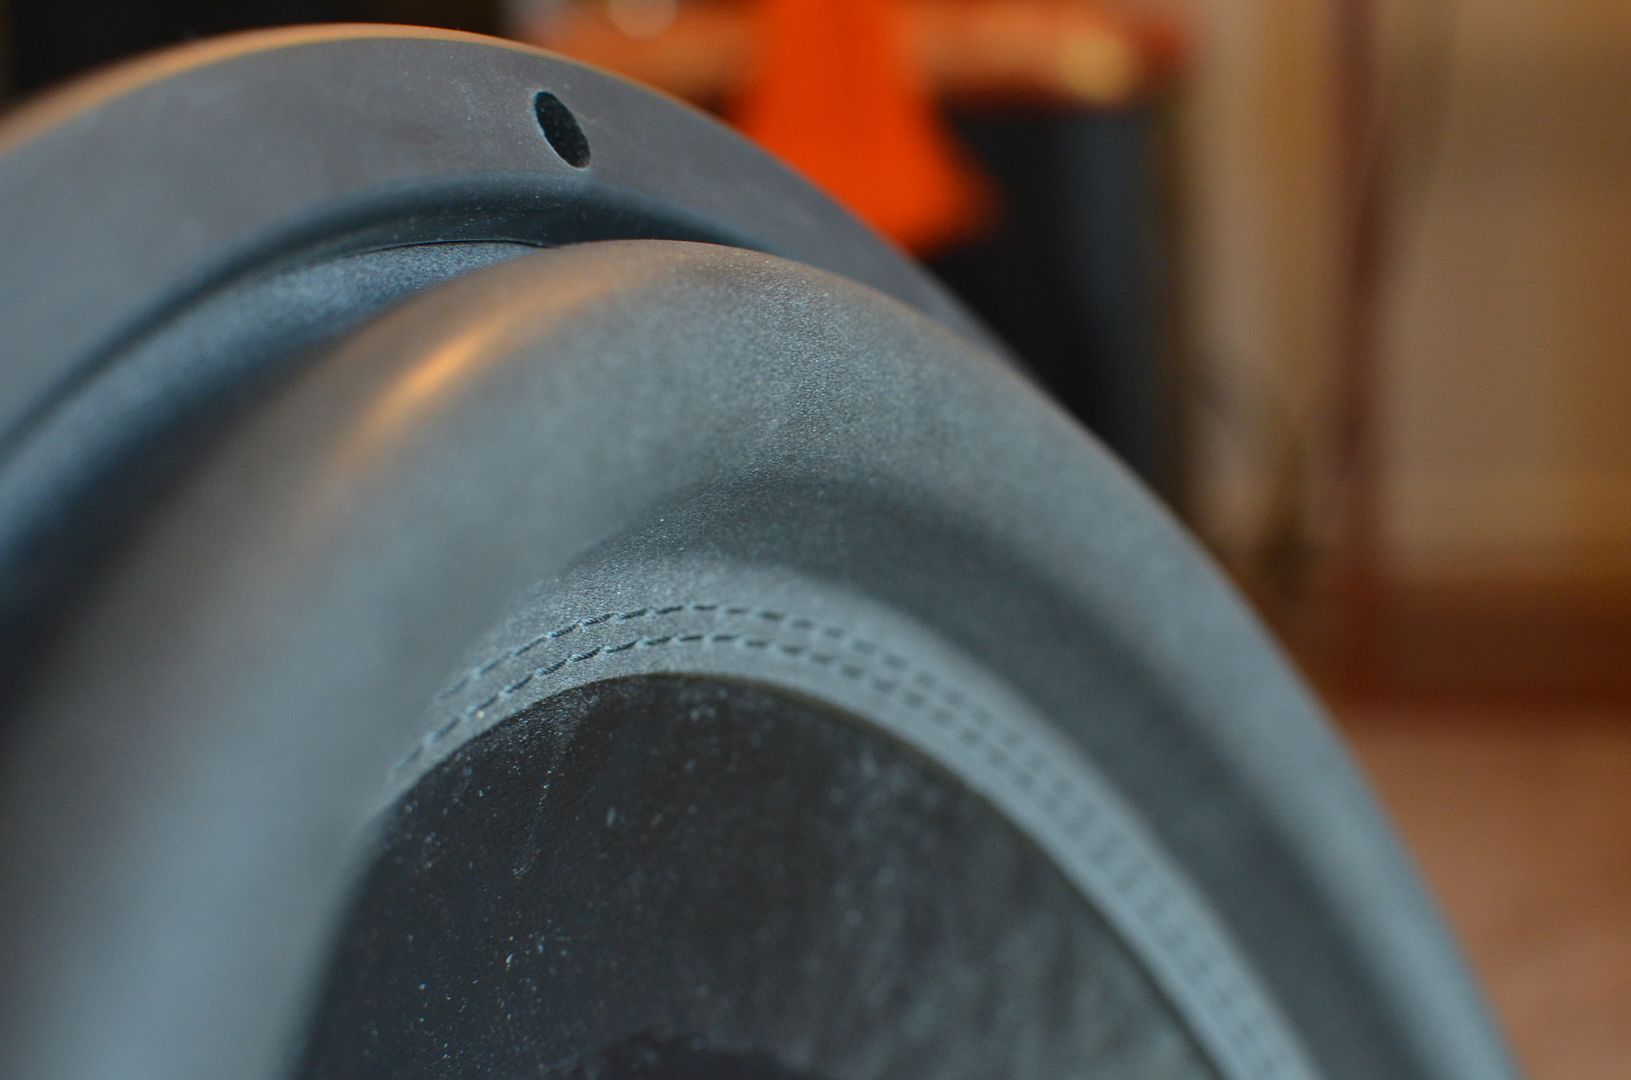
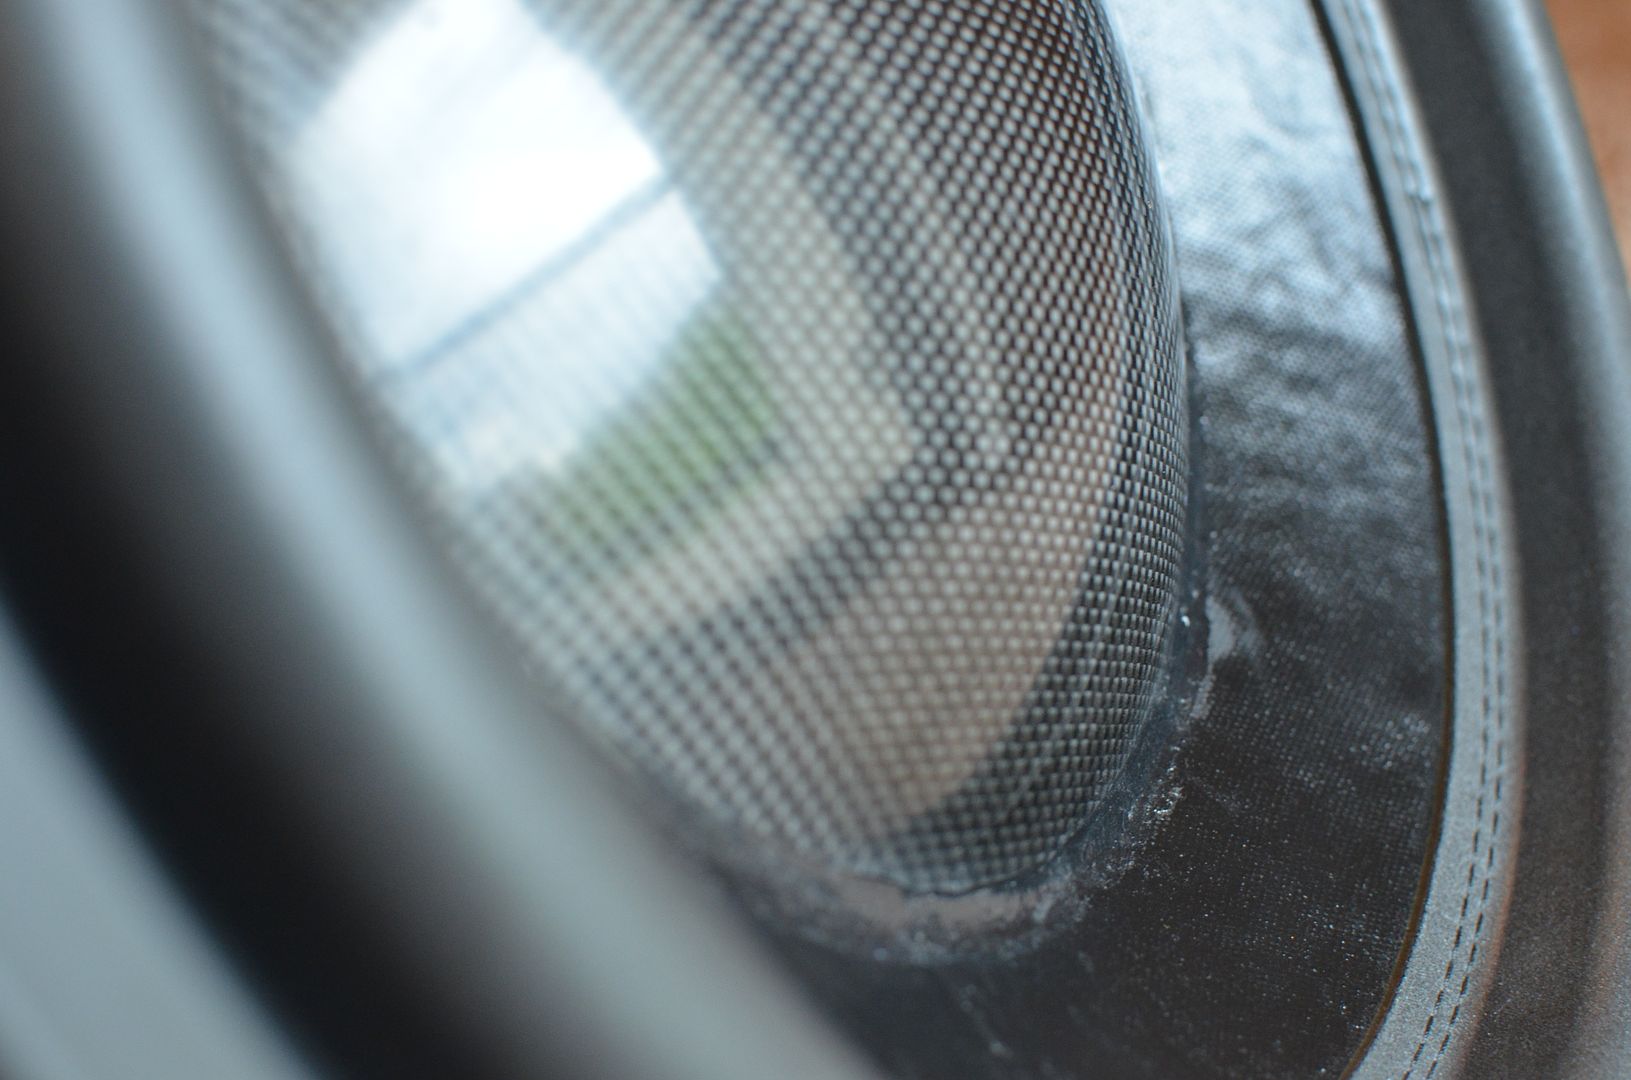
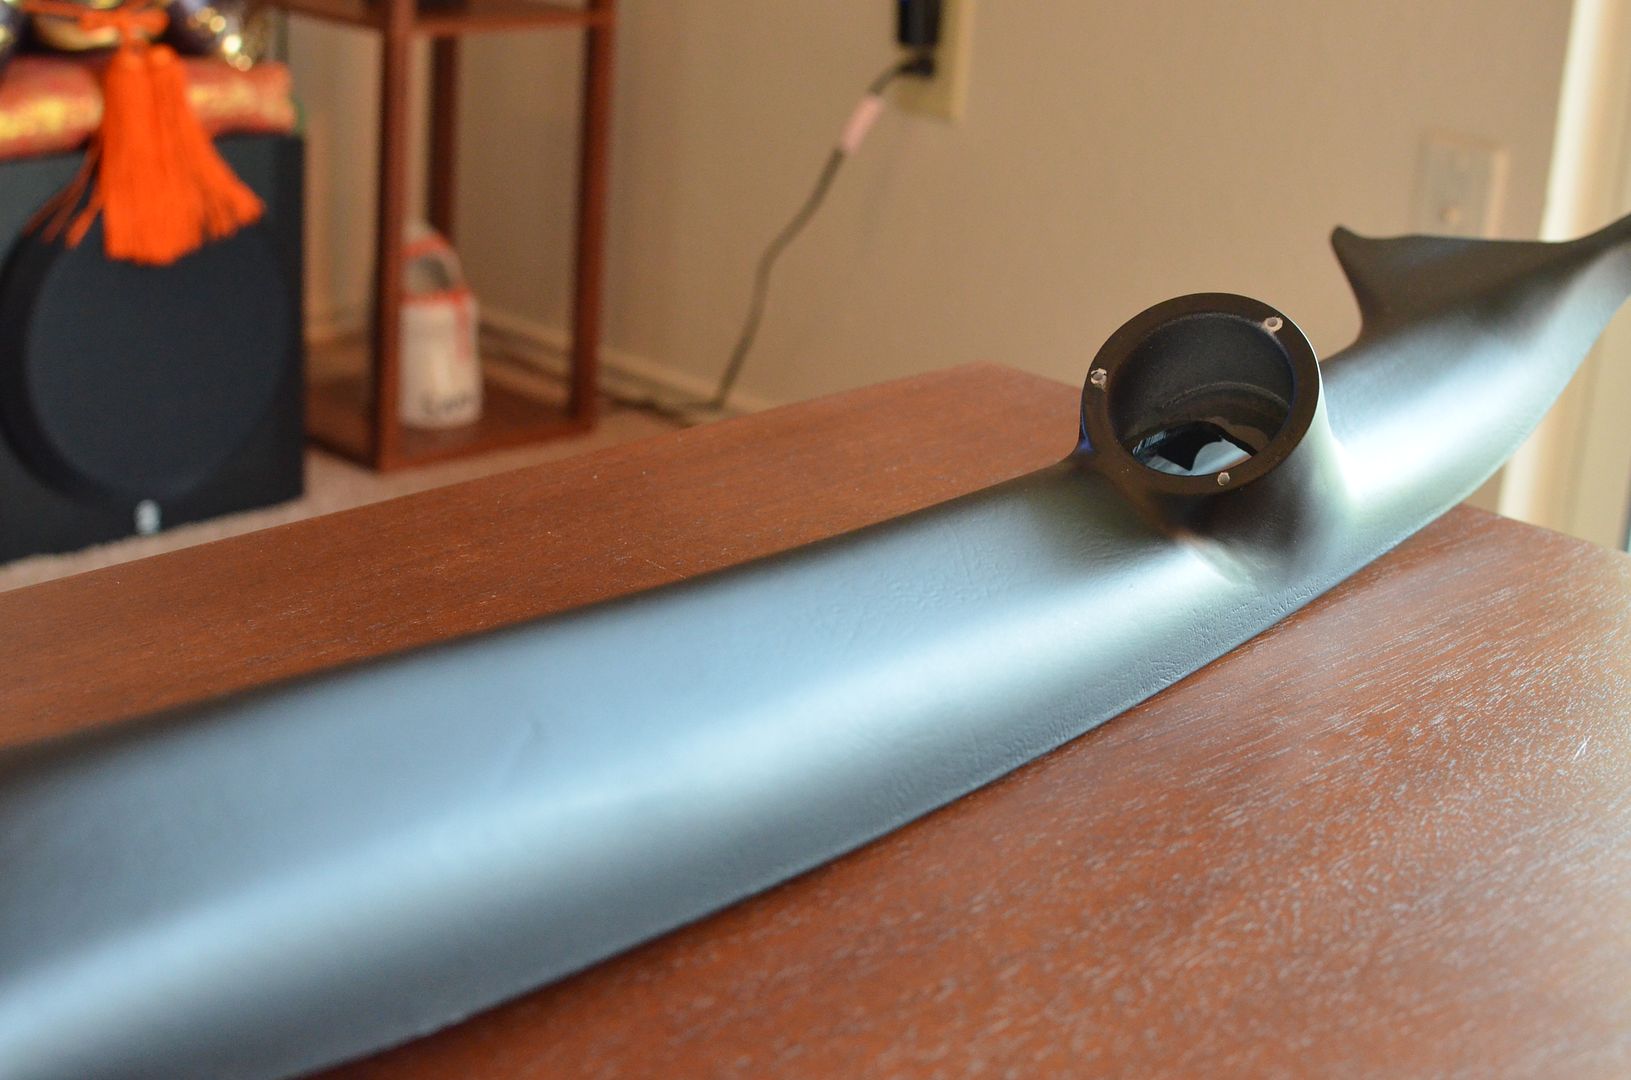
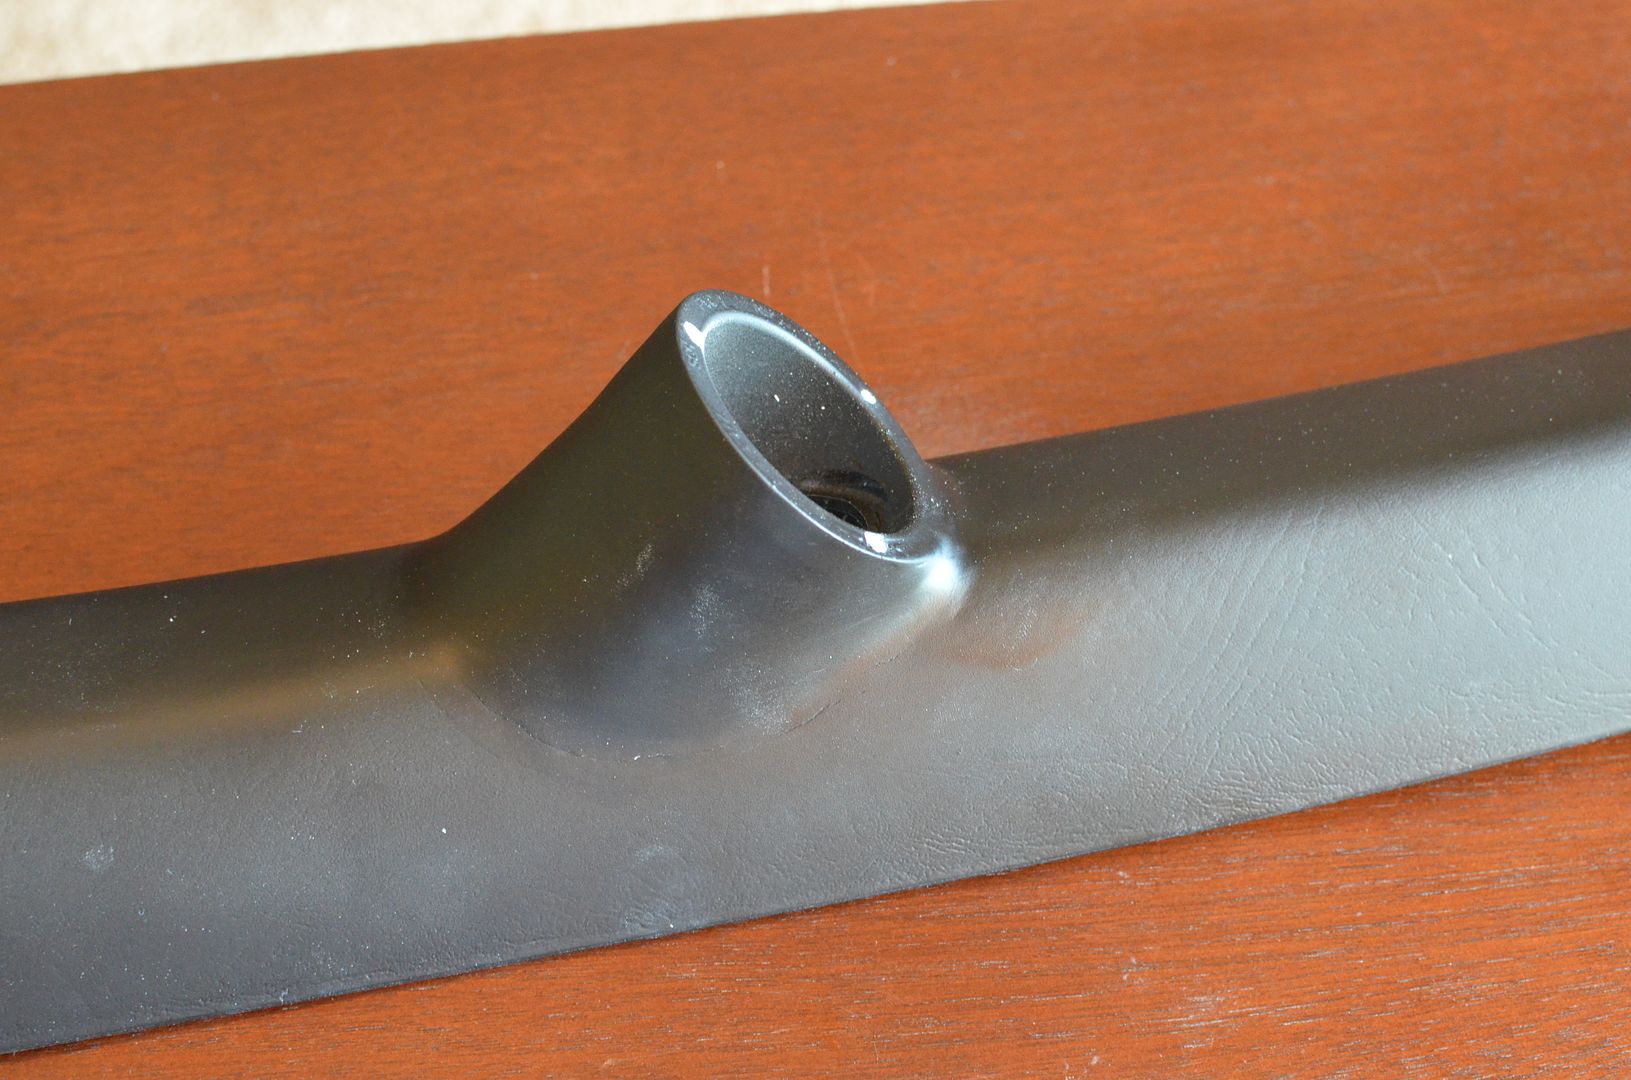
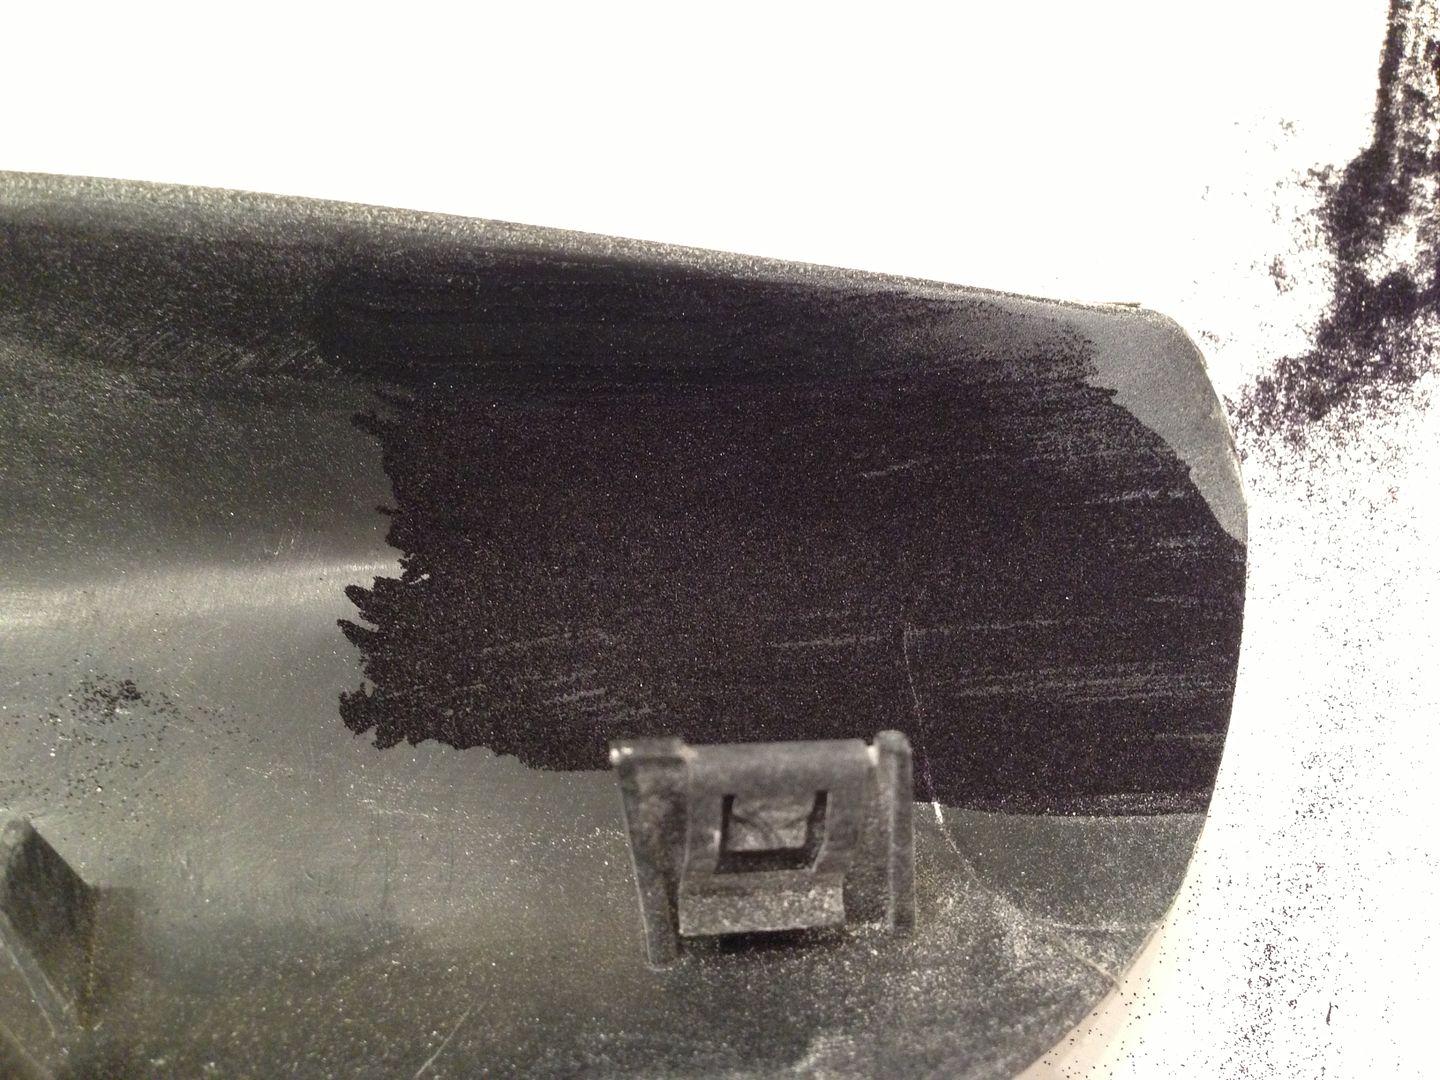
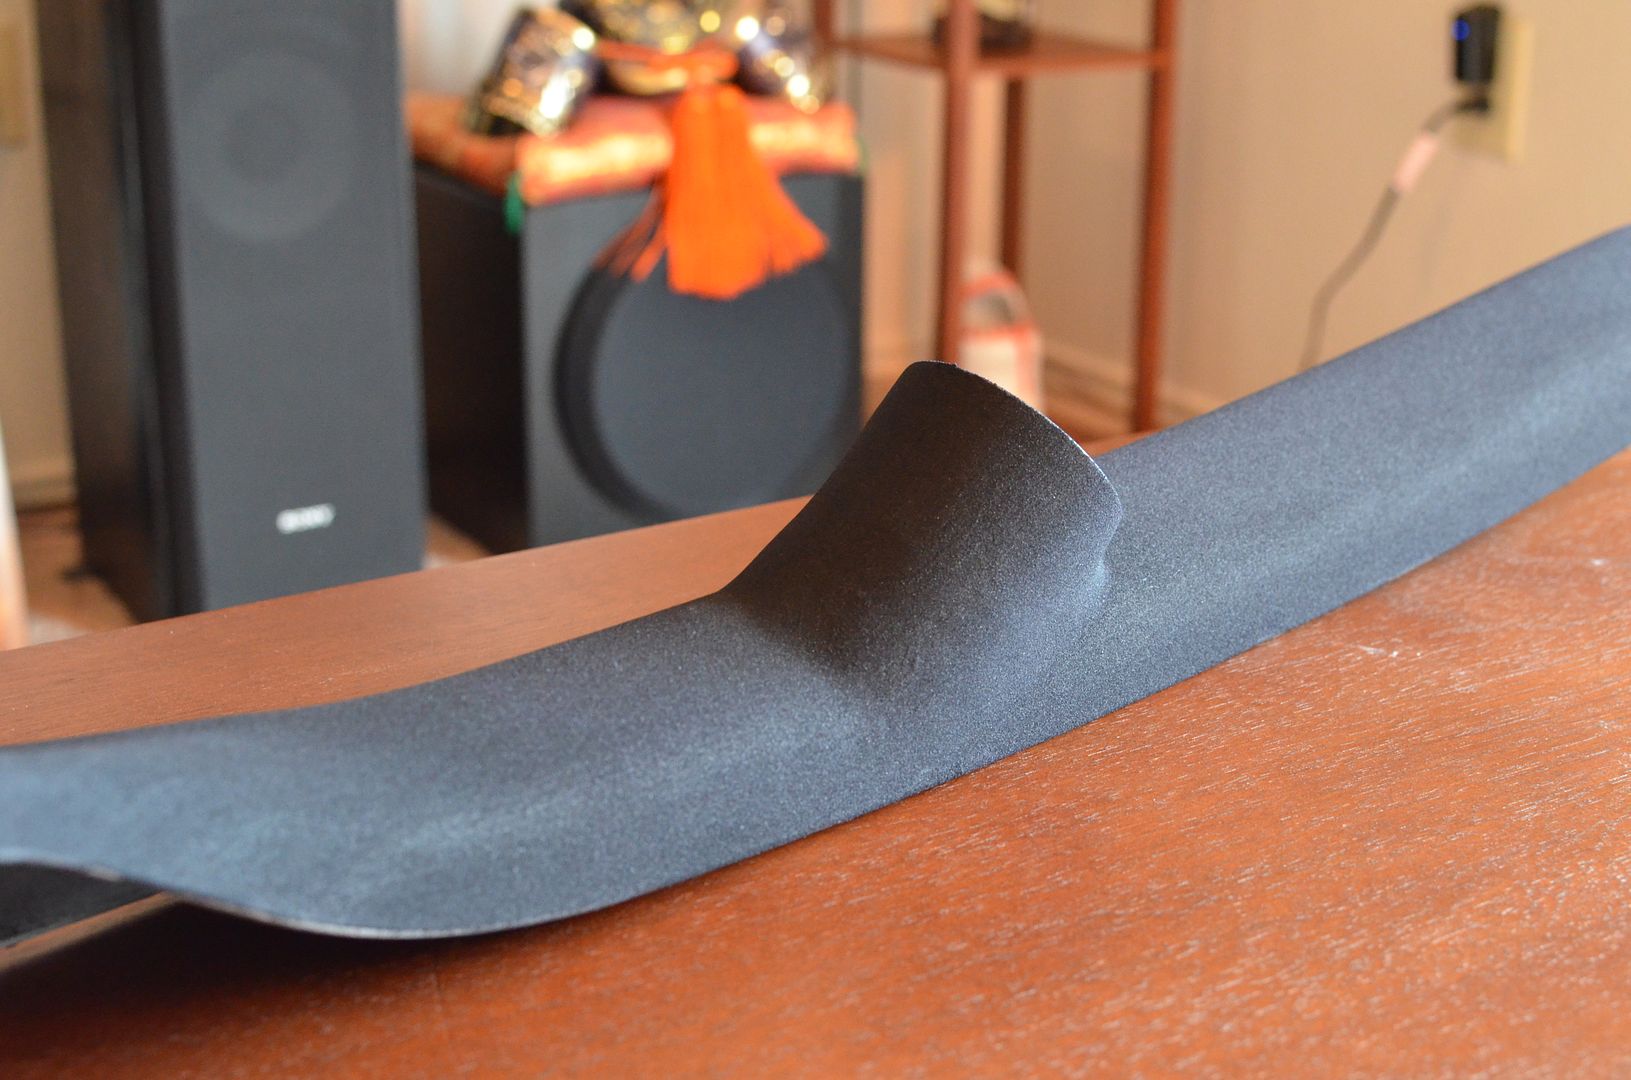
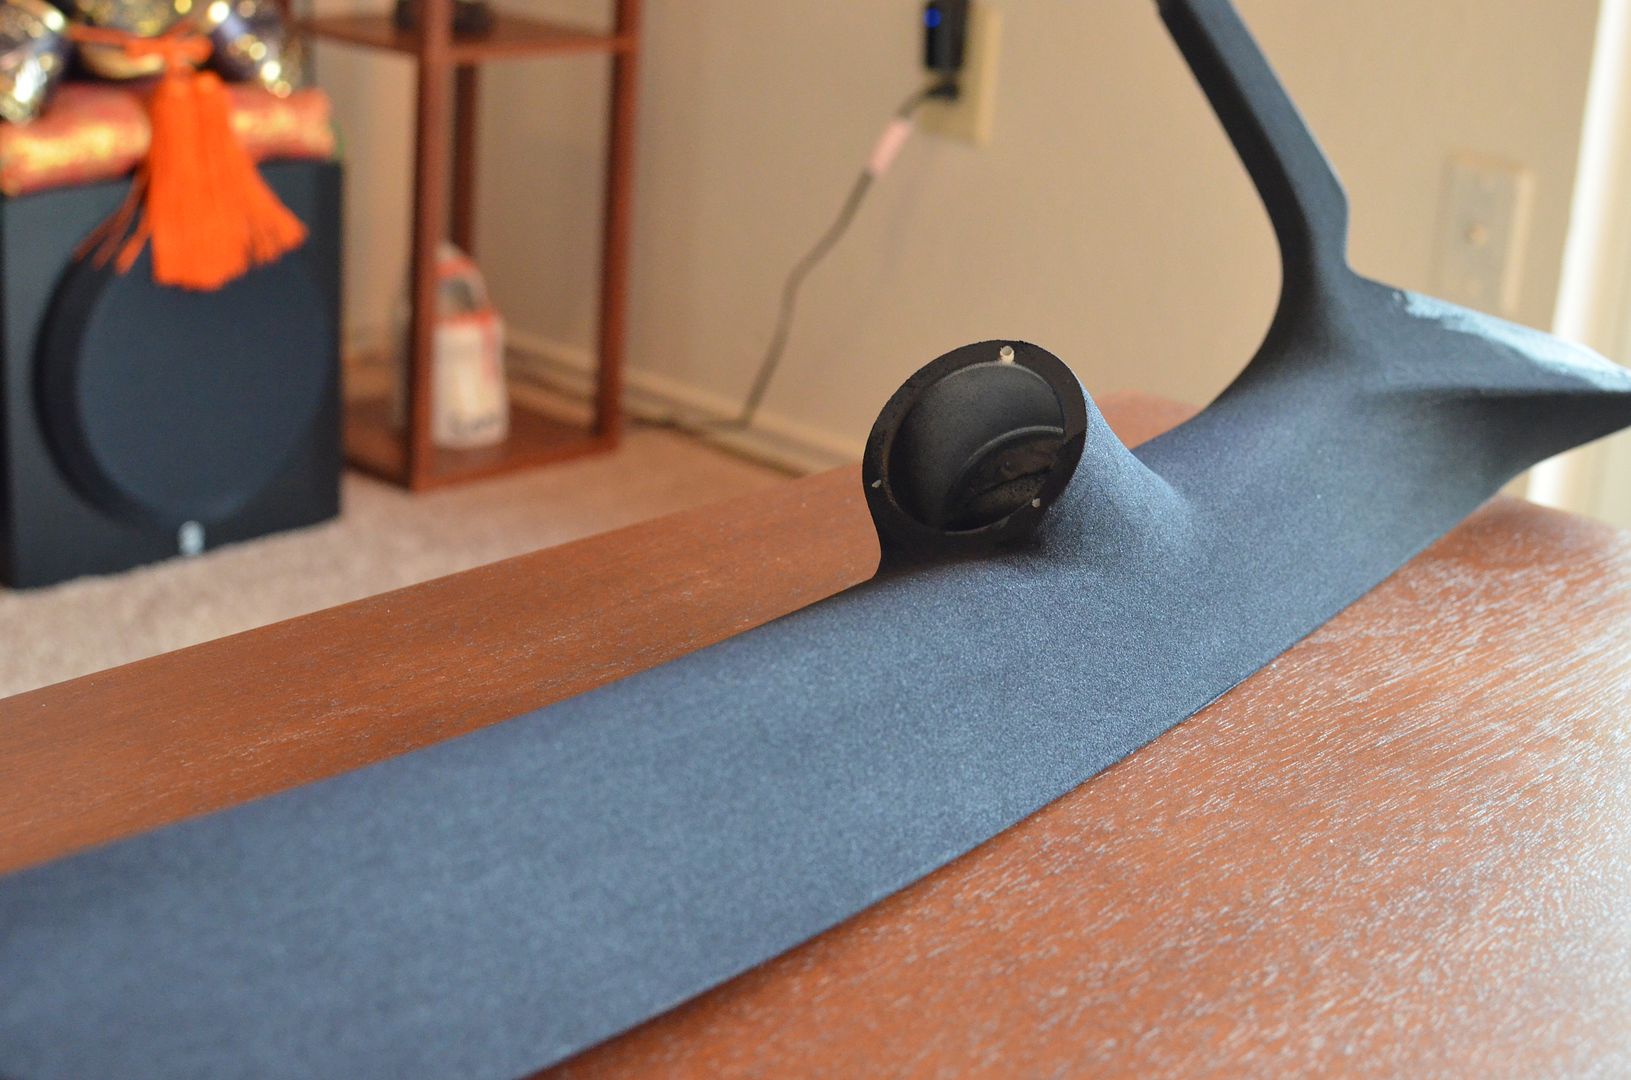
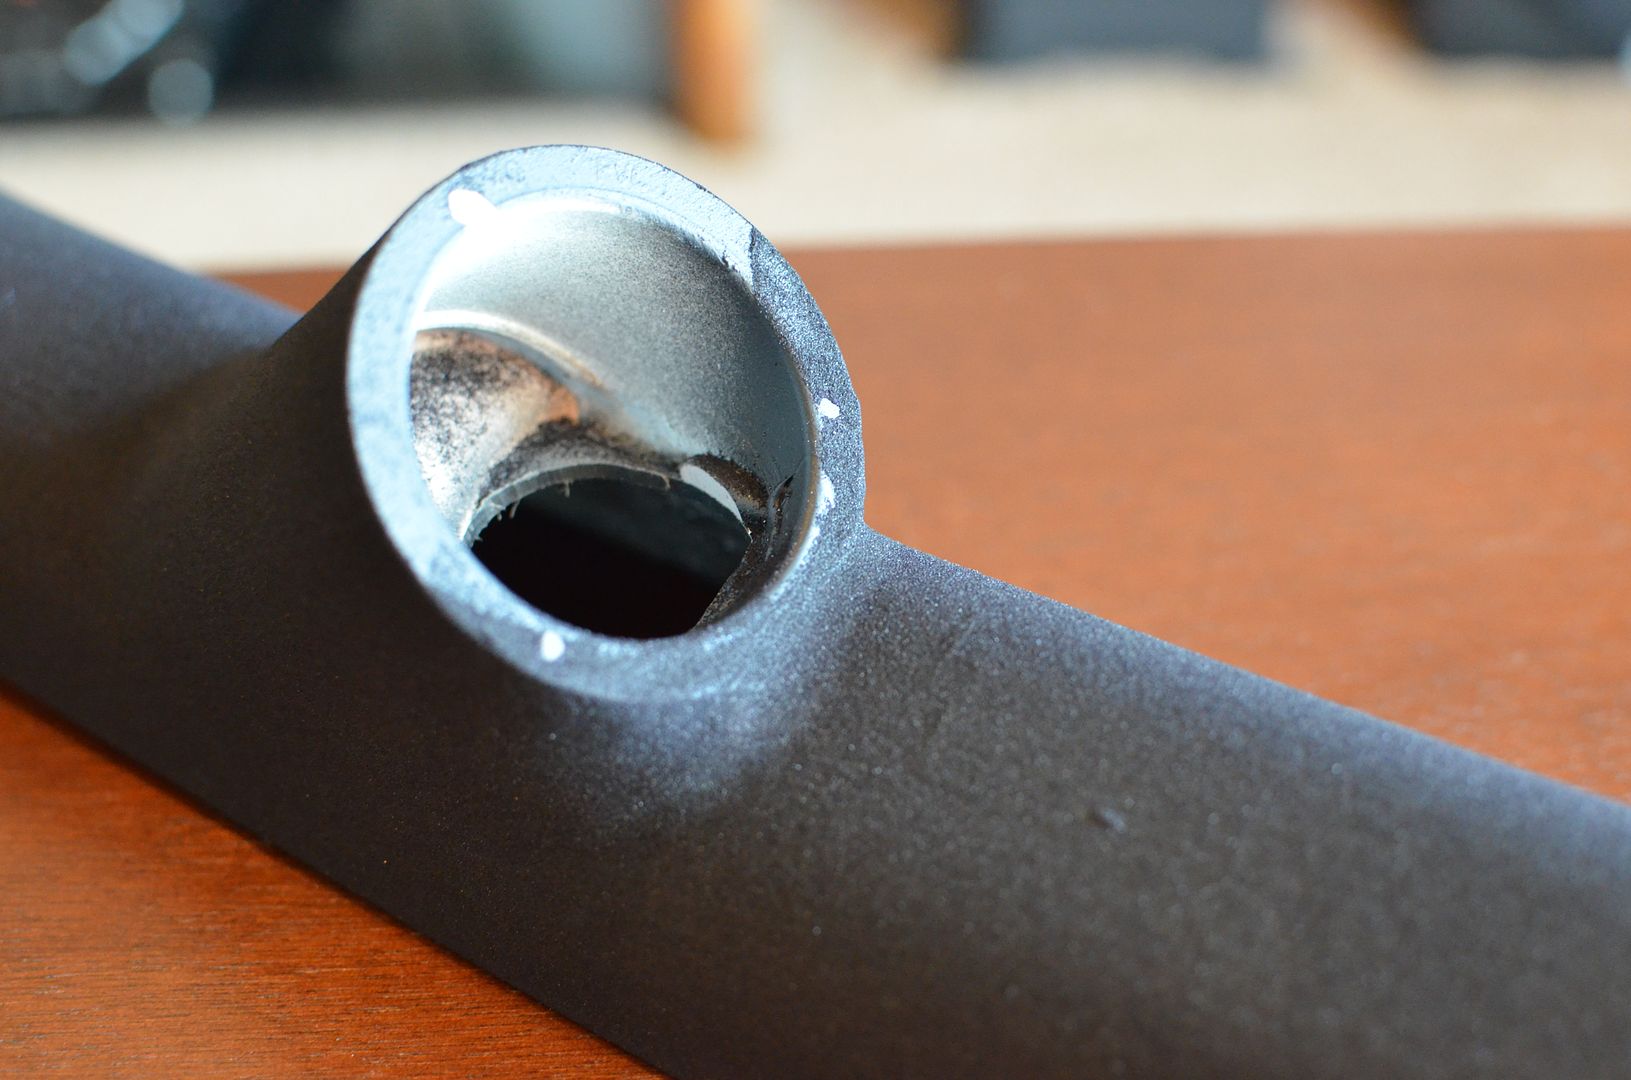
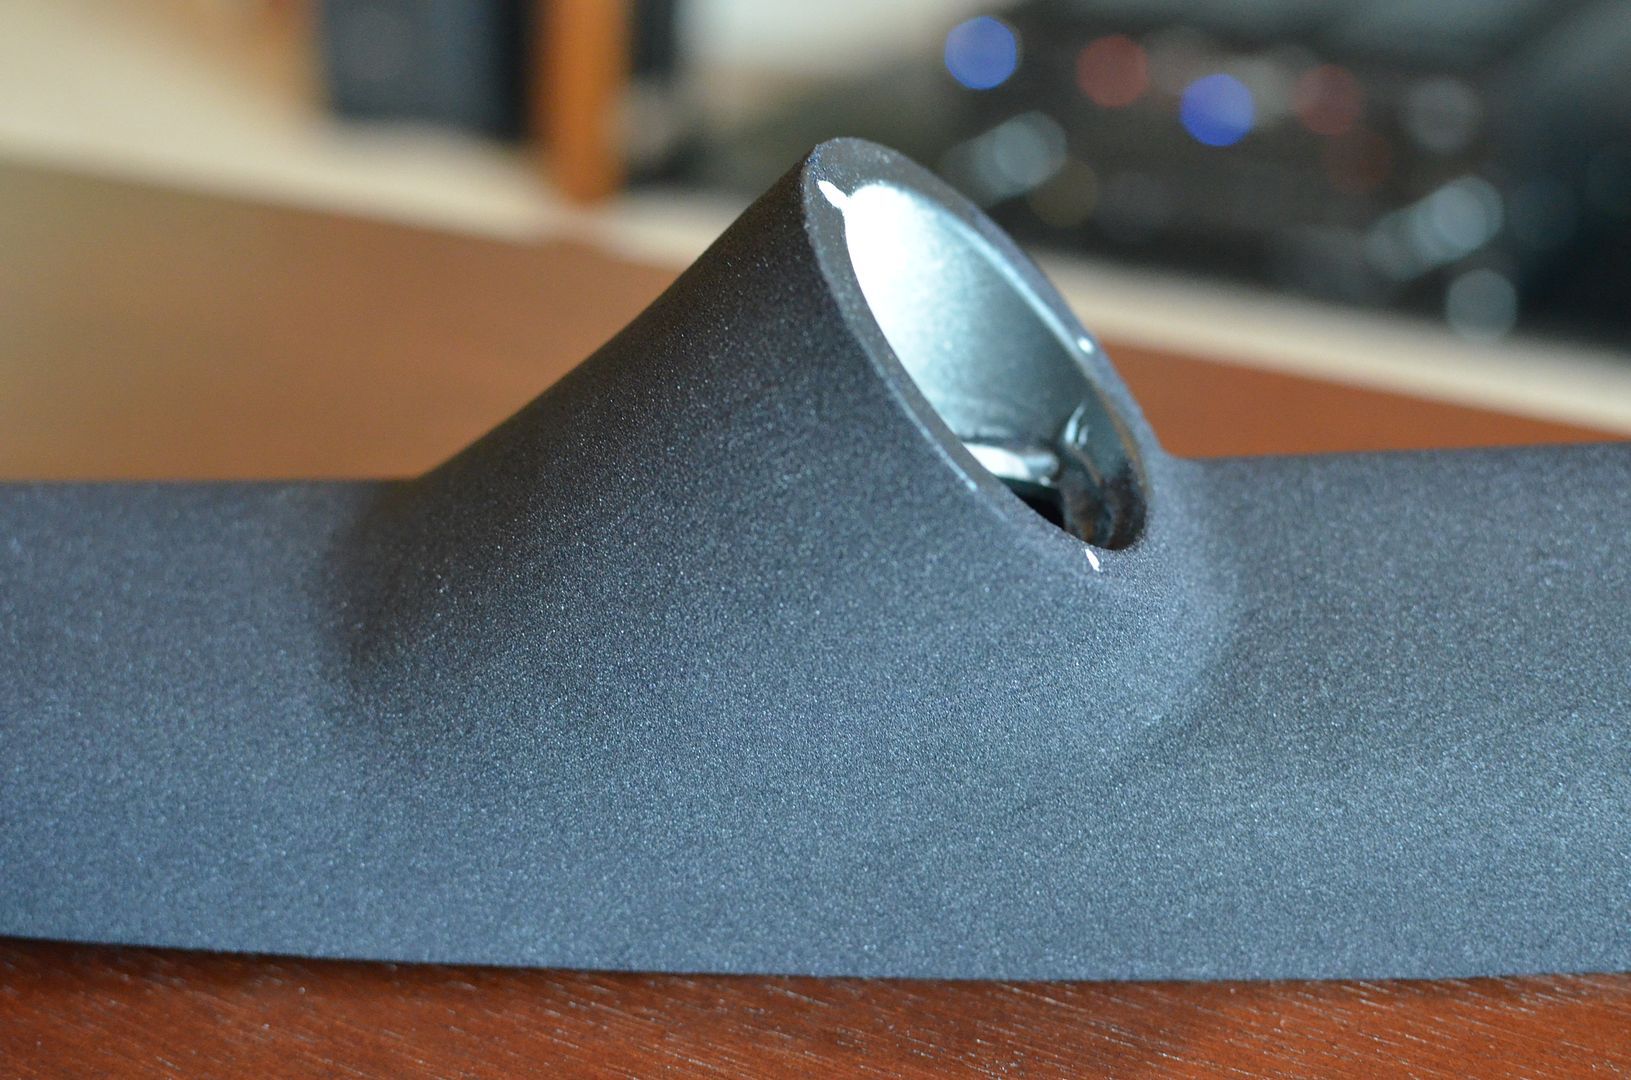
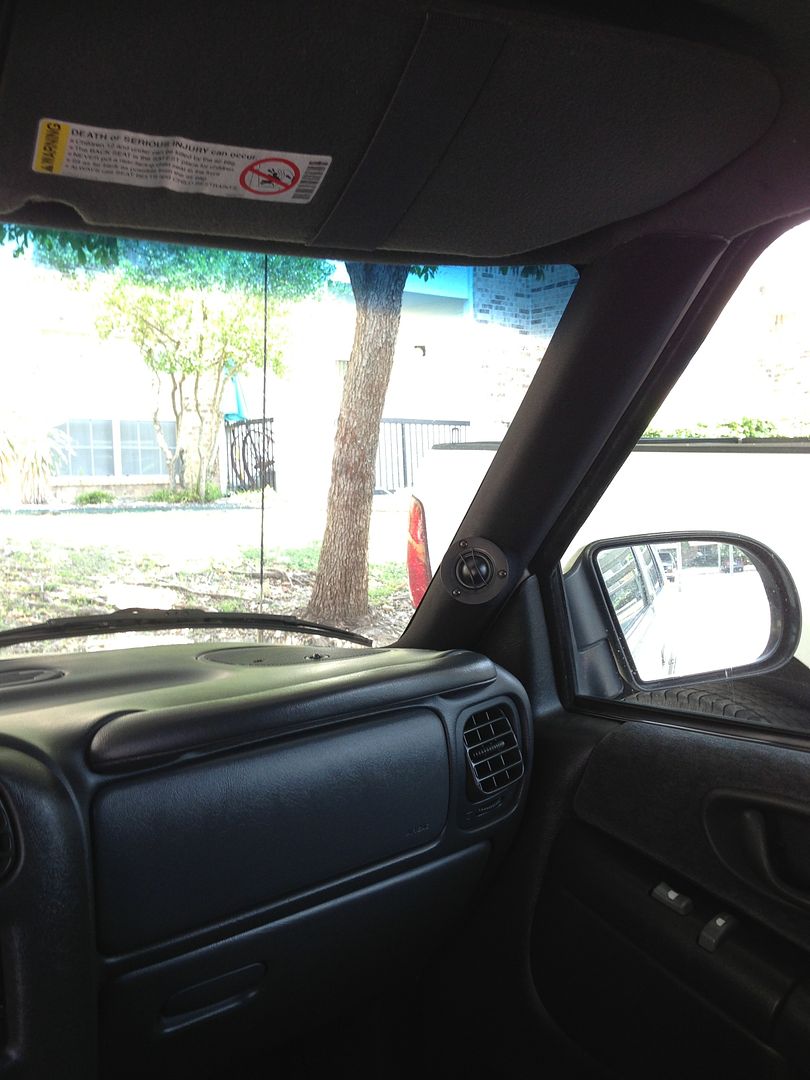
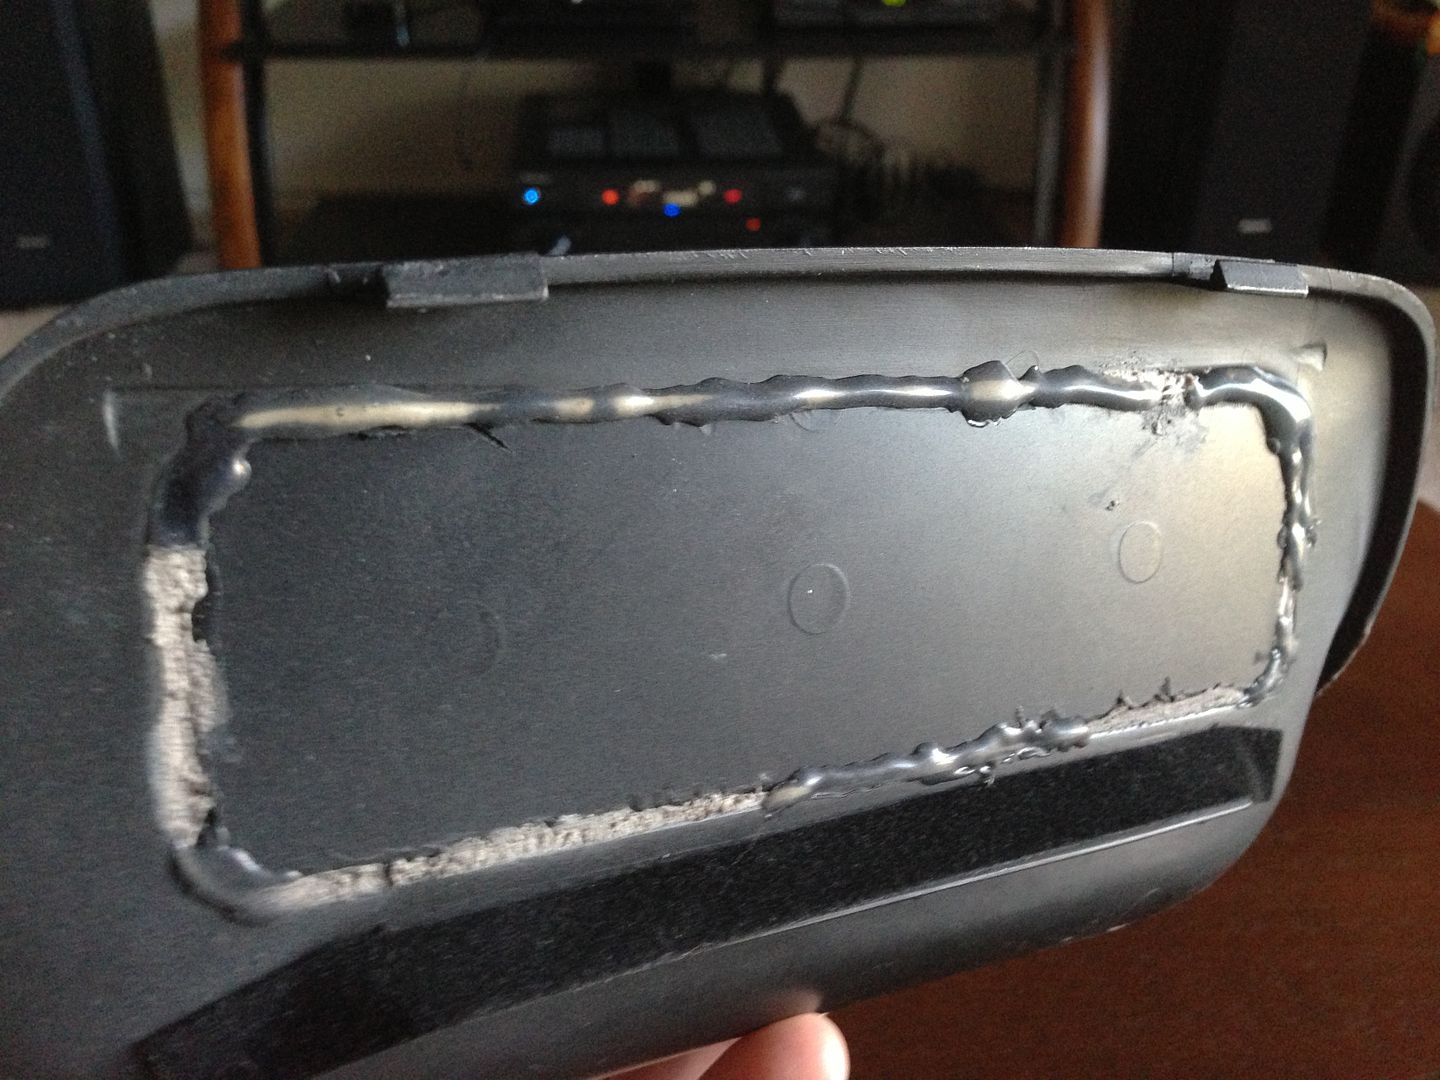
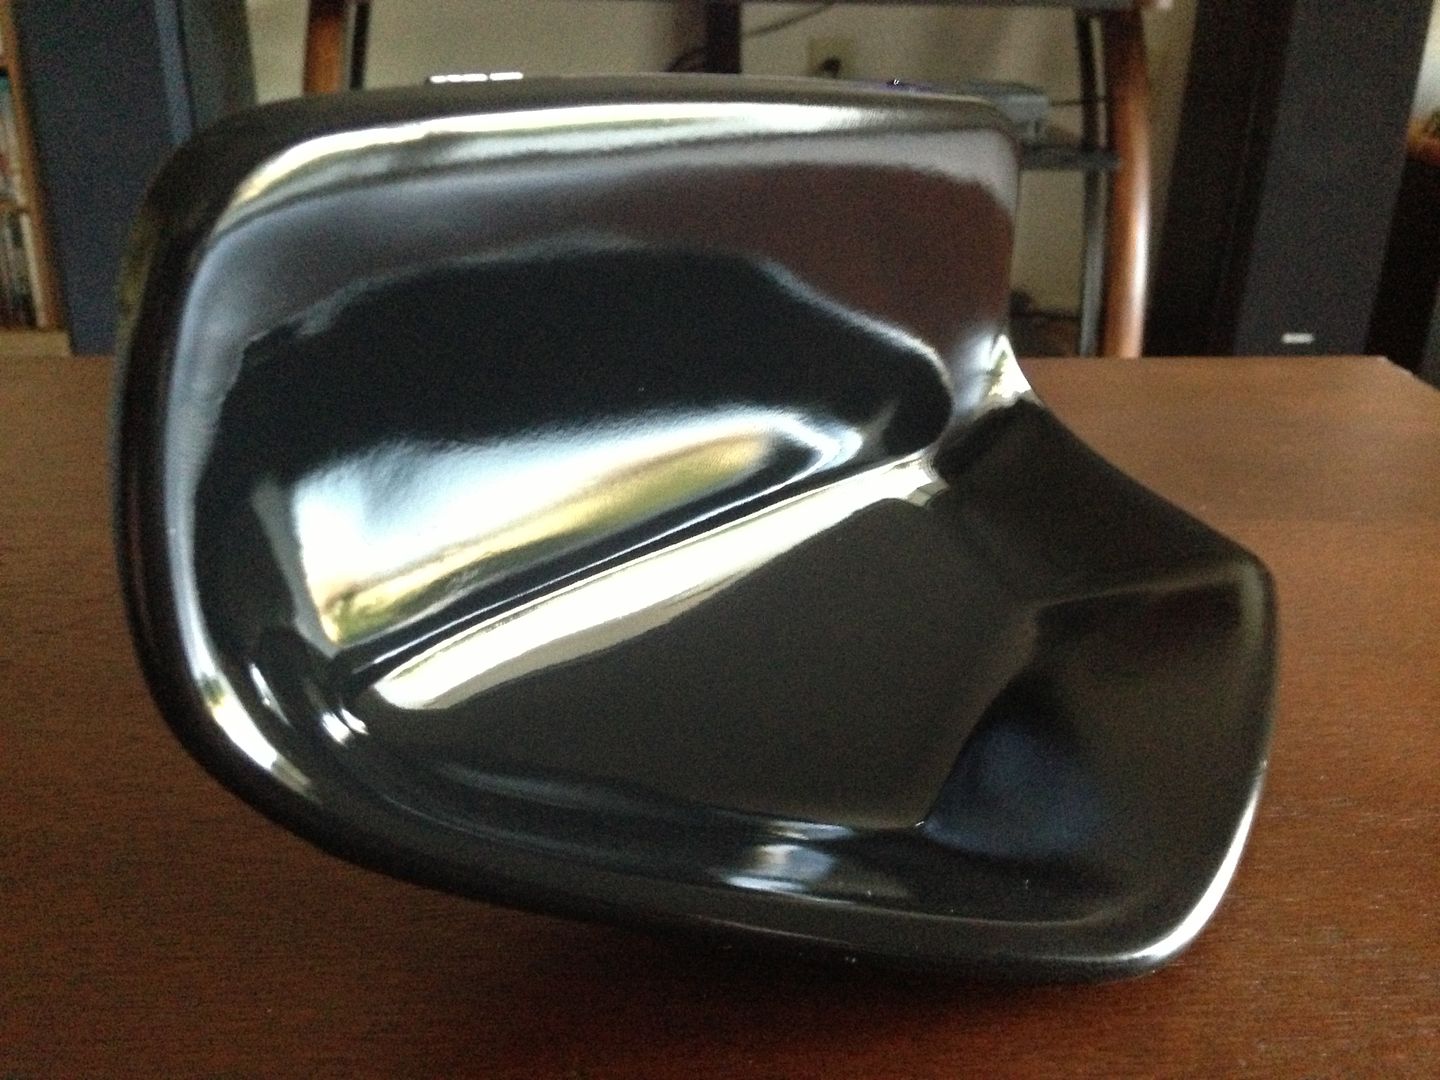
For my tweeters, Im using Vifa NE25VTS-04s. Frequency charts look good, usable down to 1.5kHz with a fairly flat response. In the A pillars, aimed at opposite headrests. Guess I never really took good photos of these. Not a huge loss, theyre not that special. Youll see them more later on.
- Forum
-
Affiliated Stores

- Amazon
- Walmart
- Sam's Club
- Parts-Express
- Sonic Electronix
- MonoPrice
- The Home Depot
- Lowe's
- Crutchfield
- ebay
- AliExpress
- Best Buy
- Newegg
- Tiger Direct
- Acer
- Advance Auto Parts
- JC Whitney
- Zoro
- Tractor Supply Co
- Bed Bath and Beyond
- Woodcraft
- Bass Pro Shop
- Academy Sports and Outdoors
- Palmetto State Armory
- 5.11 Tactical
- 4-Wheel Parts
- Harry's Shave and Grooming
- Dollar Shave Club
- My Threads


 Reply With Quote