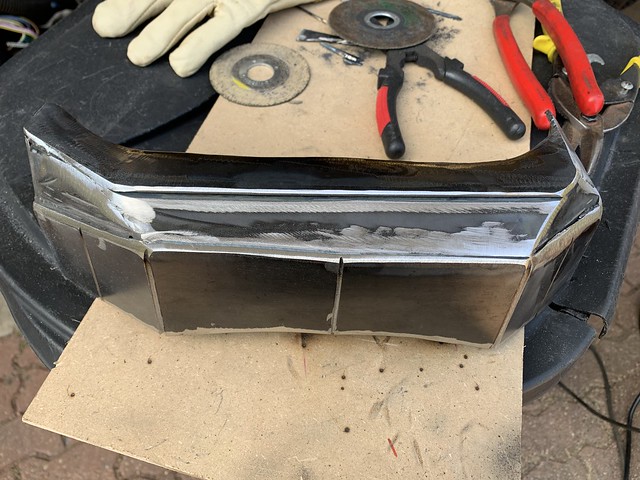
OK. So over the last couple days, I duplicated my template in 16ga. I made it in 3 pieces, and I had JUST enough material to do it. I had 2 pieces of 6x18" 16ga to work with.
16ga is a pain to bend. First I just tried to do it over the edge of my "table." That didn't work. Then I clamped a piece of 1/8" thick 2x2" angle iron and a piece of 1" square tubing to the hand rail on the handicapped ramp in our garage.
That didn't work much better. I tried a small sledge hammer. It just kinda made it wavy. So, I beat it back to flat, and used the grinder to thin the metal a little to make it easier to bend.
Tacked it together and verified fitment with the parking brake so I could see how it sits in the truck. It looks close to the shifter in Drive, (and it IS closer than I'd like) but the mechanism had to go there to leave me enough room on either side for the sides of the console I'm going to build and clear the seats and seatbelts (which are integrated onto the seats I'm using.)
I sprayed the last of my weld thru primer on the bottom, where the reinforcement goes, and did the rest in regular automotive spray can primer. I seam sealed the edges, as well.
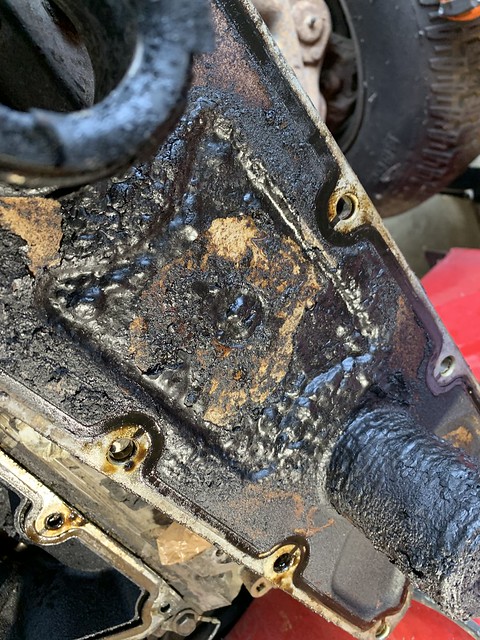
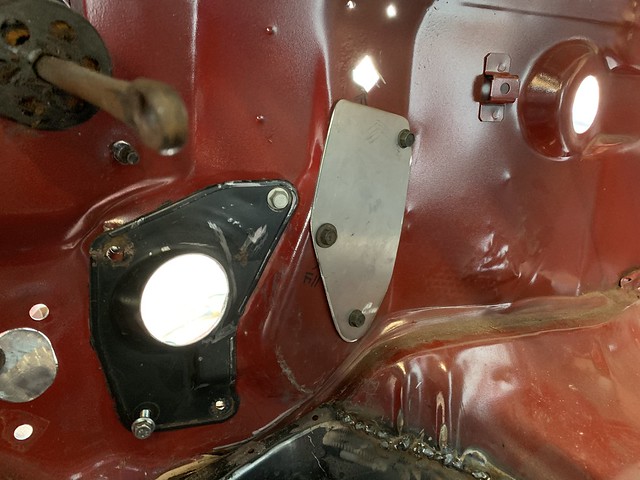
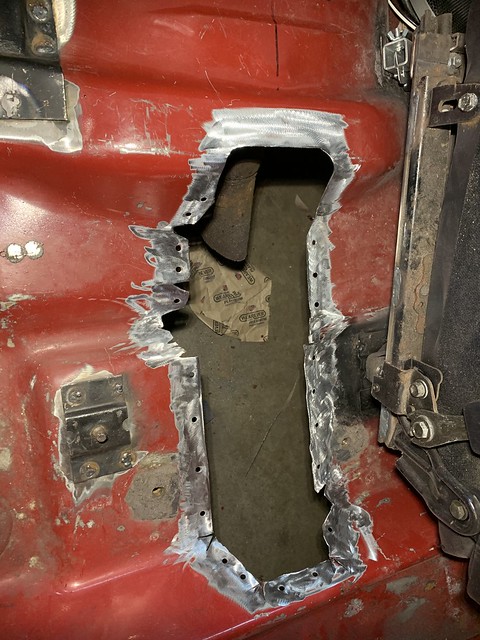
While I was waiting for paint to dry this morning, I filled in the hole from the factory parking brake cable. I used some metal from when I cut off the factory rocker panel so the gauge matches.
I painted the underside of the tunnel, and the top of the reinforcement black. The reinforcement, got a coat of Rust Reformer, first. I won't be able to get up there later, so I wanted to make sure there wasn't any bare metal.
Then I ran a bead of seam sealer around the top of the reinforcement (like it had from the factory). I bolted it together and waited til this morning. I welded it through the original weld spots. After that I used Rust Reformer and flat black paint to seal it up.
Then I put it in place and marked it out on the floor. I left 3/4" toward the inside and punched a bunch of holes in the lip before cleaning the paint off.
Then I welded the spot welds at the front and tacked the rear, and couple of spots on the driver's side. Then I went under the truck and beat the 3/4" lip I left up to match. This serves two purposes...I can make sure it's attached to the body, which will help support the factory seat belt mounts and it closes up the slight gap at the bottom (so the seam sealer won't ooze under the truck.) On the up side, it closes up the gap tight enough I could probably just stitch weld it
and cut the excess lip from underneath.
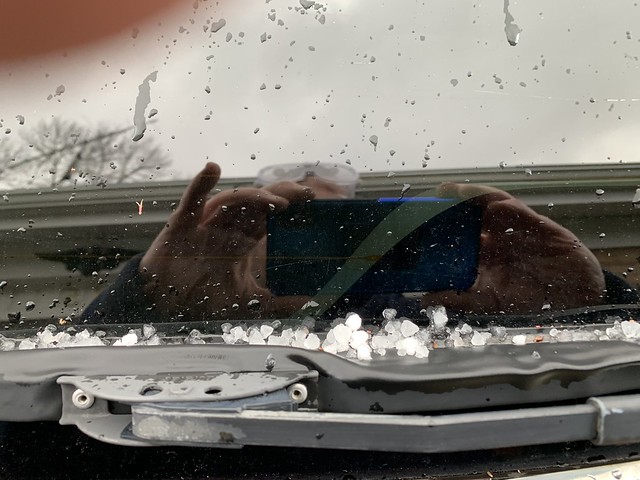
I have to pull the passenger seat to finish the other side, which means pulling the truck out of the garage (I can't open the passenger side door where it's at) and it was raining today.
Jay
- Forum
-
Affiliated Stores

- Amazon
- Walmart
- Sam's Club
- Parts-Express
- Sonic Electronix
- MonoPrice
- The Home Depot
- Lowe's
- Crutchfield
- ebay
- AliExpress
- Best Buy
- Newegg
- Tiger Direct
- Acer
- Advance Auto Parts
- JC Whitney
- Zoro
- Tractor Supply Co
- Bed Bath and Beyond
- Woodcraft
- Bass Pro Shop
- Academy Sports and Outdoors
- Palmetto State Armory
- 5.11 Tactical
- 4-Wheel Parts
- Harry's Shave and Grooming
- Dollar Shave Club
- My Threads


 Reply With Quote