I'm gonna go out on a limb and say this Taco is gonna be able to do mid 150's all day long but still blend with the best of them.
They might say "don't try this at home" but nothing about not trying it at your friend's house.
I'm deffinitley tuning in for this.
It's taken me a long ass time to get off my ass and get started, but started I have!
Equipment list:
-Pioneer AVH-4700BS (from prior truck)
-Morel Tempo Ultra 692 component set
-Amps will either be my old Soundstream Picasso Nanos (900.4 and 1200.1)
or will be a JL Audio RD900/5 and an RD500/1
-Subs will probably be a pair of JL Audio 10TW3's
-Speaker wiring is twisted primary wire and power will be whatever I have laying
around.
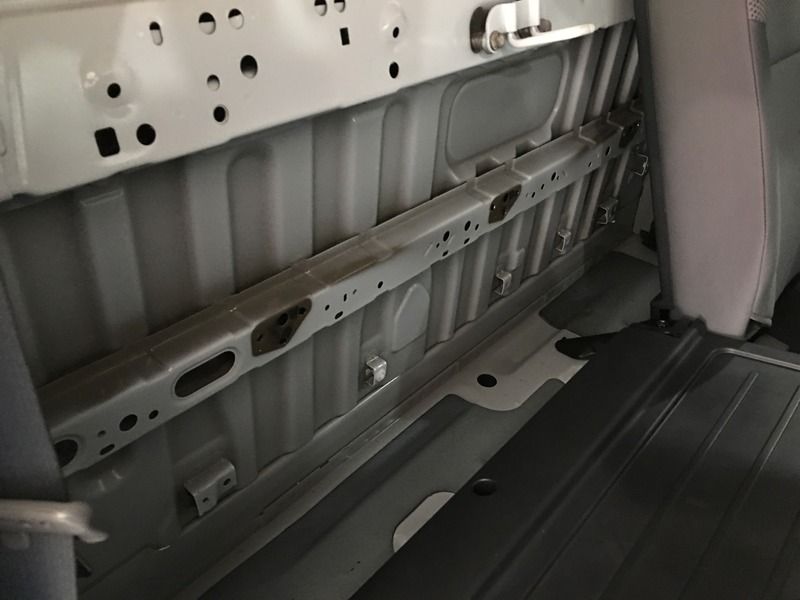
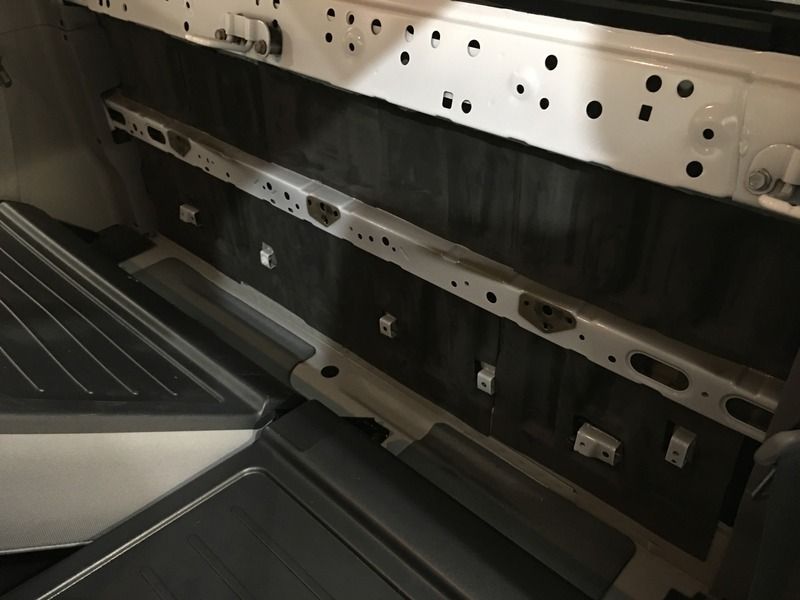
I went ahead and ripped the plastic storage/organizer trays out from behind the rear seats and added a layer of deadener called Ballistic. Gotta admit, I am pretty impressed with it. It went down nicely and conformed to all corners and curves. I then added a layer of closed cell foam on top of that. Back wall...done
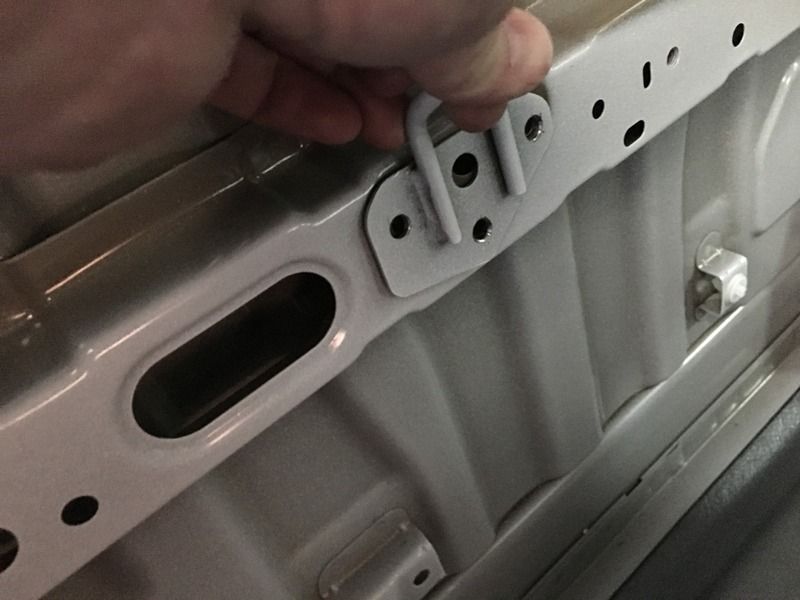
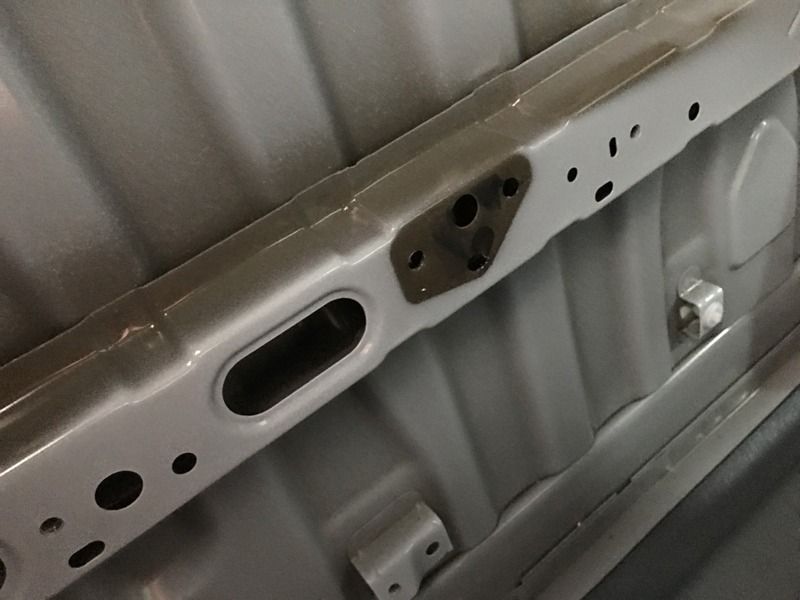
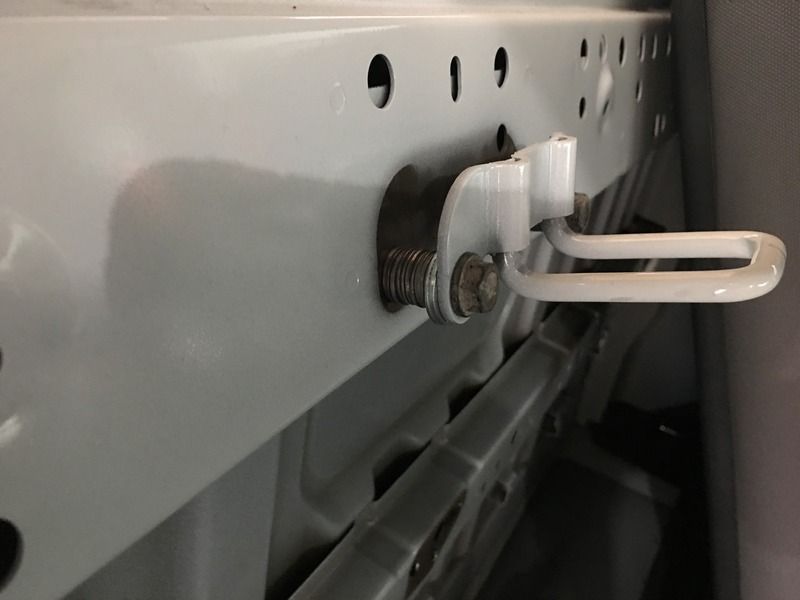
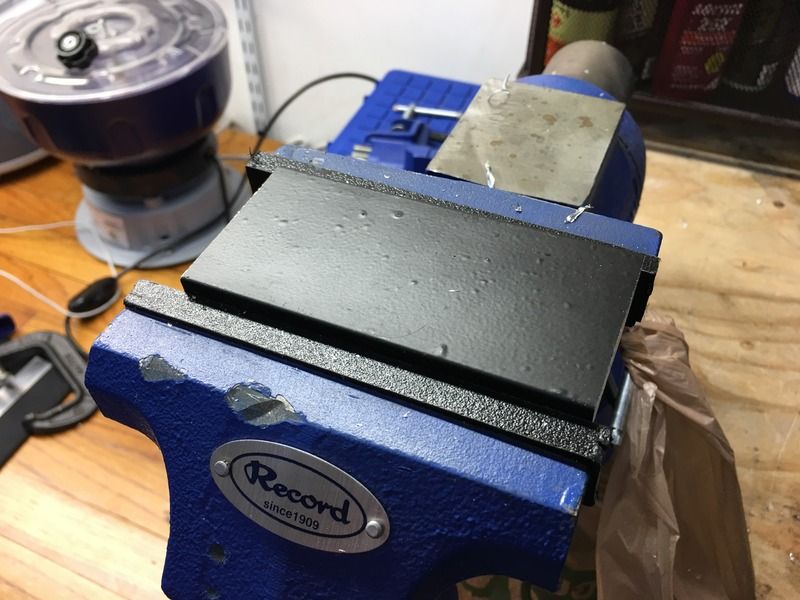
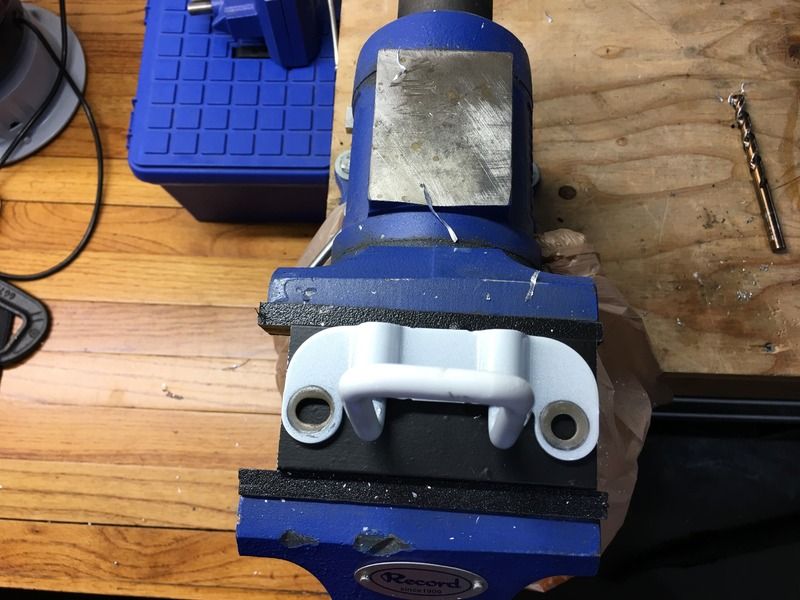
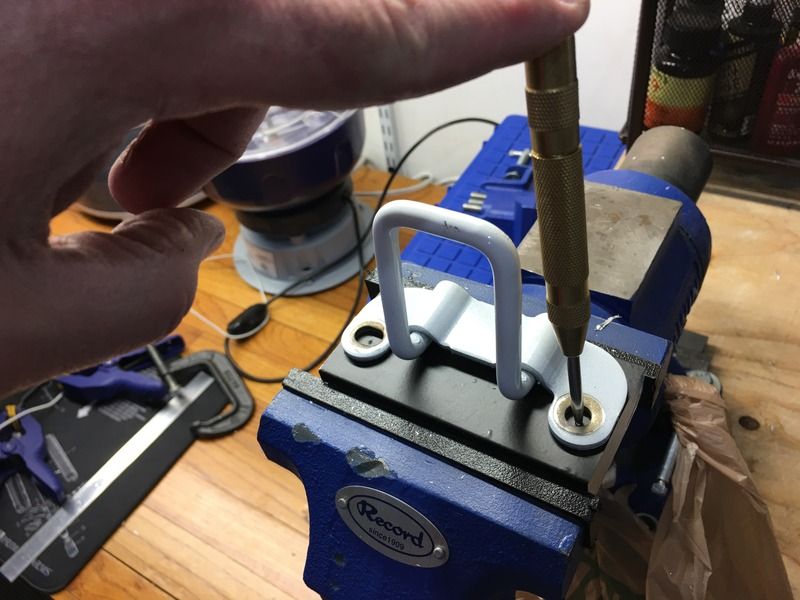
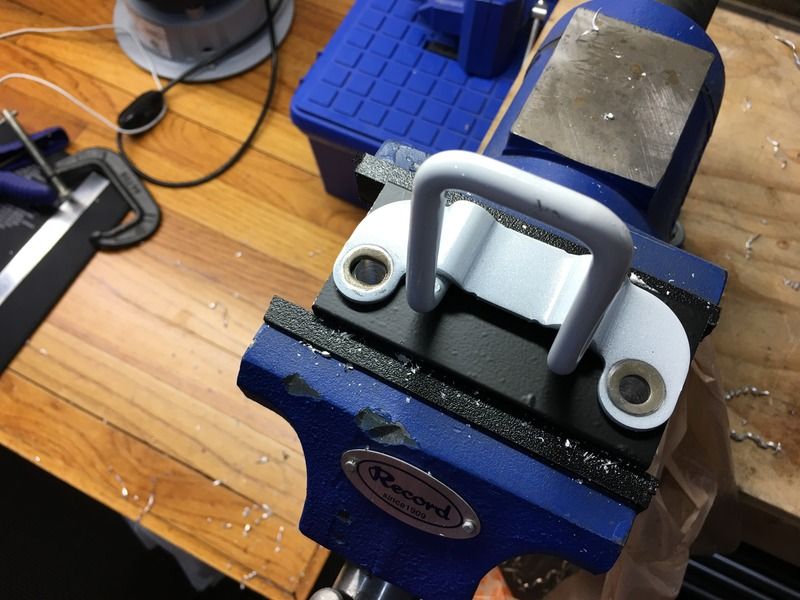
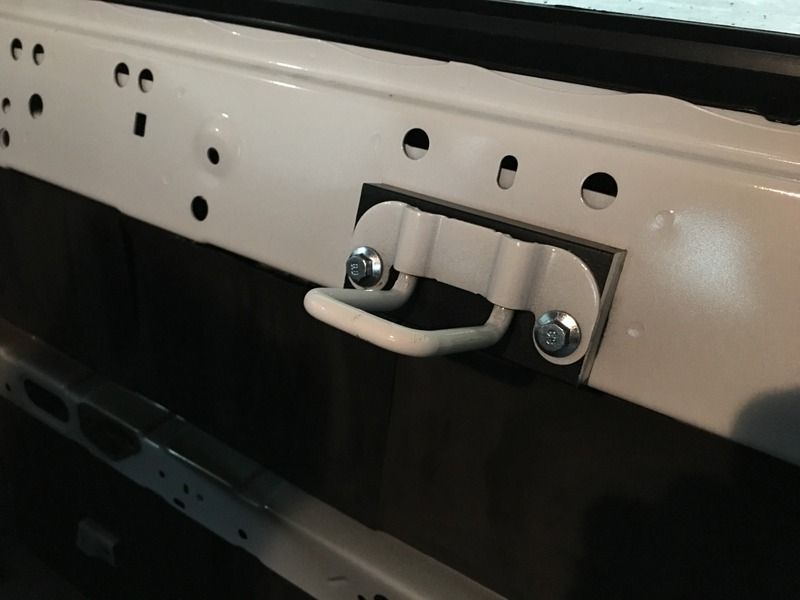
I also had to remove the rear tie downs, which just required a drill bit and center punch. I plan on putting rivnuts back in there in case they need to go back in. I am also going to space the rear seat retainer out as seen in the pictures. I used washers to mock it up, but will use 3/4'' aluminum powder coated white and longer bolts for the final product. This gave me some needed clearance for the box and amps.
I'm heavily considering cutting off the part of the seat bracket and then welding a piece of 1/4'' bar steel to the opposite side which will mount with a factory seat belt bolt. This will all depend on how I decide to build the enclosure.
"Everybody is a genius. But if you judge a fish by its ability to climb a tree, it will live its whole life believing that it is stupid."
-Albert Einstein
Bout time this build got started!
They might say "don't try this at home" but nothing about not trying it at your friend's house.
I can't wait to see where this goes, your skill is outstanding.
I think I’m gonna learn a ton of cool stuff from this build...
Kenwood DDX9903S, Arc PS-8 w/PSC, Arc Audio 1200.6, Helix SPXL1000, Audiofrog GB12D4(2) IB, GB60, GB25, GB10
Very impressive work on removing the child restraint hooks. I have a 2010 Tacoma myself. The whistling noise is solved by weatherstripping if you comb that thread on tacomaworld regarding the noise and find a guy who fixed it for your year.
Impressing hot tail with my audio.
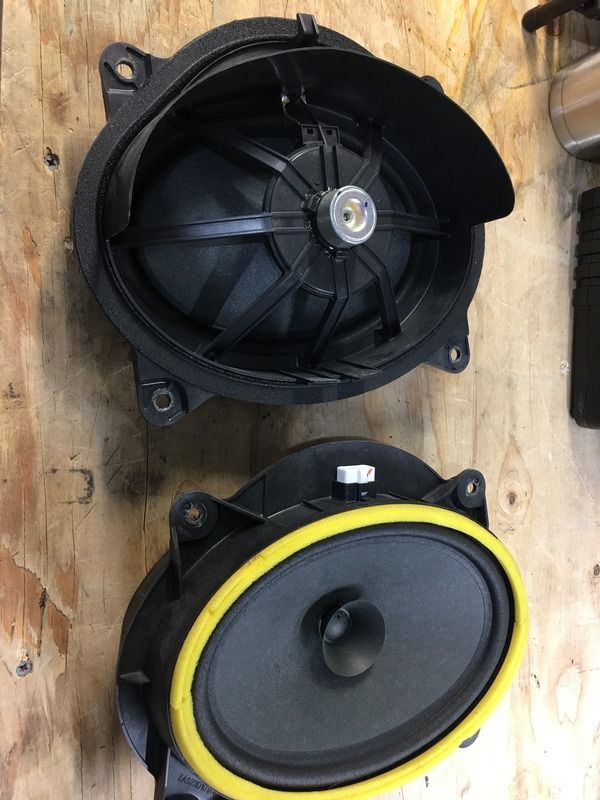
Yanked the door panels off today and pulled these out...really Toyota!
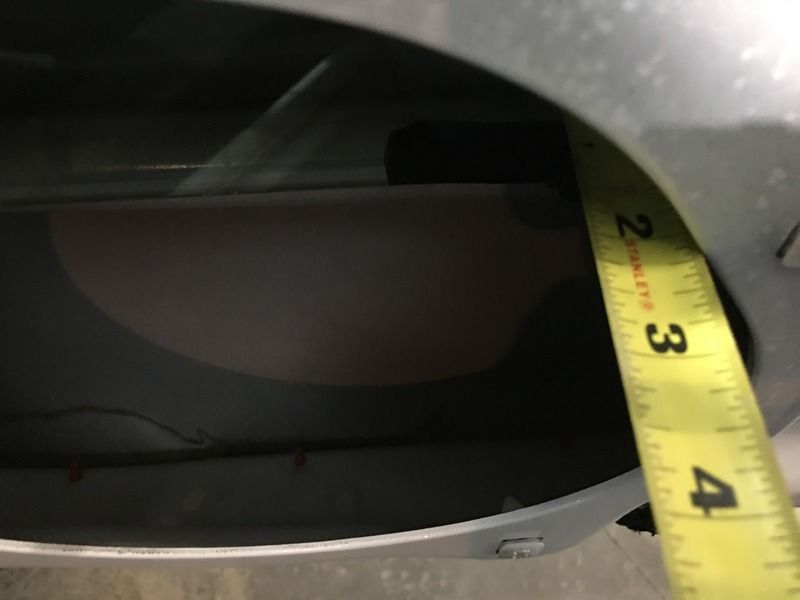
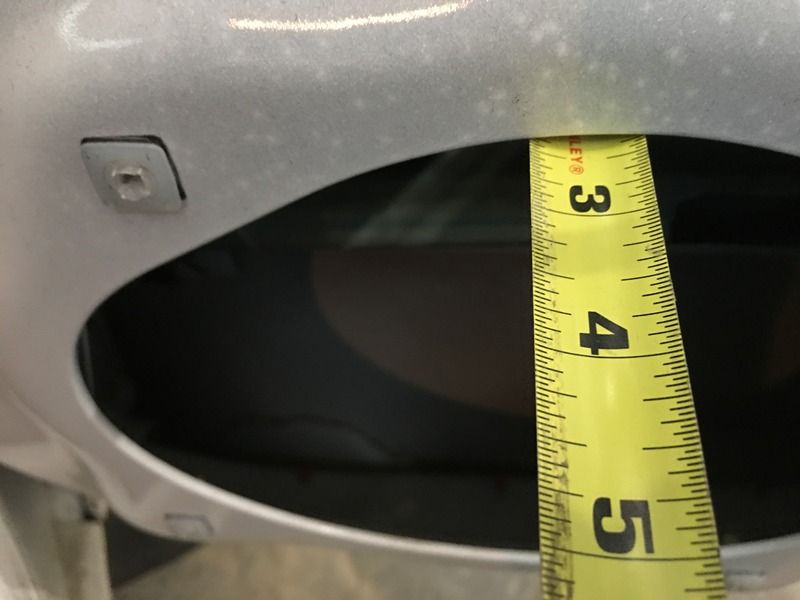
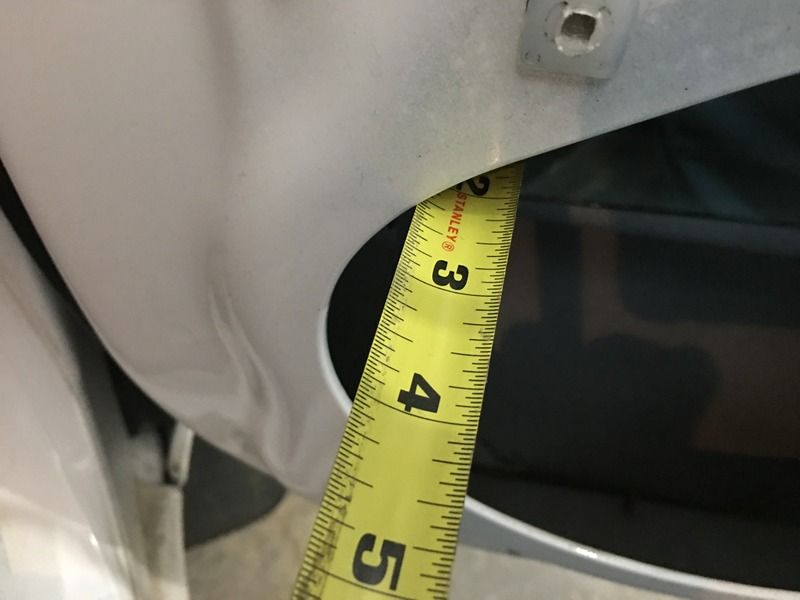
Did some measuring and determined I needed right around an inch and a half spacer for my mids.
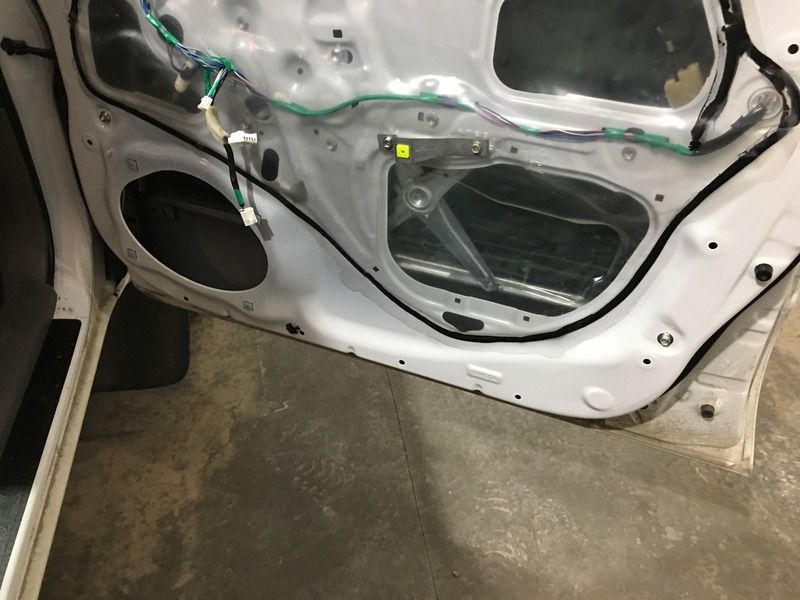
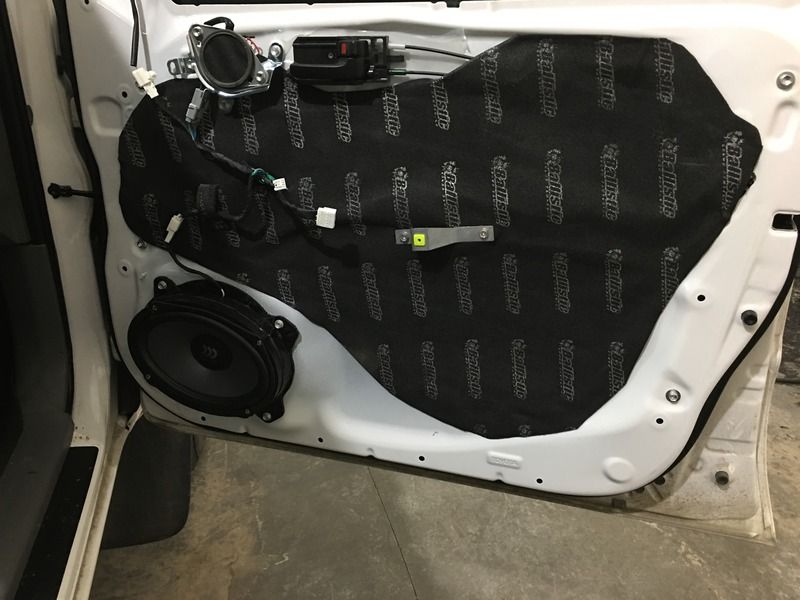
Not sure WTF happened to all the other pics I took on my phone, but I put two sheets of deadener inside the door as well as some deadener to close up the openings in the inner skin and then traced the moisture barrier onto a sheet of closed cell foam with a pressure sensitive adhesive backing.
I wrapped all the factory wiring with Tesa tape, then went on to the mount. The mount is a Metra mount with a 1/2" HDPE spacer I made for the correct depth. I put strips of deadener inside and outside of the metra mount as well as closed cell foam between the mount and the door skin, between the spacer and the mount and then between the speaker and the spacer. It's on very well and is solid as heck. I hooked it back up to the factory system for now since the speakers came with the plugs from Crutchfield and I wasn't going to do much more than this today.
"Everybody is a genius. But if you judge a fish by its ability to climb a tree, it will live its whole life believing that it is stupid."
-Albert Einstein
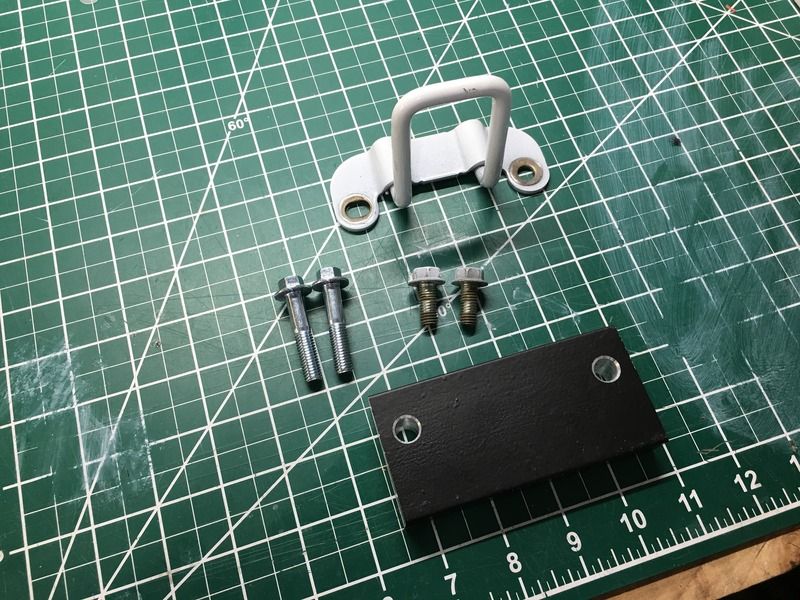
Not a ton done today, but certainly steps forward. The rear seats have a "u" shaped catch and I wanted to move the top of the seats forward, so I made a spacer from 3/4'' aluminum bar stock. This was previously used in my Ram for seat spacers which is why it is powder coated black. I'll probably leave them alone since they'll be covered anyway.
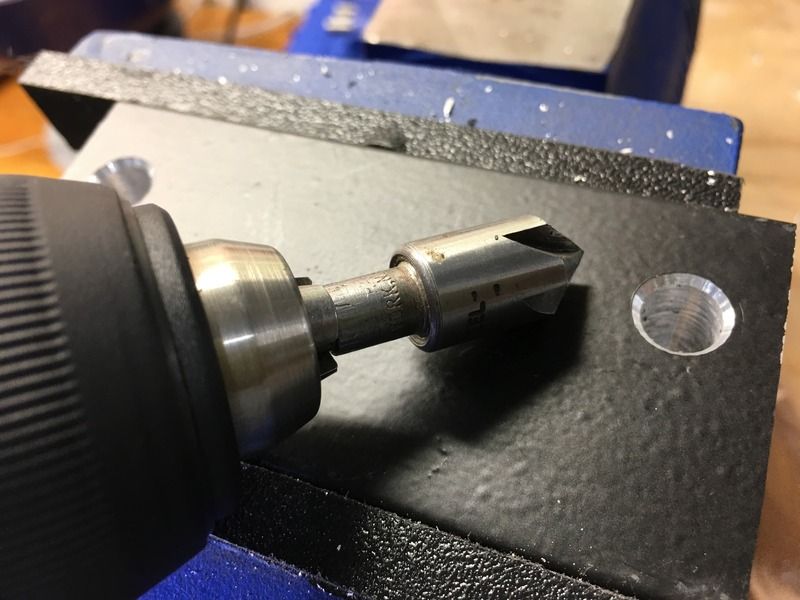
Figured I didn't need to say much relative to the process since it's straight forward. Bolts are 8-1.25 shouldered bolts 40mm long from Home Depot. I drilled in 3 steps using progressively larger drill bits at slow speeds and then chamfered using a countersink bit.
"Everybody is a genius. But if you judge a fish by its ability to climb a tree, it will live its whole life believing that it is stupid."
-Albert Einstein