Page 1 of 5 123 ... LastLast
Results 1 to 10 of 49

Thread: The long awaited 2014 Grand Cherokee build log!

  1. Back To Top    #1
    BURNED OUT Hillbilly SQ's Avatar
    Real Name
    Chris
    Location
    Little Rock
    Vehicle
    2016 Ram
    Posts
    1,405
    Join Date
    Nov 2013

    The long awaited 2014 Grand Cherokee build log!

    Back at the end of October of last year I traded in the Ram and bought a 2014 Grand Cherokee Limited with 43k on the clock. So far it's been a great vehicle. I rolled all winter with the stock system faded all the way to the front. Actually sounded pretty good for factory. It was tolerable with pretty good staging with the help of the center but lacked dynamics and tonality could have been better. I decided to keep this one as simple as possible so I wouldn't compromise the stealth function of the vehicle too much. The equipment that will be used in this one is...
    OEM U-Connect 8.4 headunit
    JL Fix82 integration processor
    Mini c-dsp
    Mini 2x4 with rearfill plug-in (cuz I already own one and the c-dsp doesn't have enough delay to pull off processed rears)
    JL XD 800/8
    Soundstream tn1.1200d
    SB 6.5" coated paper midwoofers (the one in the Arc Black set and higher end NVX set)
    Seas neo aluminum tweeter (practically drops right in factory sail locations)
    ID15v3d2

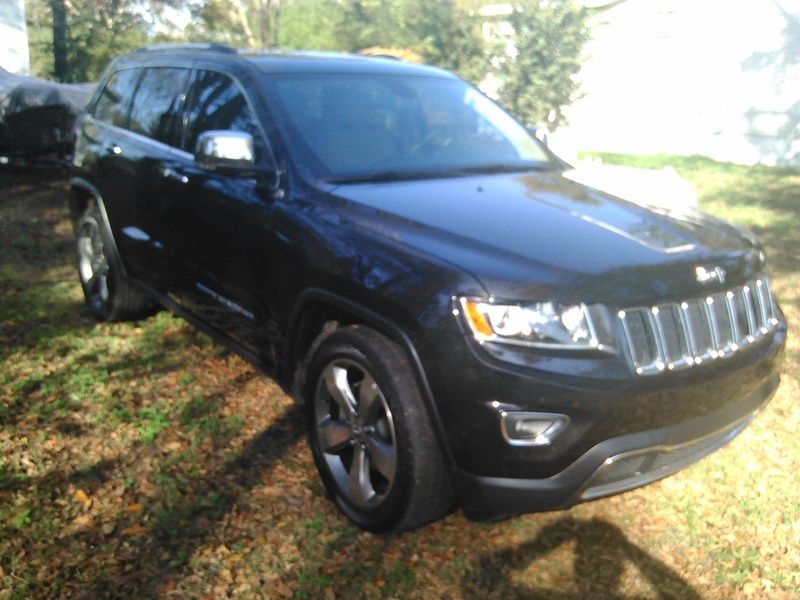
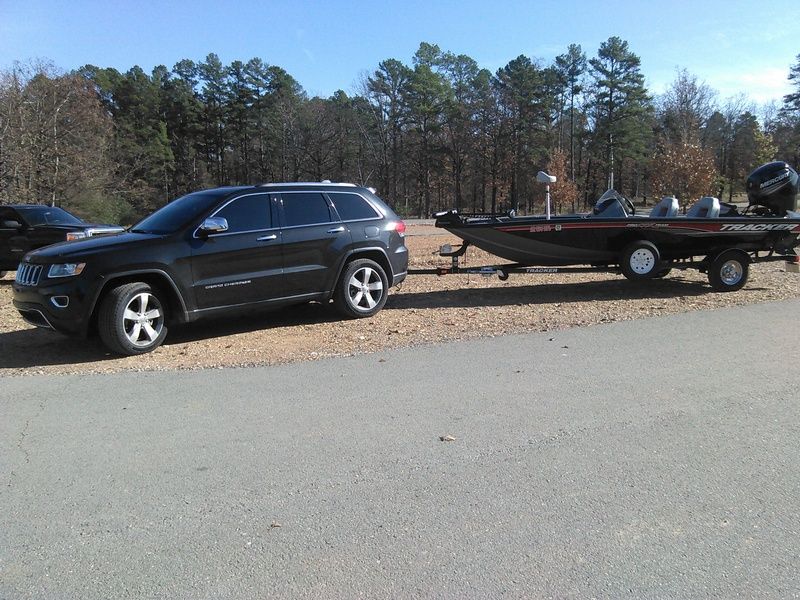
    Here's the vehicle.
    They might say "don't try this at home" but nothing about not trying it at your friend's house.

  2. Back To Top    #2
    BURNED OUT Hillbilly SQ's Avatar
    Real Name
    Chris
    Location
    Little Rock
    Vehicle
    2016 Ram
    Posts
    1,405
    Join Date
    Nov 2013

    Re: The long awaited 2014 Grand Cherokee build log!

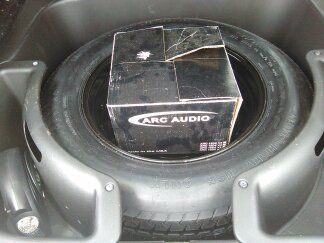
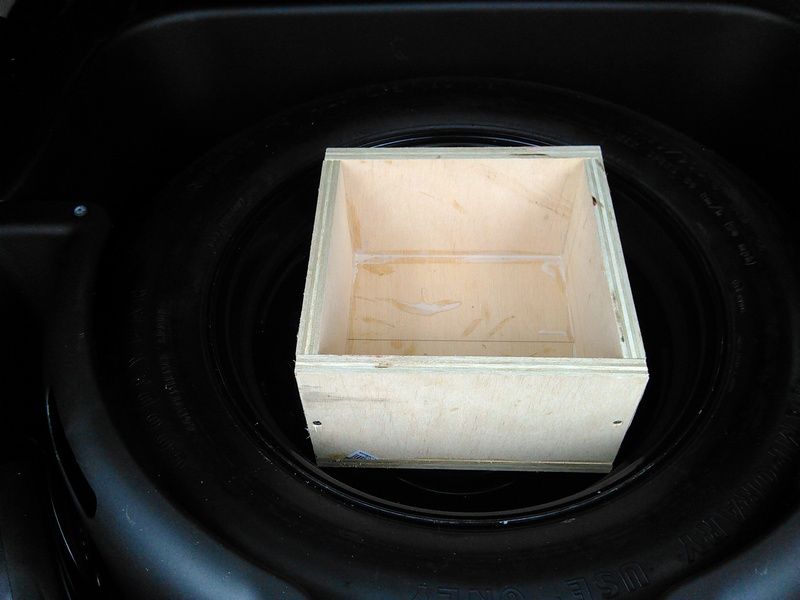
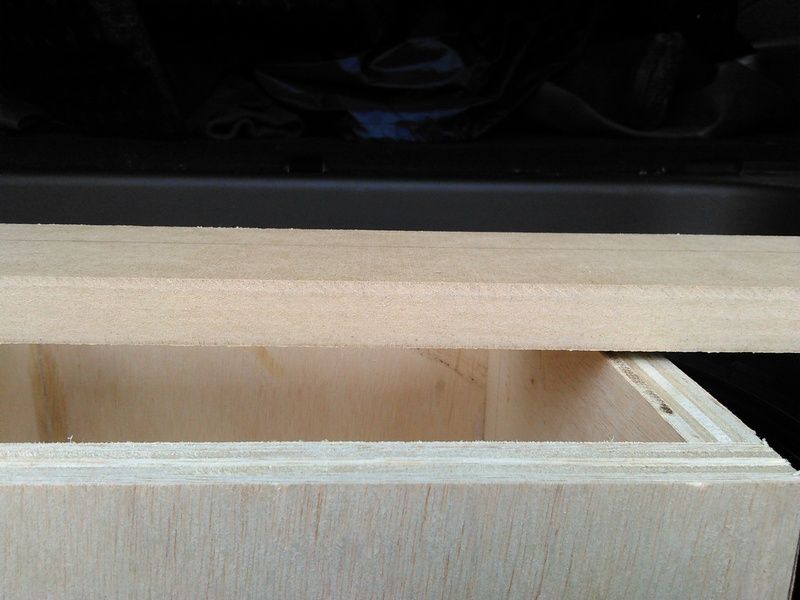
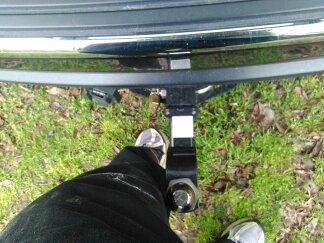
    First I started with building the box. I used the inside of the spare tire on an 18" rim to cut down on mounting depth. This is how I'll be able to fit an ID15 with over 7" of mounting depth into a box that isn't even half that tall. I used birch ply for the big pieces and mdf for the short sides since I already had the mdf laying around. I started putting square boxes into the tire until I found one that fit about as close as I was comfortable with while still having enough wiggle room to go an inch either way if needed on final install. The box I got my measurements off of is 11"x11". In all the box is around 1.7 and just about right for the ID15. Yes I learned to work around the hitch sticking out the back. When it goes in it doesn't get removed until time to trade for another vehicle.


    They might say "don't try this at home" but nothing about not trying it at your friend's house.

  3. Back To Top    #3
    BURNED OUT Hillbilly SQ's Avatar
    Real Name
    Chris
    Location
    Little Rock
    Vehicle
    2016 Ram
    Posts
    1,405
    Join Date
    Nov 2013

    Re: The long awaited 2014 Grand Cherokee build log!

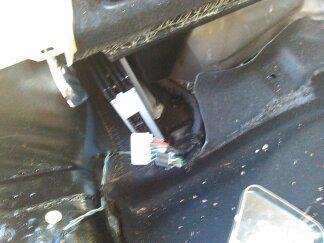
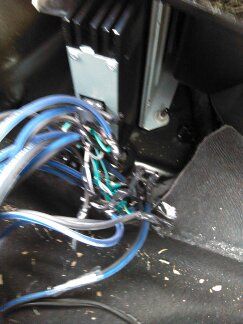
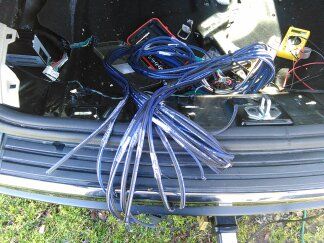
    Next I tapped into the factory amp. The original plan was to have 6 out going to the fix and then use the other side of the cut wire to go to the d-pillars, front doors, and tweets since everything seems to be actively crossed. I couldn't get a signal to the tweets when testing and think it was just a plug in the door not plugged in, but the doors needed a wire upgrade to future-proof them and you can't send as much juice through a bundled wire as you can one that free-balling by itself. I REALLY REALLY wish I would have used 18g to tap into the factory amp. 16g got cramped and cluttered in a hurry. The d-pillars are using factory wire but that's it. Everything is soldered and taped up securely. I also soldered a wire to the back of a switched plug for turn-on wire. It turns on and off with the vehicle acc.


    They might say "don't try this at home" but nothing about not trying it at your friend's house.

  4. Back To Top    #4
    BURNED OUT Hillbilly SQ's Avatar
    Real Name
    Chris
    Location
    Little Rock
    Vehicle
    2016 Ram
    Posts
    1,405
    Join Date
    Nov 2013

    Re: The long awaited 2014 Grand Cherokee build log!

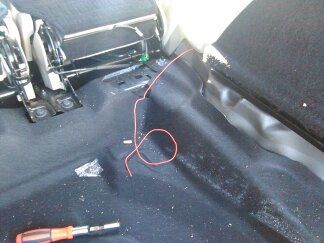
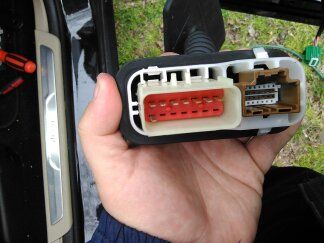
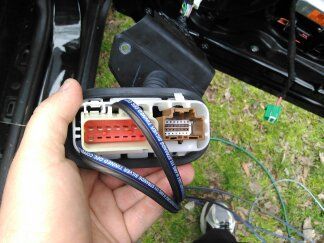
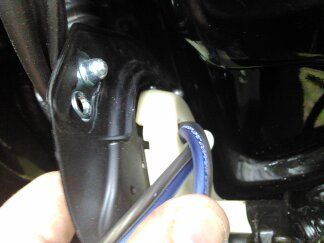
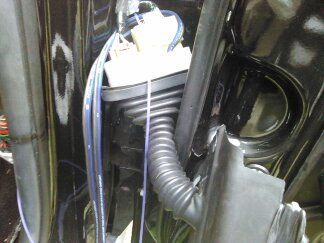
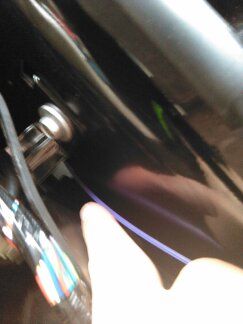
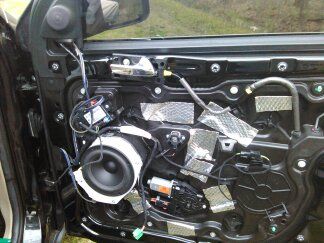
    Running wires into the doors was a pain but not quite as bad as I thought it would be. Obviously the second door didn't take nearly as long as the first. I used weedeater line and junk cca 18g I already had to pull the bulky 16g through. The NVX envy wire has a legit 16g conductor and a pretty thick jacket. It's pretty tough and very flexible so I'll give them a pass for being bulky. One of the pics shows that you MUST make sure the door boot is on the correct side of the seal otherwise you'll have to pull it out and fish it through again with the boot on the correct side. Yes I made the same mistake on the other door but everything was still in a train to go through everything so it didn't set me back much that time. Things were so tight in the boot I had to solder the junk wire to the two runs of 16g to pull it through. I found a hole in the kick panels that didn't have anything sticking in it to get the wire in the cabin. Then I just ran it under the trim and carpet to the back. Also had to drill a hole in the door side of the boot to pass wires through so the piece would seat back up to the door with the 16g added to the bundle.


    They might say "don't try this at home" but nothing about not trying it at your friend's house.

  5. Back To Top    #5
    BURNED OUT Hillbilly SQ's Avatar
    Real Name
    Chris
    Location
    Little Rock
    Vehicle
    2016 Ram
    Posts
    1,405
    Join Date
    Nov 2013

    Re: The long awaited 2014 Grand Cherokee build log!

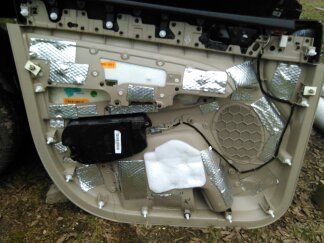
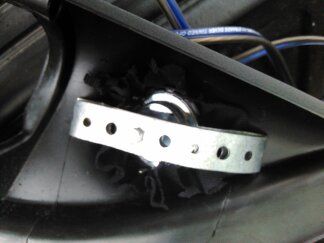
    With the doors I just deadened where needed on the card, carrier panel, and outer door skin. On the outer skin it was more of where I could reach through a x9 hole than anything. For the tweets I had to grind down the lip that held the retainer clip for the factory tweeter. Since the neo aluminum tweeter is so butt ugly with that diffuser lens I wrapped the whole thing in grill cloth. Looks pretty good if I do say so myself. Then mounted them with plumbers strip and the necessary M4 screw. For the midwoofers I used 3/8" plastic cutting board for the adapters. Then used bolts smaller in diameter than the screws holding in the factory woofer so I could just drop it in to return to stock. All I had to do was drill out the back of the screw hole and use washers and nylocs to hold it in. Also used silicone for extra hold and to make sure it was tight against the opening.


    They might say "don't try this at home" but nothing about not trying it at your friend's house.

  6. Back To Top    #6
    BURNED OUT Hillbilly SQ's Avatar
    Real Name
    Chris
    Location
    Little Rock
    Vehicle
    2016 Ram
    Posts
    1,405
    Join Date
    Nov 2013

    Re: The long awaited 2014 Grand Cherokee build log!

    I never got pics of the somewhat finished box and amp rack. I had a buddy from work come over and help drop it in and pics slipped my mind. We were headed to get lunch afterwards and well you know what happens when I have food on the brain especially Cheddars. I did a calibration on the FIX and it's making noise now. Something is wonky with the drivers side midwoofer. Passenger side hammers and the drivers side sounds like there's some cancellation going on. If I get in the passenger seat and the problem reverses I'll know I need to do something about sealing the panel against the speaker. There's some other strange issues going on that I'll sort out when the respectable neighbors are awake/at work and questionable neighbors aren't around/wondering what I'm doing that they might be able to mess with. Yes I'm paranoid.
    Last edited by Hillbilly SQ; 03-24-2017 at 06:10 AM.
    They might say "don't try this at home" but nothing about not trying it at your friend's house.

  7. Back To Top    #7
    BURNED OUT Hillbilly SQ's Avatar
    Real Name
    Chris
    Location
    Little Rock
    Vehicle
    2016 Ram
    Posts
    1,405
    Join Date
    Nov 2013

    Re: The long awaited 2014 Grand Cherokee build log!

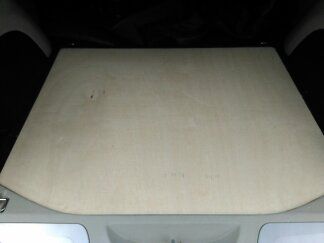
    One other thing I need to talk about here is the spare tire is something I refuse to drive without. I don't consider a can of fix a flat, an air compressor, and a cell phone a suitable road hazard plan. I do occasionally drive through BFE where the roads are sharp slate gravel and phone reads zero bars. I don't want to have to depend on the local yokels for help. I know what some of those boys do in those woods and I want nothing to do with them. And I've seen what those sharp rocks will do to a tire. Those of you who choose to drive without one are dancing with the devil in my opinion. If your car didn't come with one, I hope you don't get out of cell phone reception EVER. My box was built so I could easily access the spare and even use the two triangular storage bins effectively without much extra trouble compared to stock. Because of fitment issues I will have to relocate the tire jack to under the back seat. No biggie.
    They might say "don't try this at home" but nothing about not trying it at your friend's house.

  8. Back To Top    #8
    Senior Member dejo's Avatar
    Real Name
    Jon/Jonnie
    Location
    Tyler, Tx
    Vehicle
    2007 Cobalt
    Posts
    407
    Join Date
    Dec 2013

    Re: The long awaited 2014 Grand Cherokee build log!

    nice. anxious to hear it

  9. Back To Top    #9
    Noob naiku's Avatar
    Location
    VA
    Vehicle
    Swedish Wagon
    Posts
    468
    Join Date
    Dec 2015

    Re: The long awaited 2014 Grand Cherokee build log!

    Quote Originally Posted by Hillbilly SQ View Post
    One other thing I need to talk about here is the spare tire is something I refuse to drive without.
    100% agree with you here, I refuse to take mine out and when making the new floor and enclosure wanted to be sure I could still access the tire if needed.
    Another white wagon.
    Instagram - eye_take_pix


  10. Back To Top    #10
    BURNED OUT Hillbilly SQ's Avatar
    Real Name
    Chris
    Location
    Little Rock
    Vehicle
    2016 Ram
    Posts
    1,405
    Join Date
    Nov 2013

    Re: The long awaited 2014 Grand Cherokee build log!

    I won't even pull a trailer without a spare. Anyway, I had a problem come up that I can't track down. Anyway...

    Got FIX to calibrate last night I think and passenger side door had no midbass. Flipped rca cable and problem moved. Cable is a brand new 18ish inch Stinger 4000. Tried to recalibrate the FIX this morning and one side wouldn't calibrate. Tried my other lsa4 adapter and same thing. Tried doors and sails and doors and d-pillars. Same thing. Went straight to the c-dsp and same thing. Tested factory amp directly to doors and both sides were linear. Tested d-pillar channels off factory amp and both were linear. Left and right tweeter channels WEREN'T linear, but I went into the line level outputs of the c-dsp knowing this and just used the doors woofer and d-pillar outputs. SAME PROBLEM. I'm at a loss now. It's like this vehicle didn't want an aftermarket system. I even switched to different outputs on the dsp. All settings on the amp are where they need to be.

    Like I said, I'll revisit this later and see if I can make this work but for now I just want to get tunes back. If anyone has any ideas I'm all ears. I'm at the end of my troubleshooting rope and I can normally isolate what's wrong. This is beyond my knowledge and think it just has to do with the factory amp not liking being tapped into.
    They might say "don't try this at home" but nothing about not trying it at your friend's house.

Posting Permissions

  • You may not post new threads
  • You may not post replies
  • You may not post attachments
  • You may not edit your posts
  •  
Back To Top