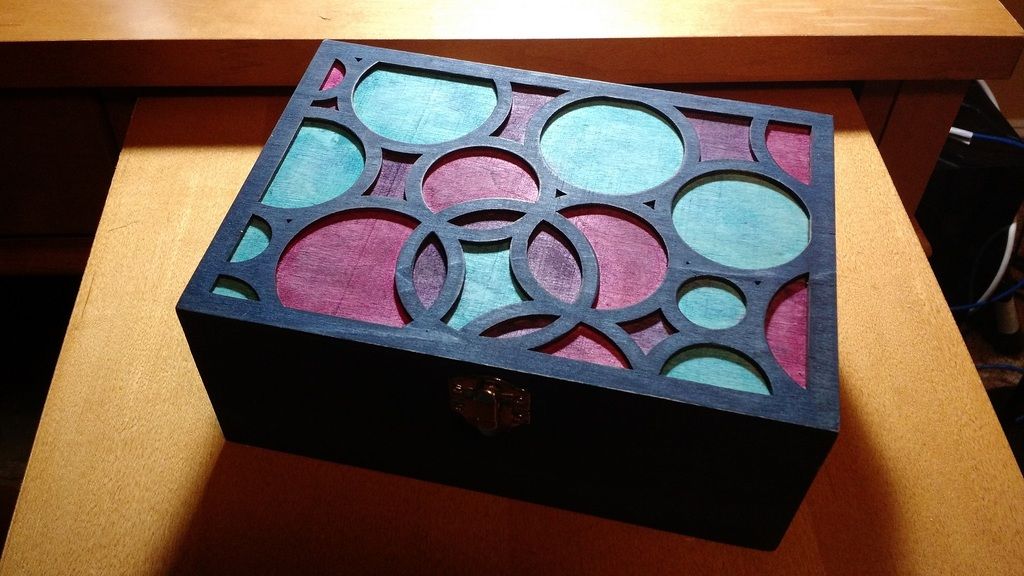
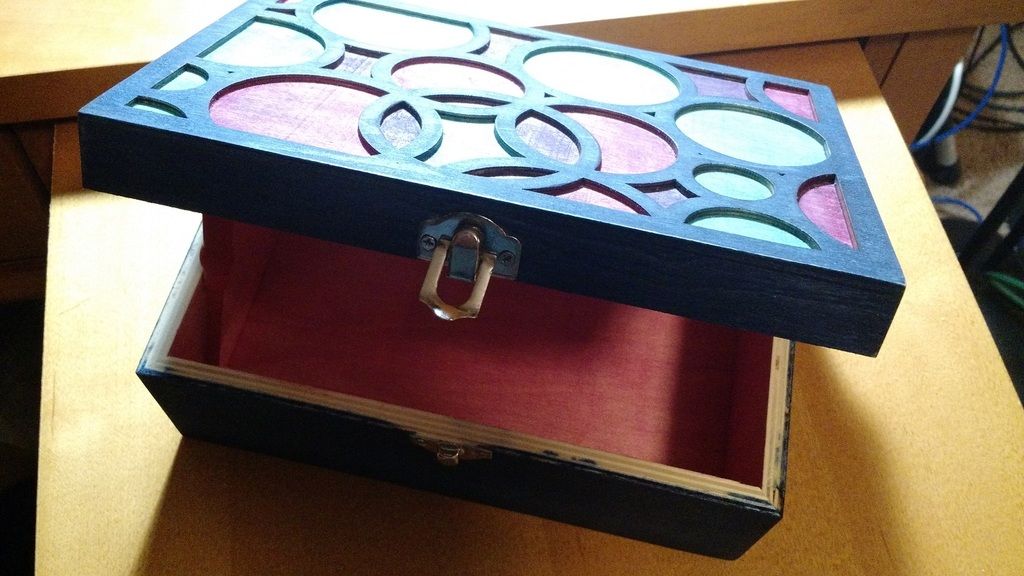
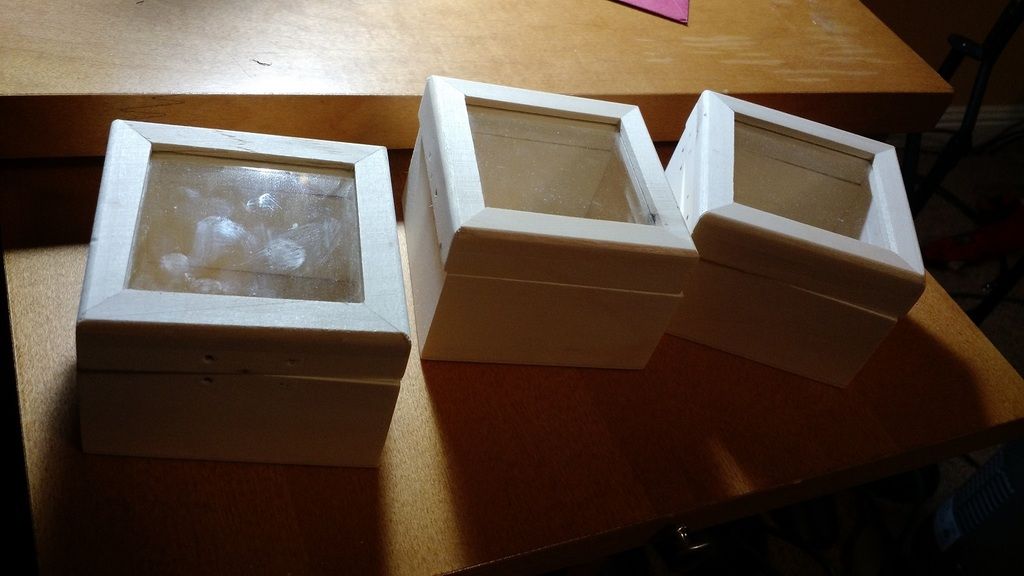
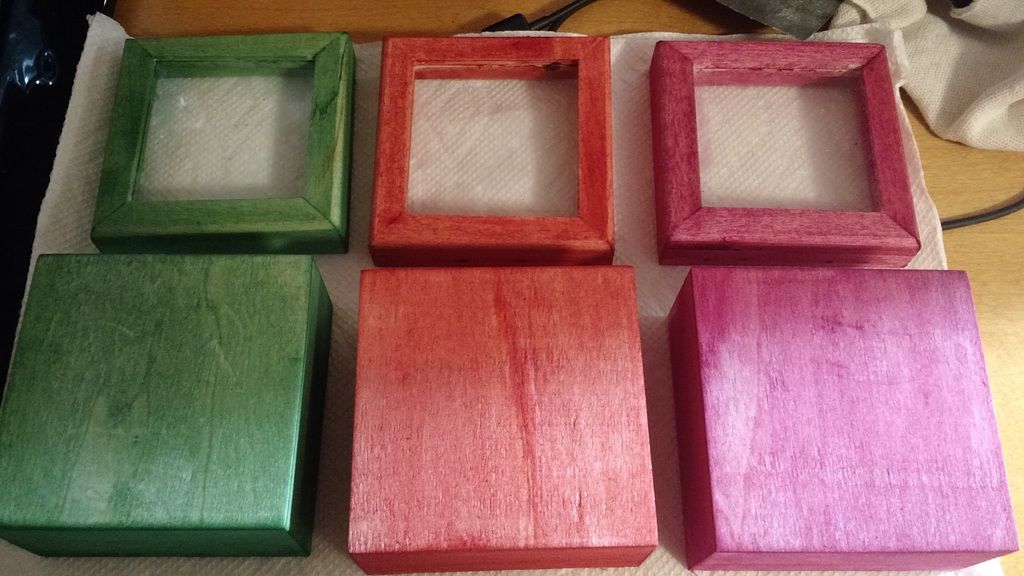
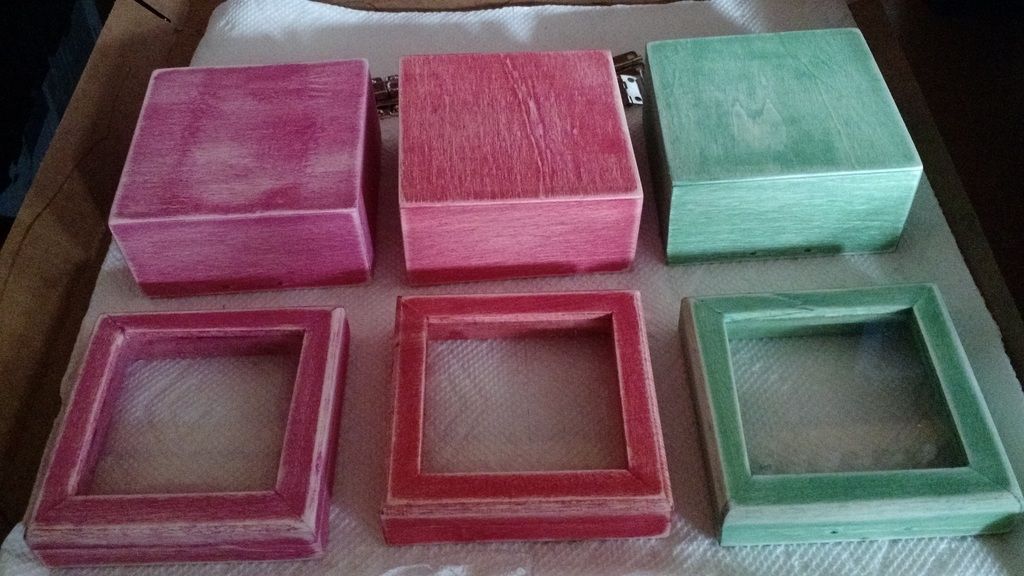
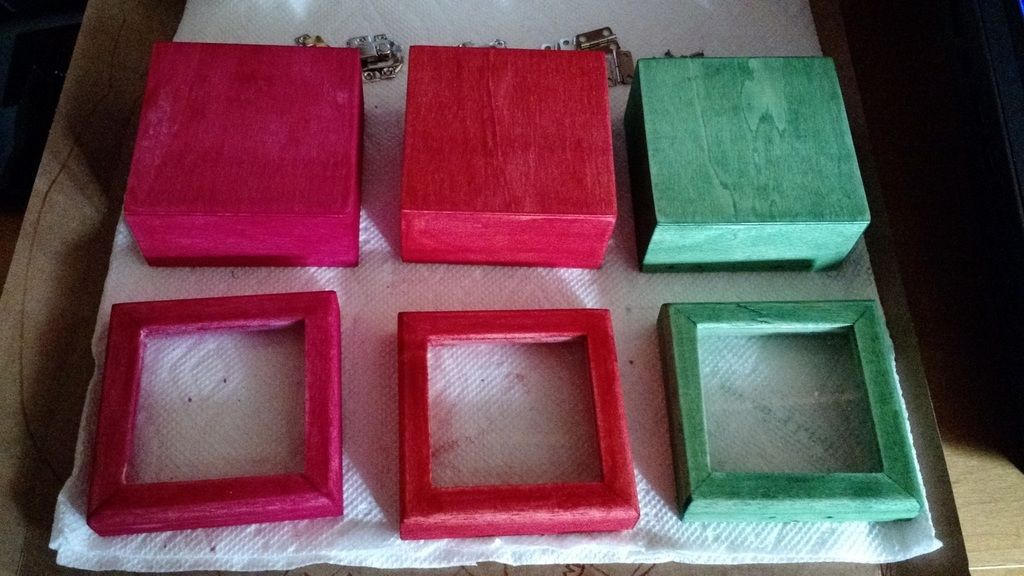
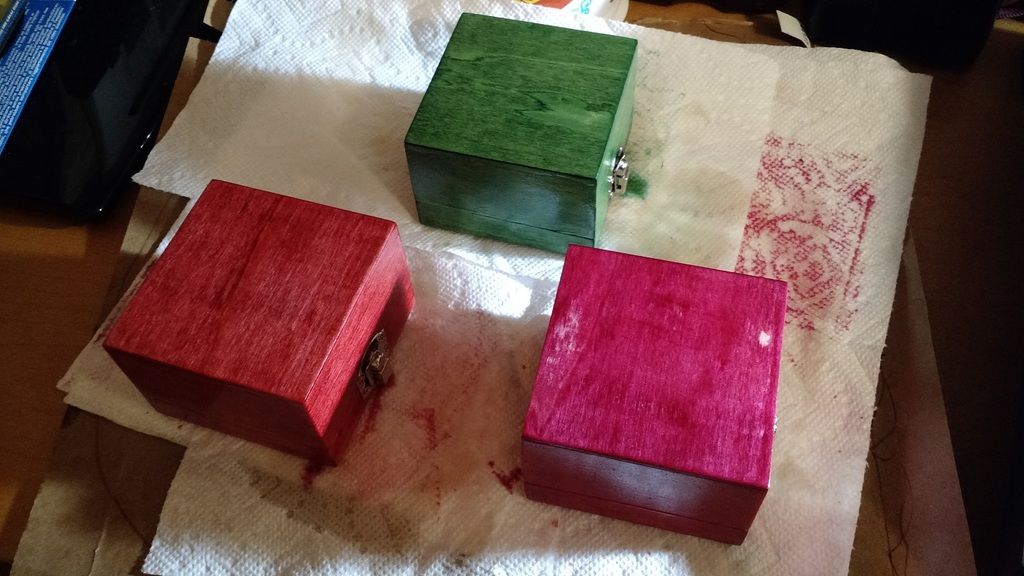
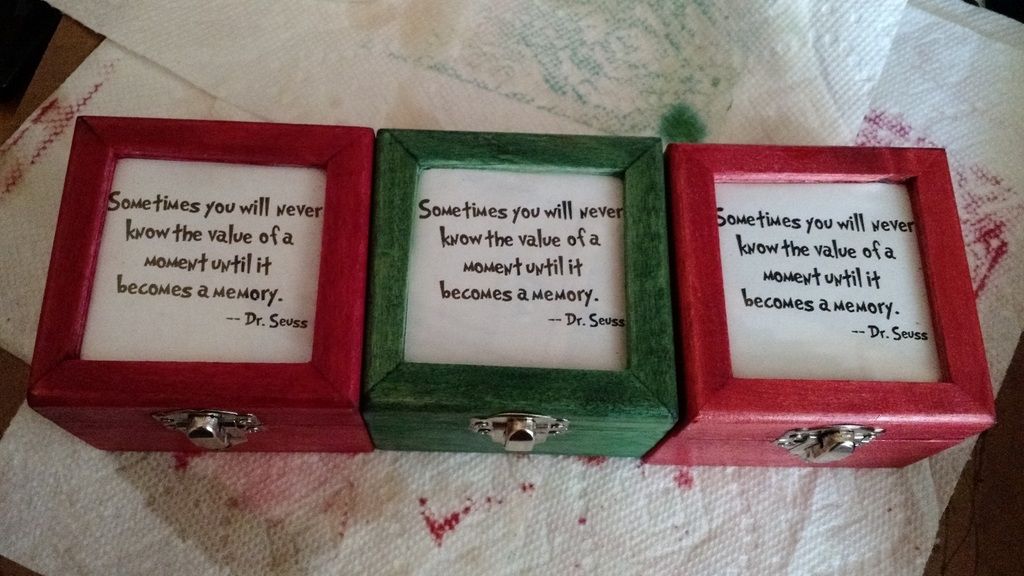
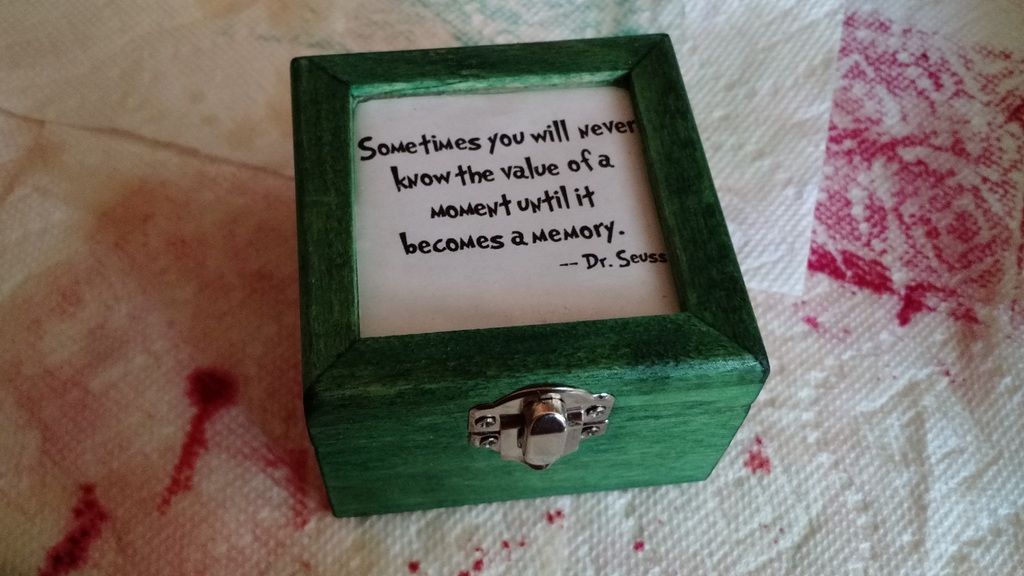
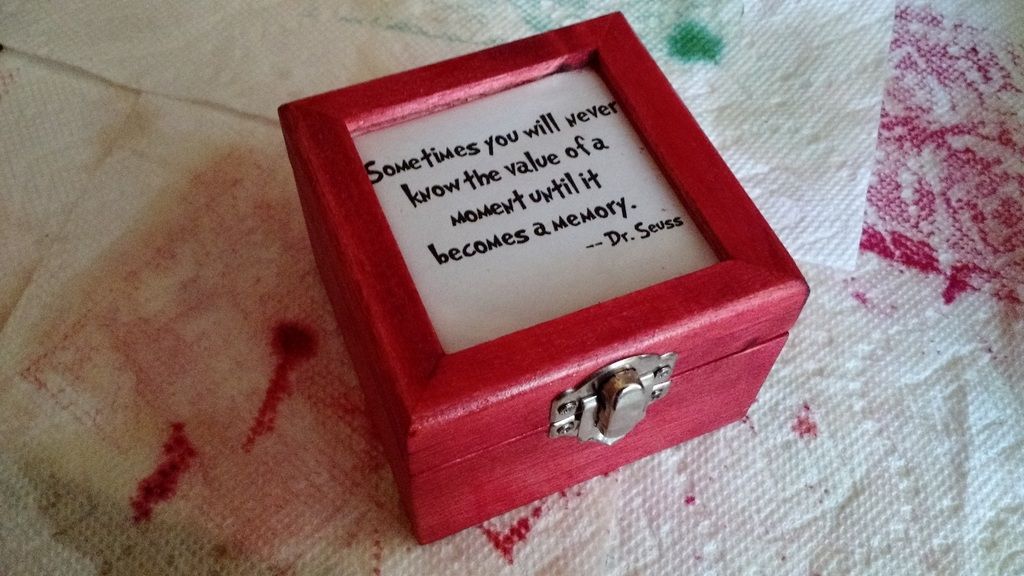
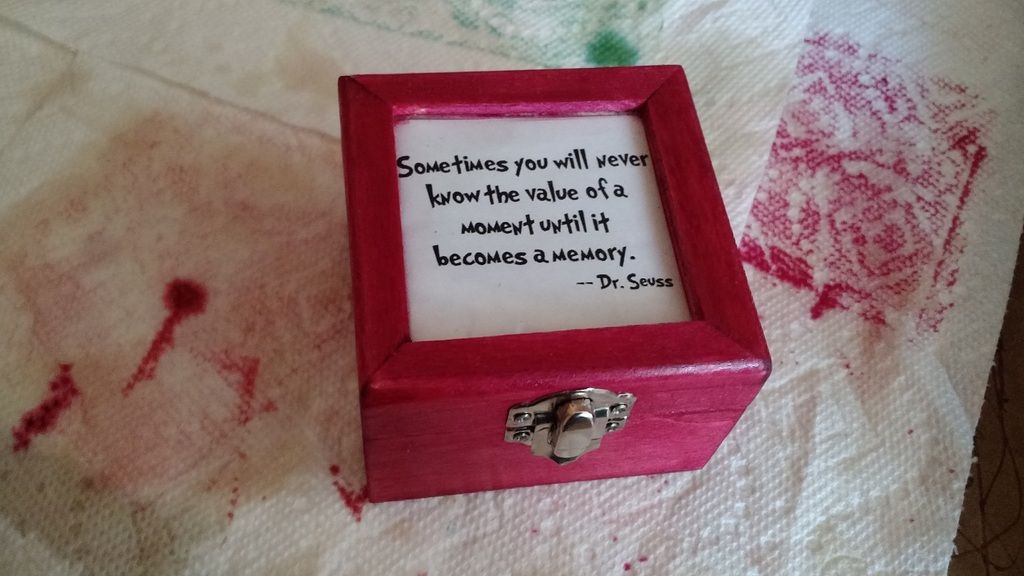
Well hello fellow junkies!!! Chit here, with another installment of, crazy fab ideas that involved way too much time thinking about, and way too little time actually doing. Just kidding. This technique does take a bit of time invesment, but not as much as you would think. Depends of course on the final finishing you want, whether it be a high gloss, very smooth, distressed, etc.
Wood is a very beautiful product to use, but unfortunately, doesn't really fit with the majority of modern automobiles. With a bit of creativity however, you might could integrate it into a future build, or even projects around the house.
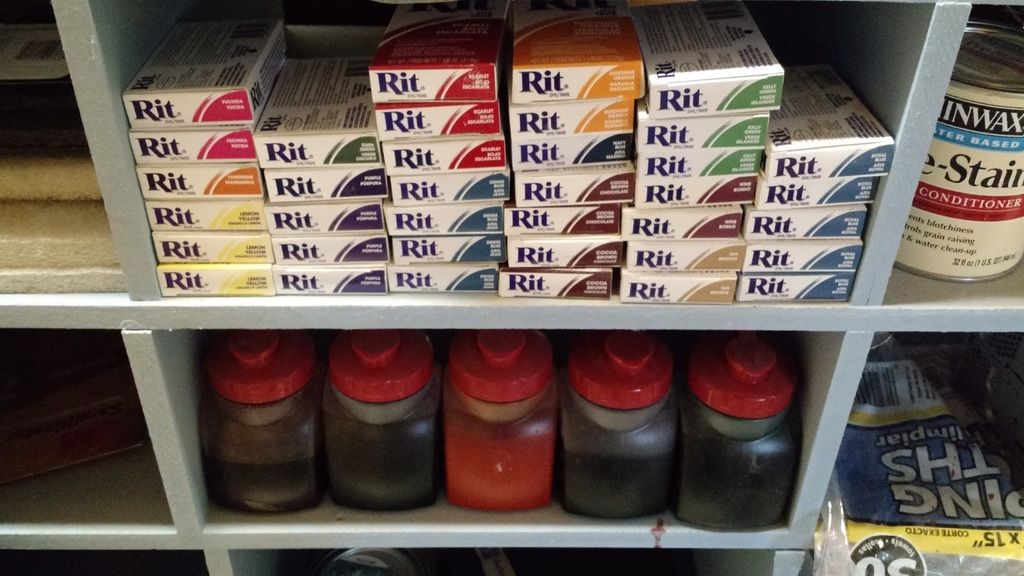
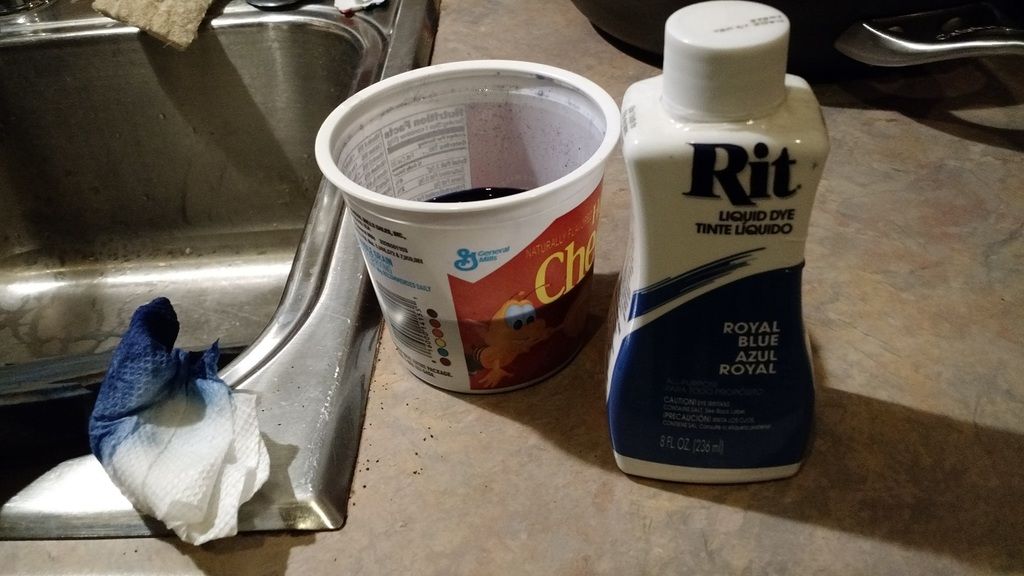
Rit Dye is available in an expanded rainbow of colors, and is quite cheap compared to a lot of powdered dyes. They also have a ready mixed liquid variant, but I find them to be a bit strong. You might like the bold color, but I typically dilute the ready mix liquids. Which is another cool thing about the dye. Color too bright, add more water. Hot water though. You can literally achieve thousands of colors with either a bit more hot water into the mix, or just applying another coat.
I try to catch them on sale, or closeouts when grocery or craft stores are clearing them out:
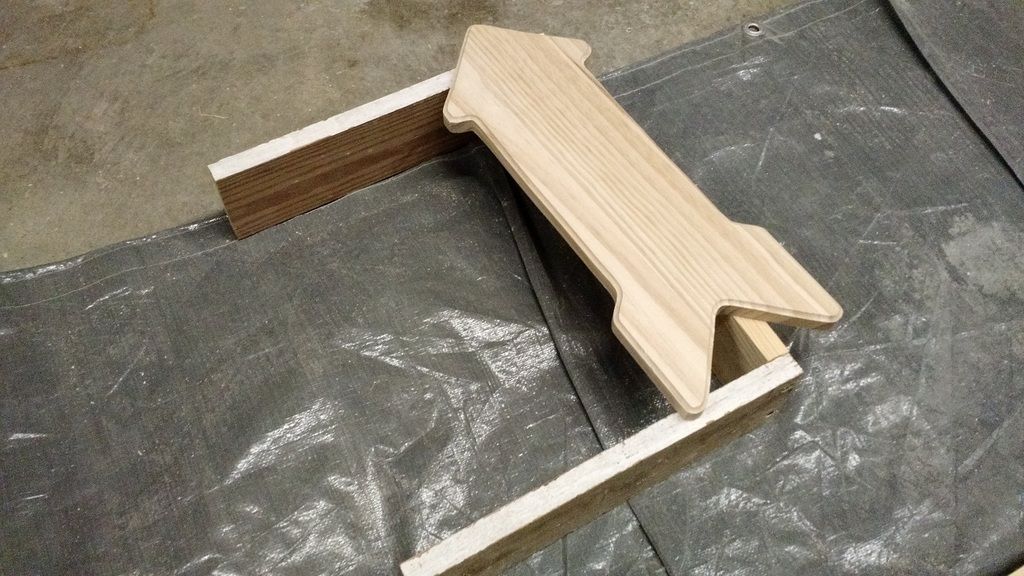
Here is a quick project I completed last night. Seriously, took an hour from start to finish to accomplish this. Found an arrow sign at a local craft store for $2, decided to do something interesting with it.
I knew this needed to be a very faded blue. Royal blue would have been much too bright, as referenced here:
By diluting it though, you can achieve that color. Using one part Royal Blue, to about 8 parts Hot water:
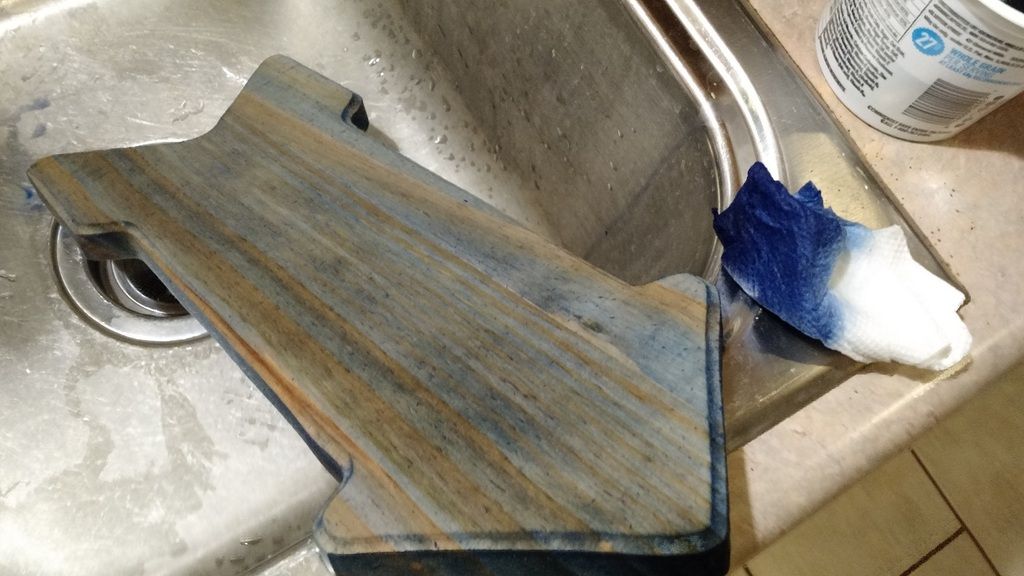
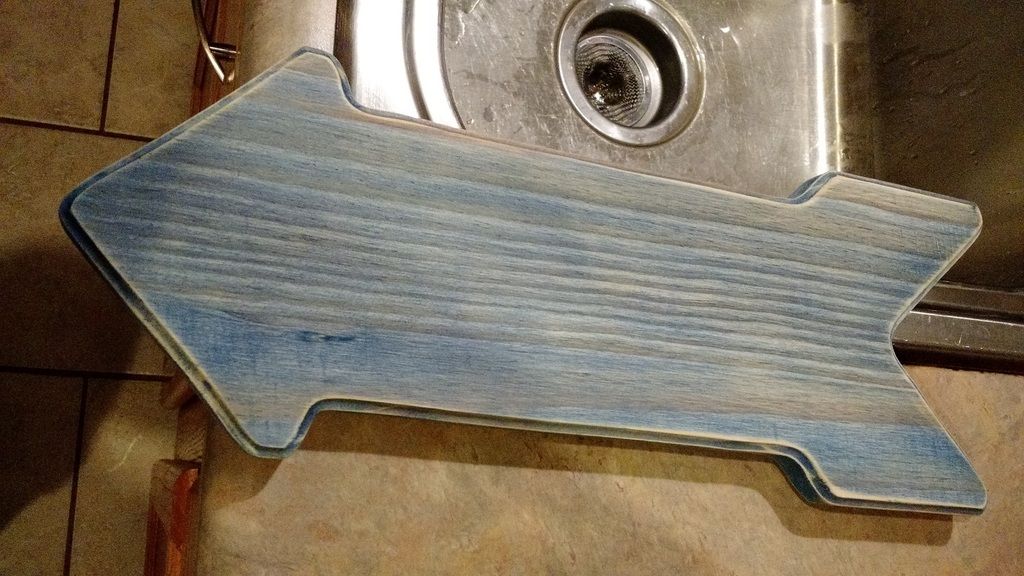
If your project is smooth enough from sanding already, you can get away with a paper towel, but, I do prefer rags or foam brushes if not. After a single coat, you can see the blue starting to soak in:
I start at one end, and try to go completely across in smooth motions without stopping, or letting too much puddle in one spot. The ends work best if you, "dab" the rag or brush, because of the grain there. After three light coats, you get this:
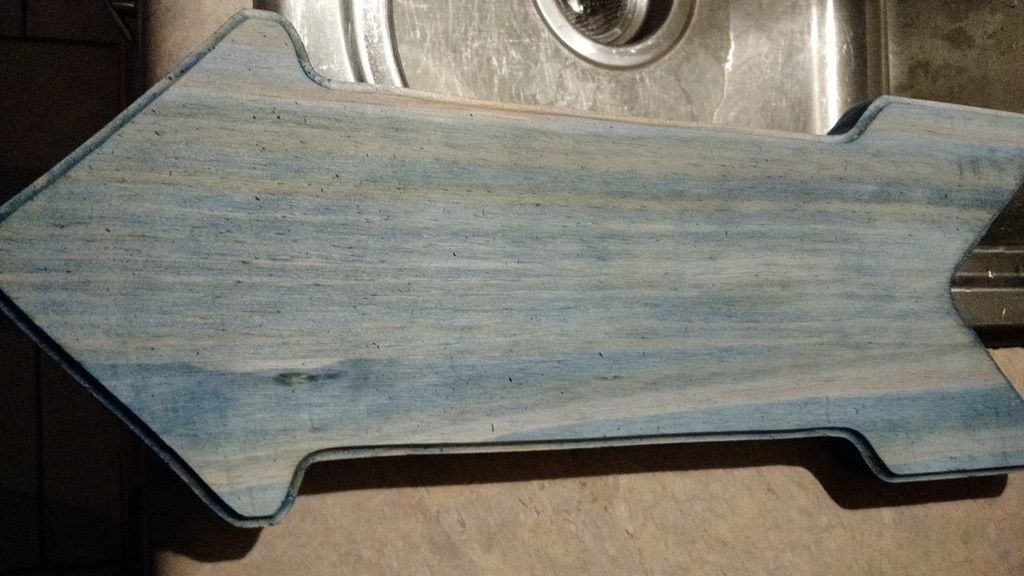
Notice the lifted grain, that is from the moisture. A quick sanding takes care of that. Using 180 grit, it should look similar to this:
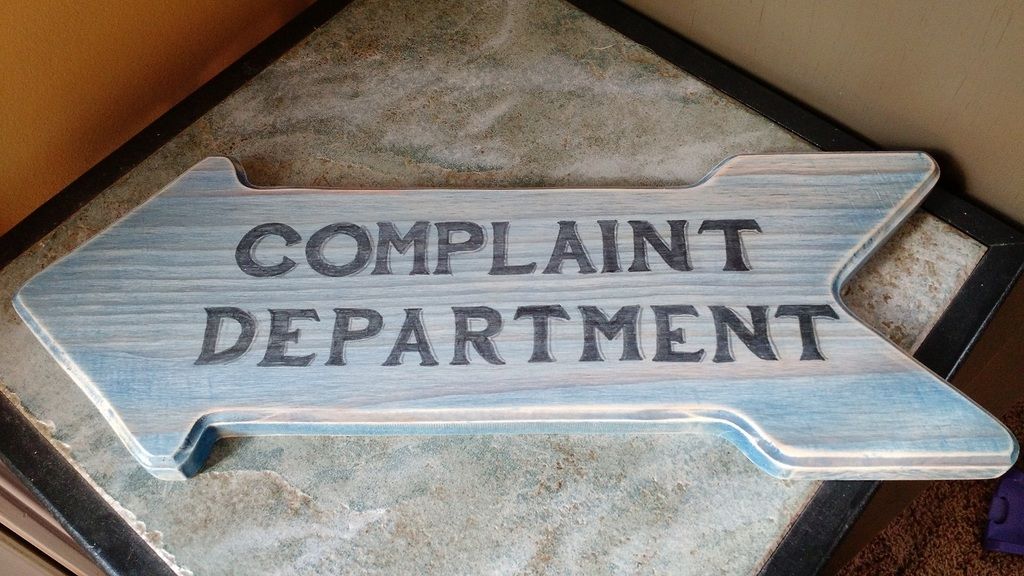
From here, you can apply more coats, and sand if needed again using a finer grain sandpaper. This was to be a distressed look however, so I left it as is. Using a black marker, I added some text:
Then outlined with a fine tip grey marker. Sanded the whole piece again with 1500 grit, and it's all done:
- Forum
-
Affiliated Stores

- Amazon
- Walmart
- Sam's Club
- Parts-Express
- Sonic Electronix
- MonoPrice
- The Home Depot
- Lowe's
- Crutchfield
- ebay
- AliExpress
- Best Buy
- Newegg
- Tiger Direct
- Acer
- Advance Auto Parts
- JC Whitney
- Zoro
- Tractor Supply Co
- Bed Bath and Beyond
- Woodcraft
- Bass Pro Shop
- Academy Sports and Outdoors
- Palmetto State Armory
- 5.11 Tactical
- 4-Wheel Parts
- Harry's Shave and Grooming
- Dollar Shave Club
- My Threads




 Reply With Quote


