Page 1 of 3 123 LastLast
Results 1 to 10 of 30

Thread: 07 Yukon XL Metal Fab Center Console Build

  1. Back To Top    #1

    07 Yukon XL Metal Fab Center Console Build

    I will start with, this is way harder than I expected...

    Vehicle:
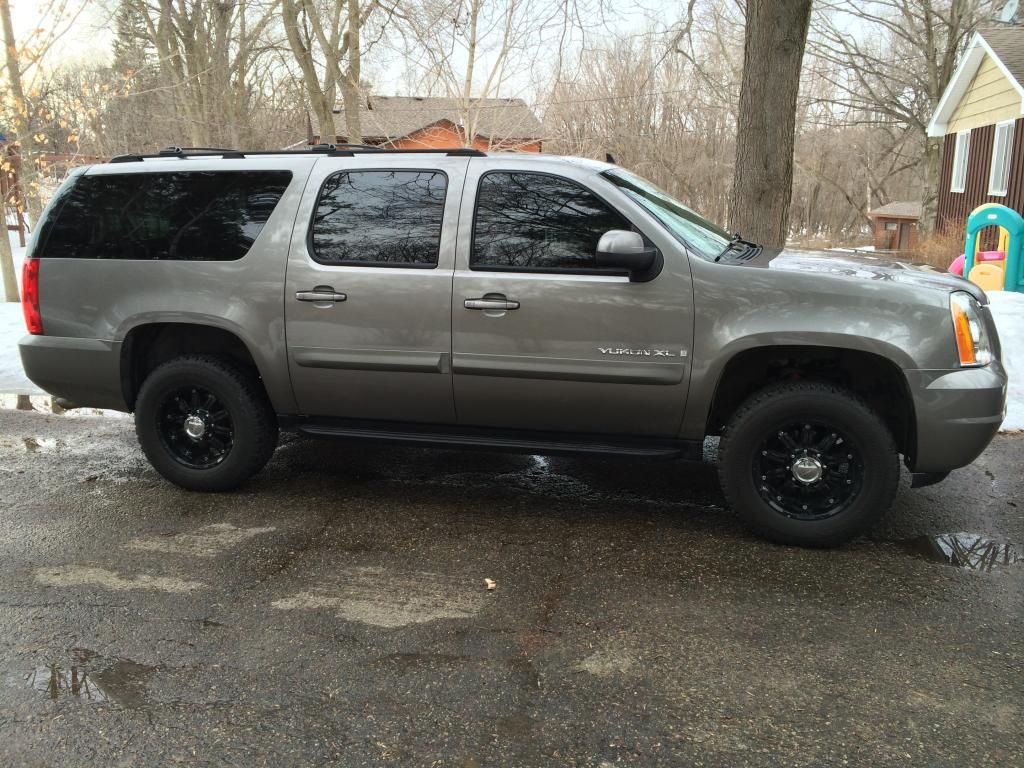
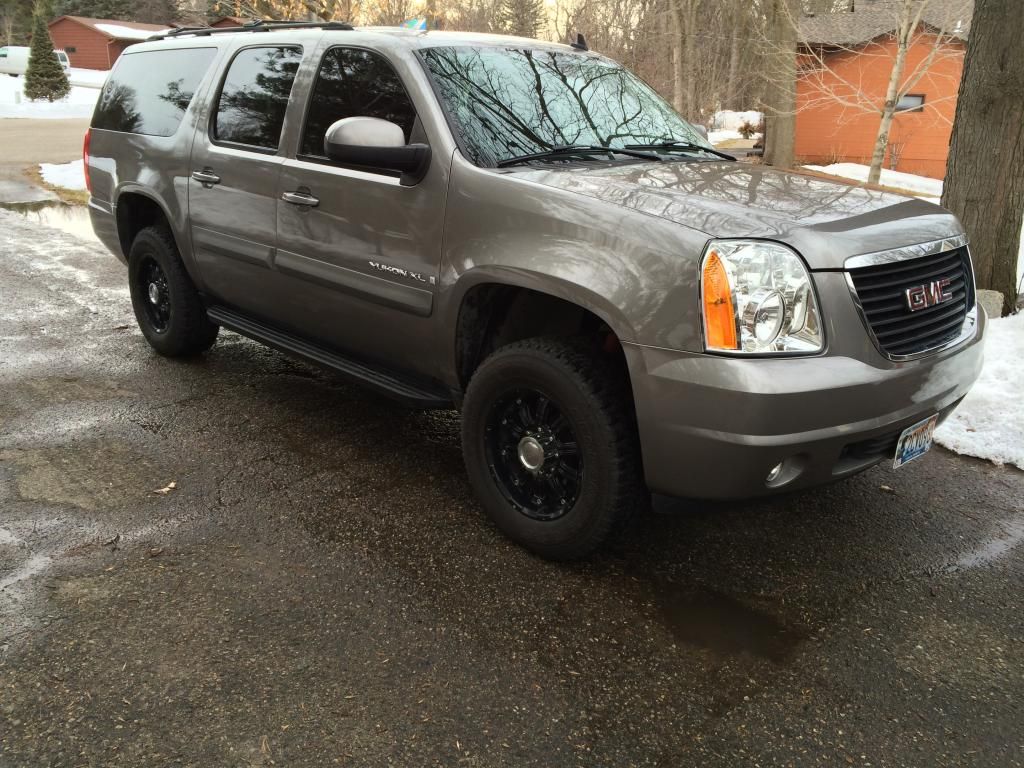
    2007 GMC Yukon XL 2500


    Bought with:
    Custom rims, tint, leveling kit, 4-Concept head rest DVD/monitors(I added these)

    Goals:
    2 things were immediately clear when I got this truck in January. It is noisier driving down the road than my 03 Denali XL was, and the stereo is much worse. My expectations started from the idea that I could quiet road noise and make the stereo sound better at the same time. I found a few car audio forums that I became immersed in, acquainting myself with products and ideas surrounding SQ in vehicles while silently lurking. Ultimately a few goals came about while learning how I wanted to approach the build:

    - Reduce road noise and kill as many rattles as I can locate(there are a lot!)
    - Achieve the best possible SQ within the limitation of factory front speaker locations, aiming and budget. Factory Bose rears for kiddie movies while traveling only
    - Full factory appearance/Stealth installation (possible exception for tweeter grills)
    - Smiling with pride driving down the road listening to excellent sound without so much road/wind noise.

    Design Concept:
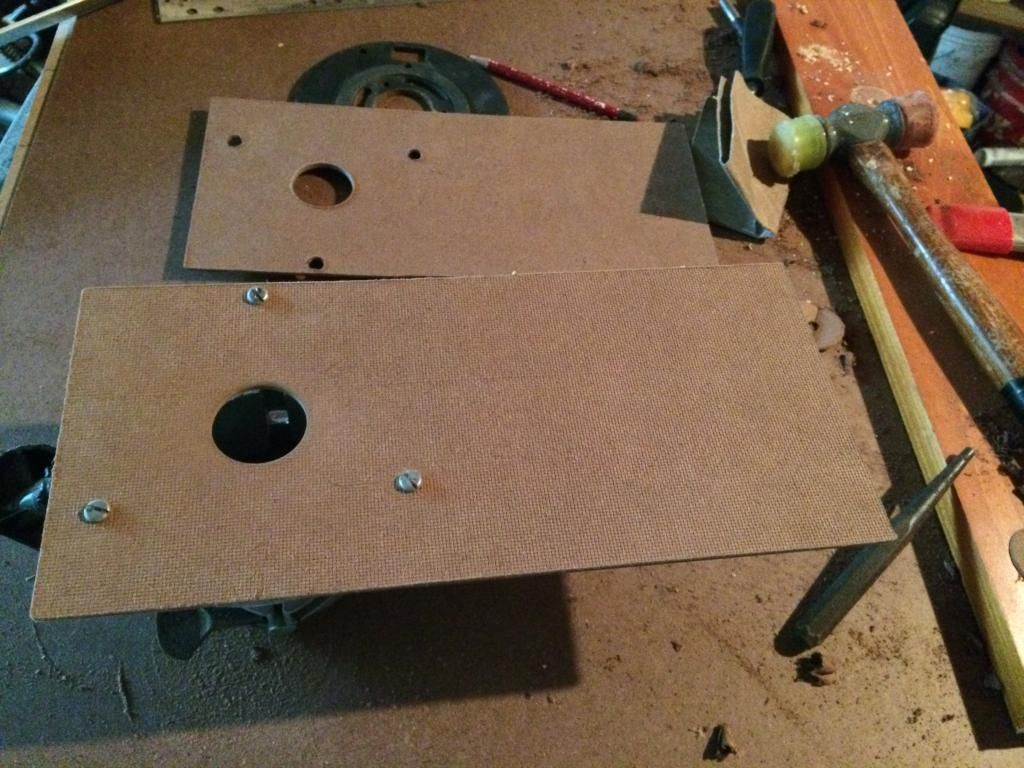
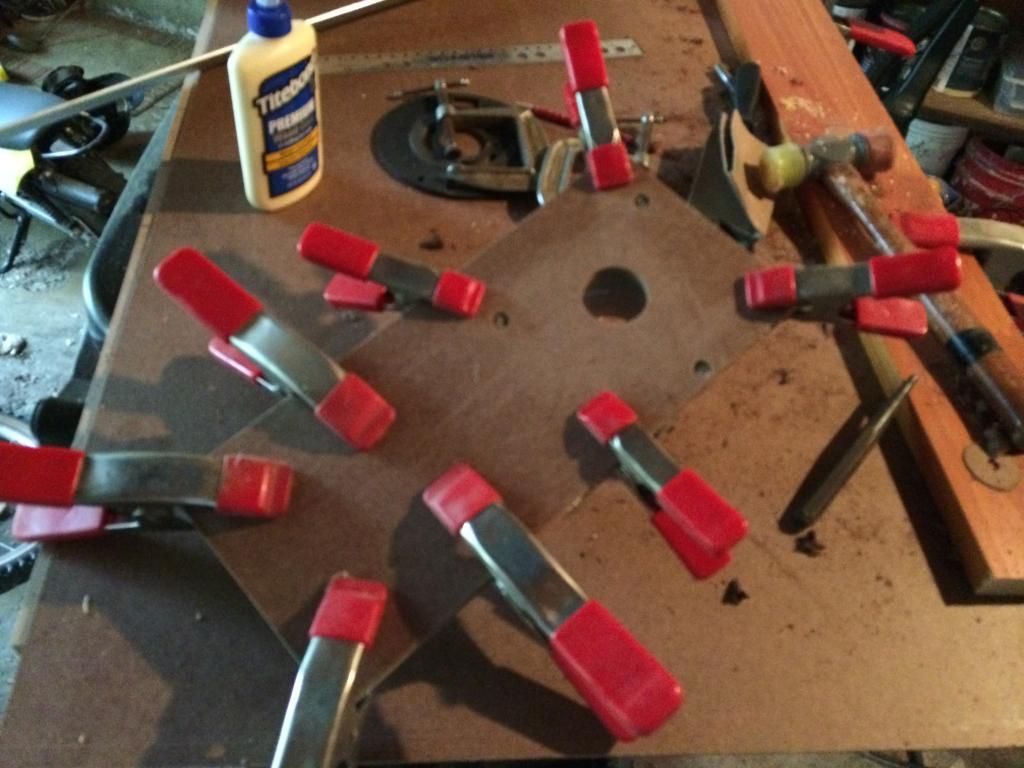
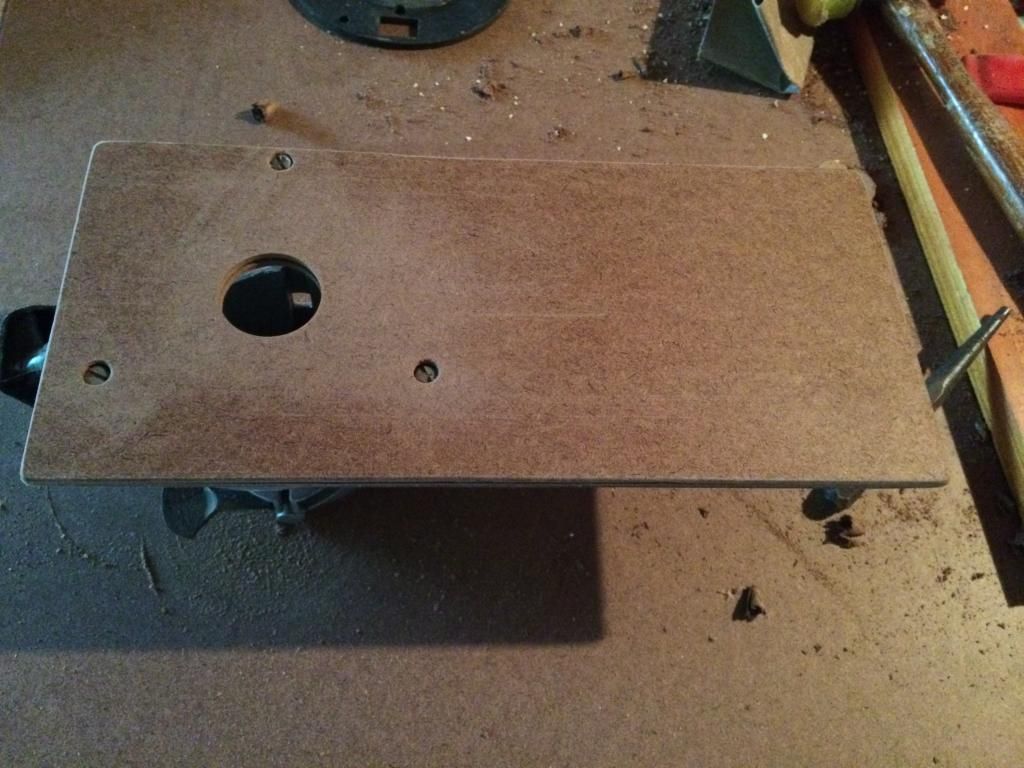
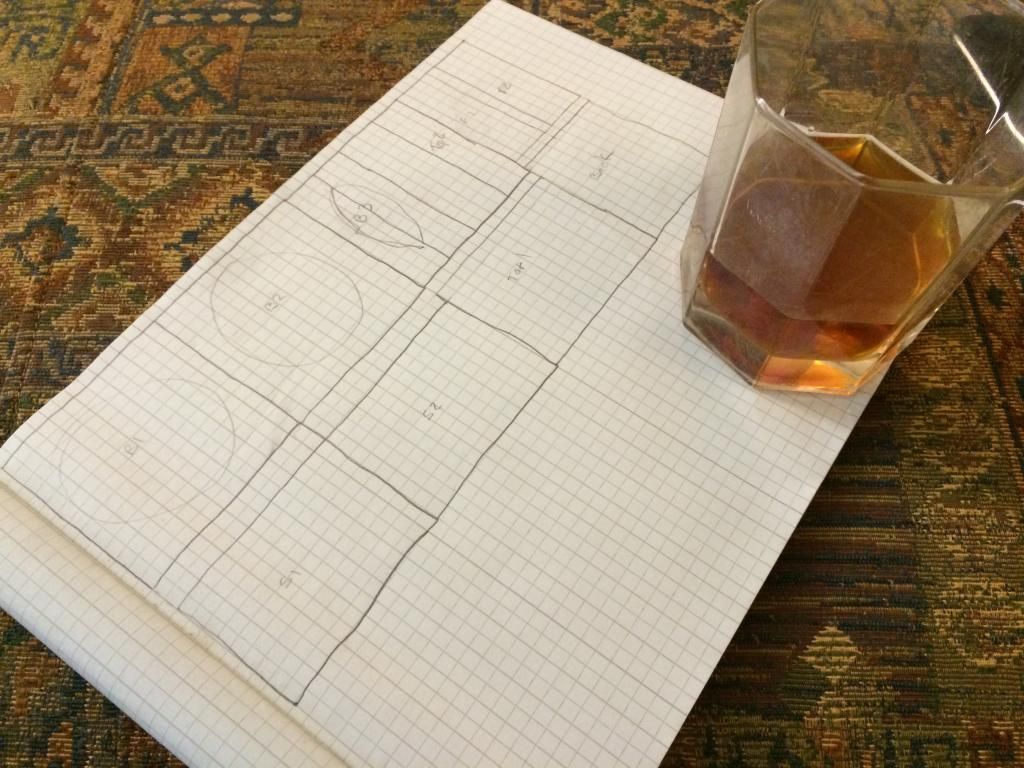
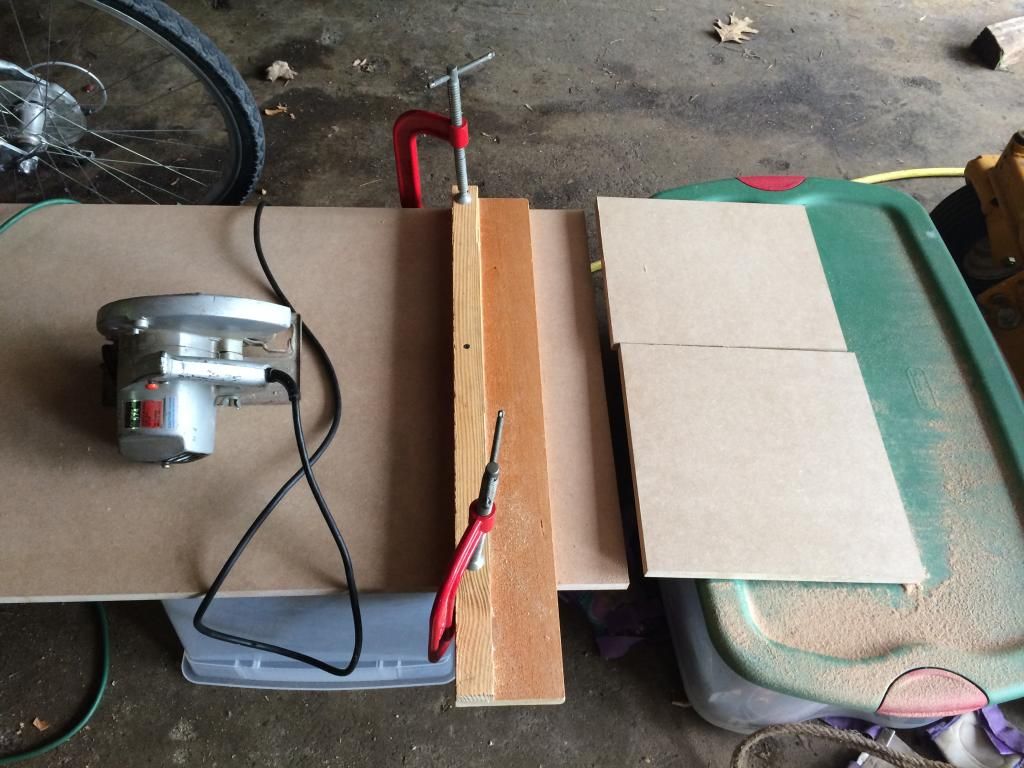
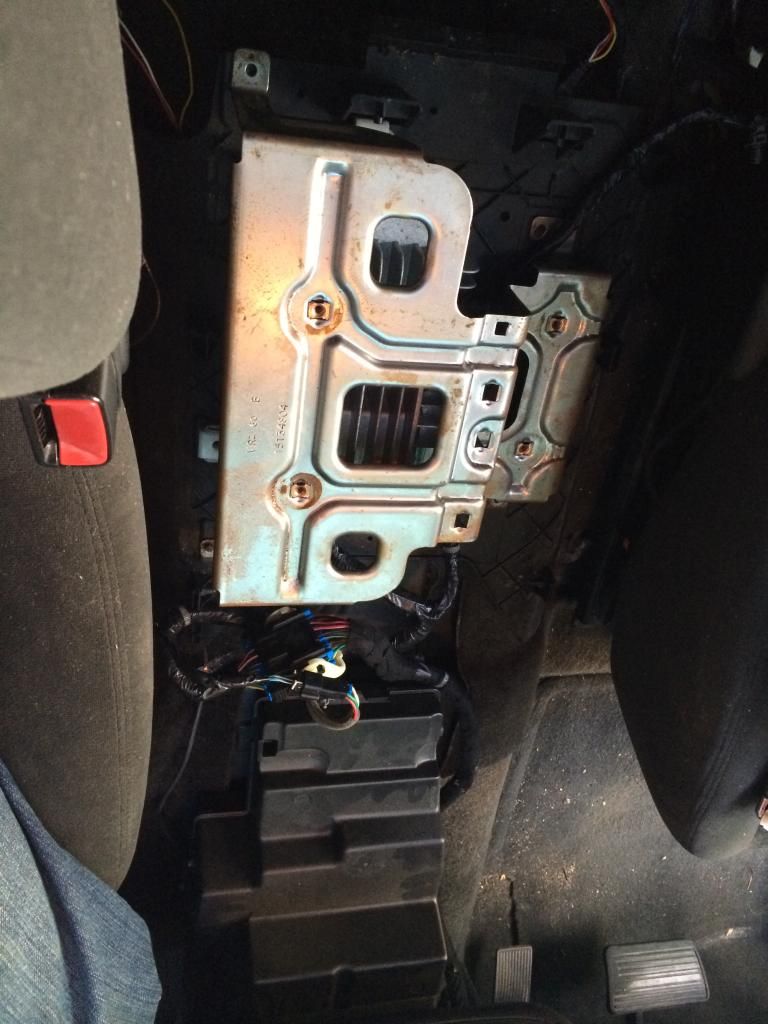
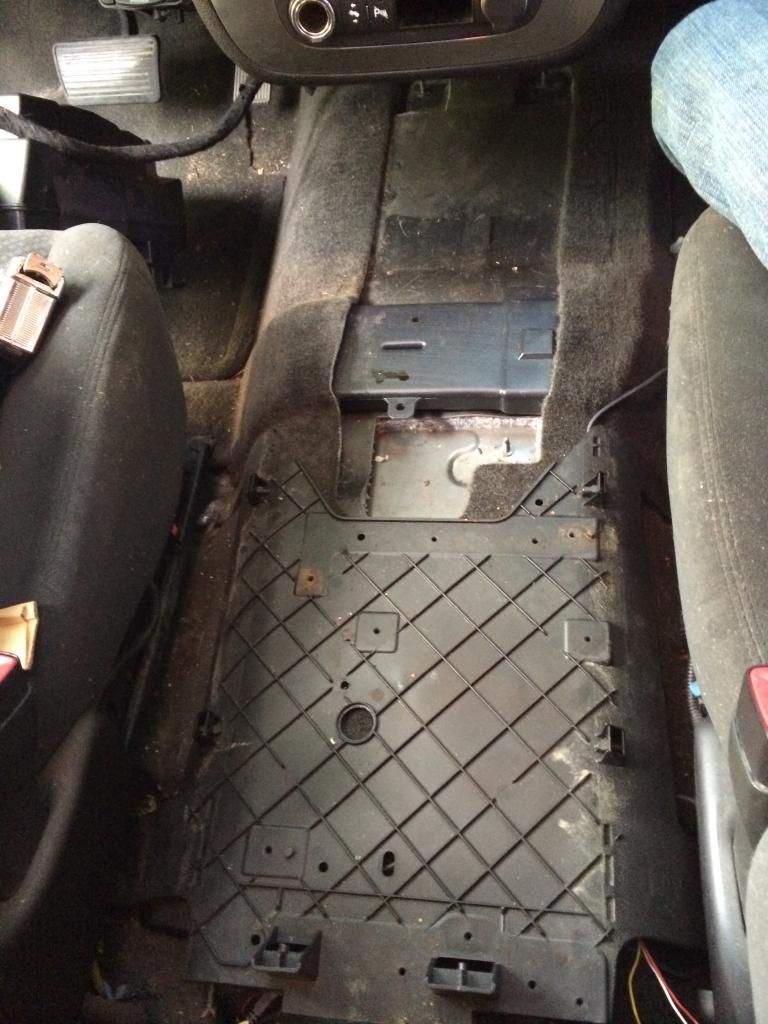
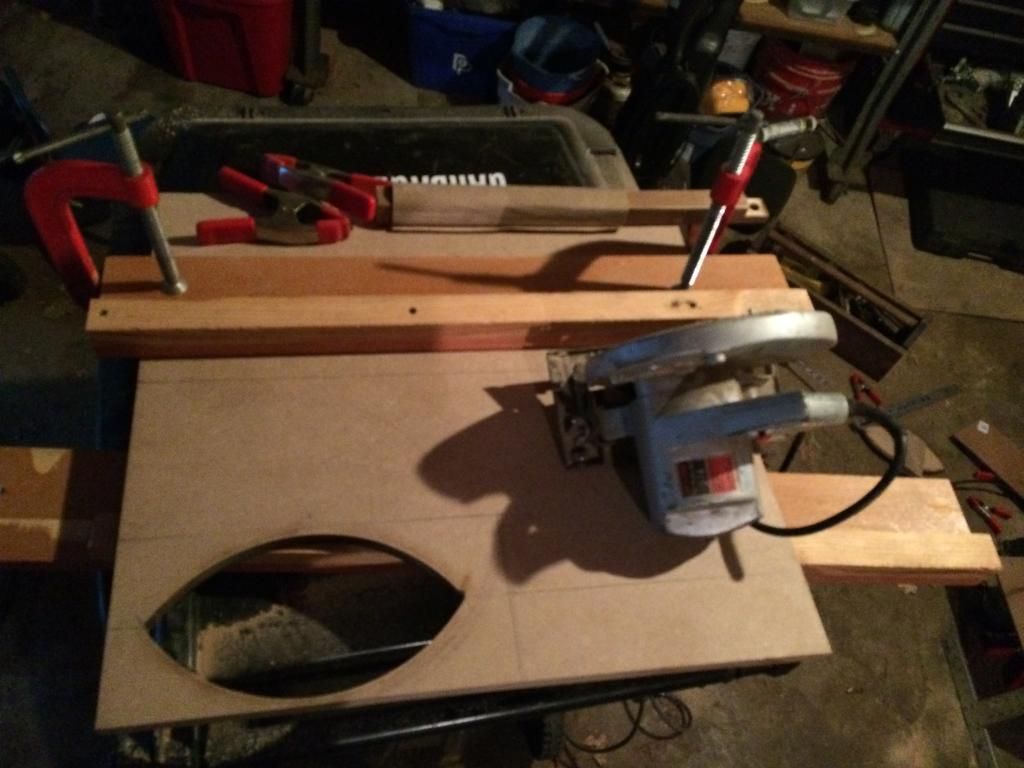
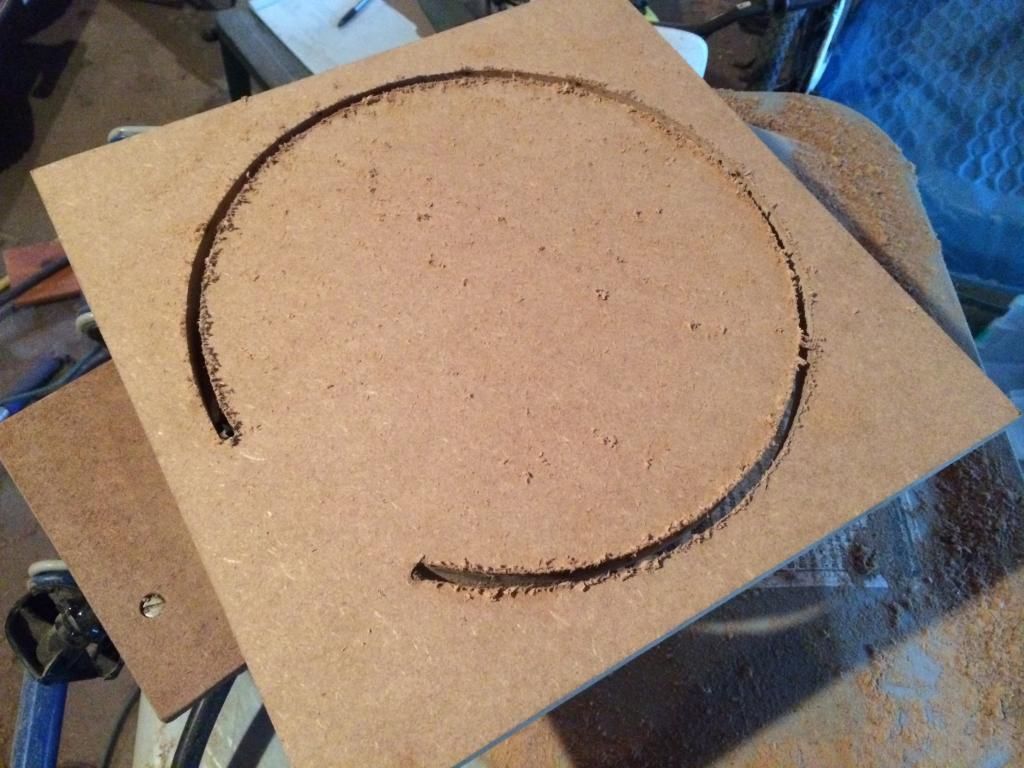
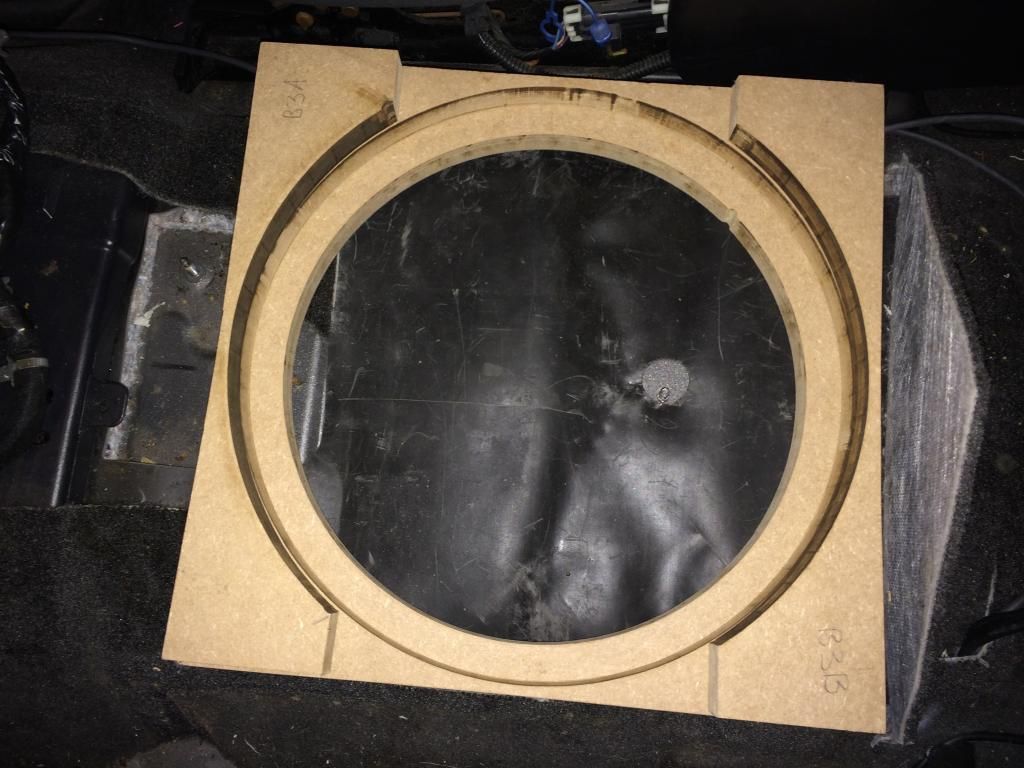
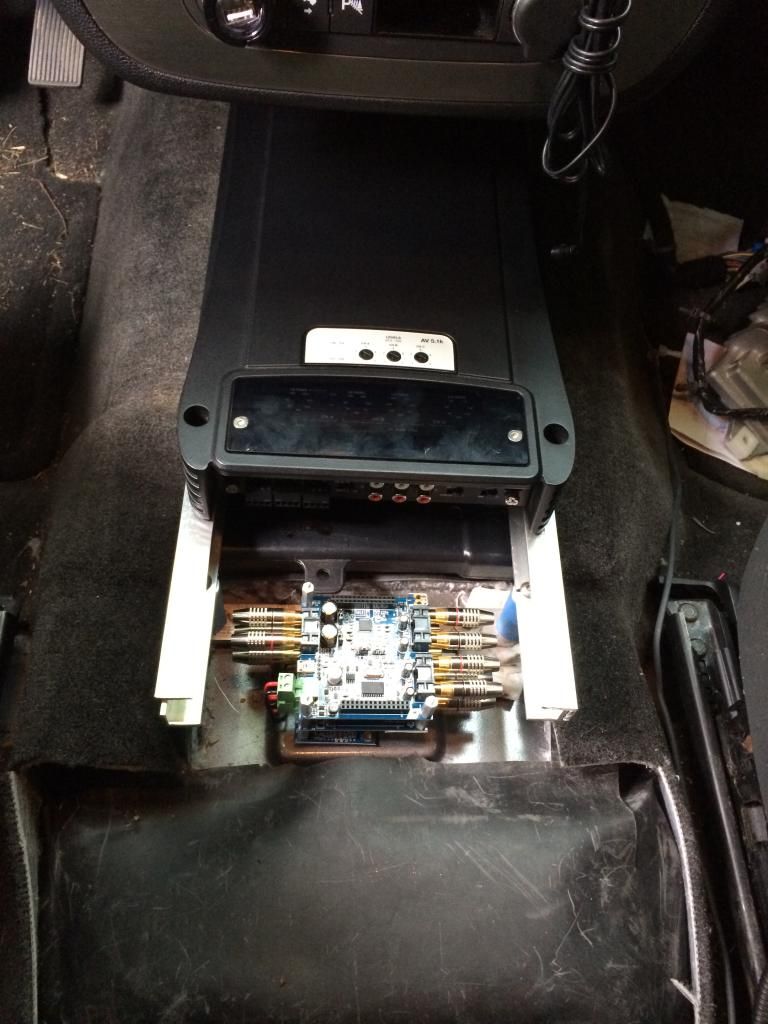
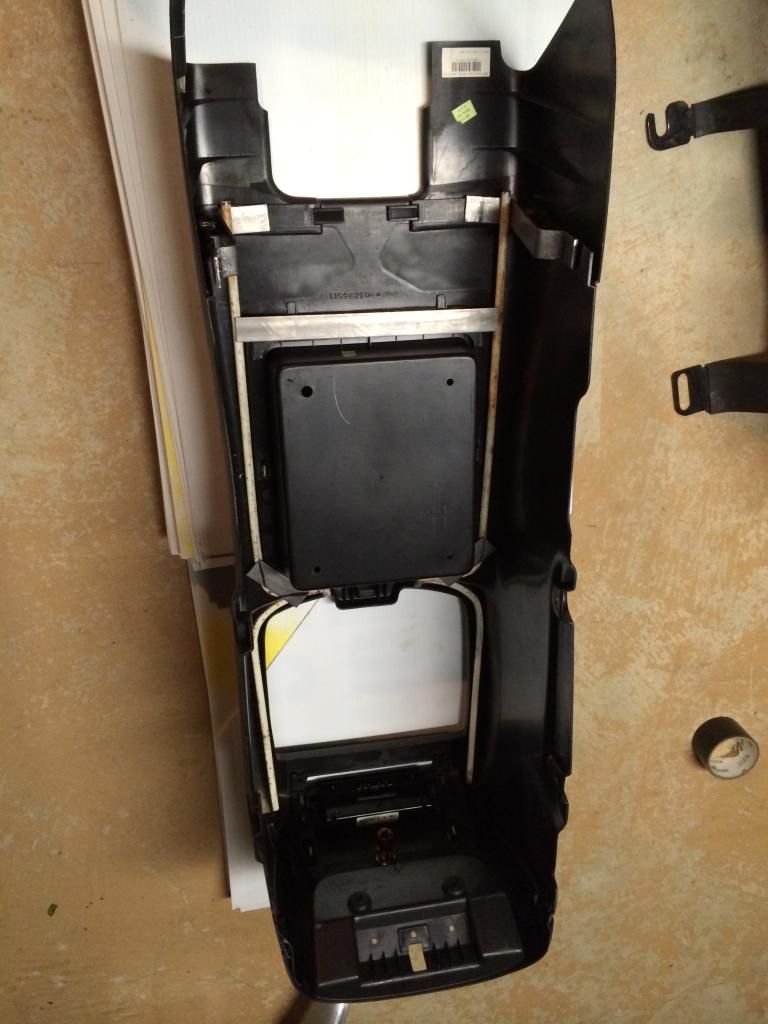
    The design concept revolves around the goal of a fully stealth install, with no visual cues anything is in there, 2-way active with no usable rear fill and a single 5 channel amp. I had come to terms that I would have to put an amp under the middle row seat until I took out the console and stared at it for a few days on and off. I dismantled the console completely and was left with a flimsy shell, but a ton of space. After doing some measuring, I felt confident that not only would the sub box fit in there, but also the amp and dsp. The key is building a strong console skeleton to replace the frame that I am discarding. Granted I am losing a huge cubby in the console, but all I put in there is stuff that I don't need or use, so for me, the space removed just removes clutter from the truck. So all that to say, the plan is all XBL2 Drivers w/Amp, DSP and Sub located in the center console.

    Budget:
    I will document all encompassing costs and hours worked on the build as they come along for reference.
    $2000 + my "free" labor time
    5-10% Sound Control
    5-10% Installation, Sub Box, and Accessories
    10-15% Source and Processing
    35-40% Amplification
    30-35% Speakers

    For 12+ weeks prior to the start of the build I spent about 75 hours, by my best guess, researching and analyzing information, mostly at the "other" place to create some goals, a budget, design concept and gear selections. Now I am about ~12 weeks into the build with quite possibly 12 more to go...

    The following posts are my build log/journal of the process...
    Help for Search Bots: 2008 2009 2010 2011 2012 Suburban Tahoe Silverado Avalanche Escalade

  2. Back To Top    #2
    Owner BigAl205's Avatar
    Real Name
    Alan
    Location
    Hayden, AL
    Vehicle
    2018 Chevy Silverado Z-71
    Posts
    5,701
    Join Date
    Feb 2013

    Re: 07 Yukon XL Metal Fab Center Console Build

    That looks like a nice platform to work from. Have you ever worked with fiberglass? I was thinking that you could glass an enclosure on the inside of the console shell.

  3. Back To Top    #3

    Re: 07 Yukon XL Metal Fab Center Console Build

    Week 1
    May 28th – Made my first purchase, an Audison Voce 5.1k. This is not the amp I thought I would be getting. I was pretty set on a Zuki Hybrid 5 channel, but since they aren’t available til Patrick gets done with the design/manufacturing of the new amps(unknown period of time) and they rarely seem to come up for resale, I softened to other options. Kind of kicking myself now after DBLevel recently sold 2 of them... 
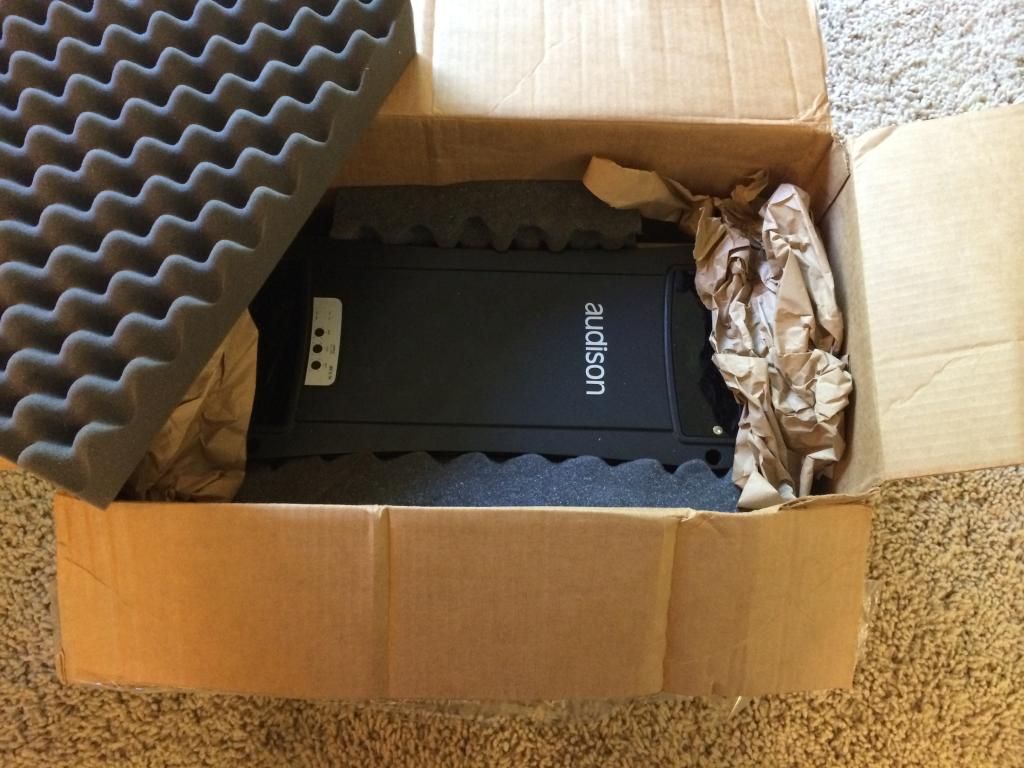
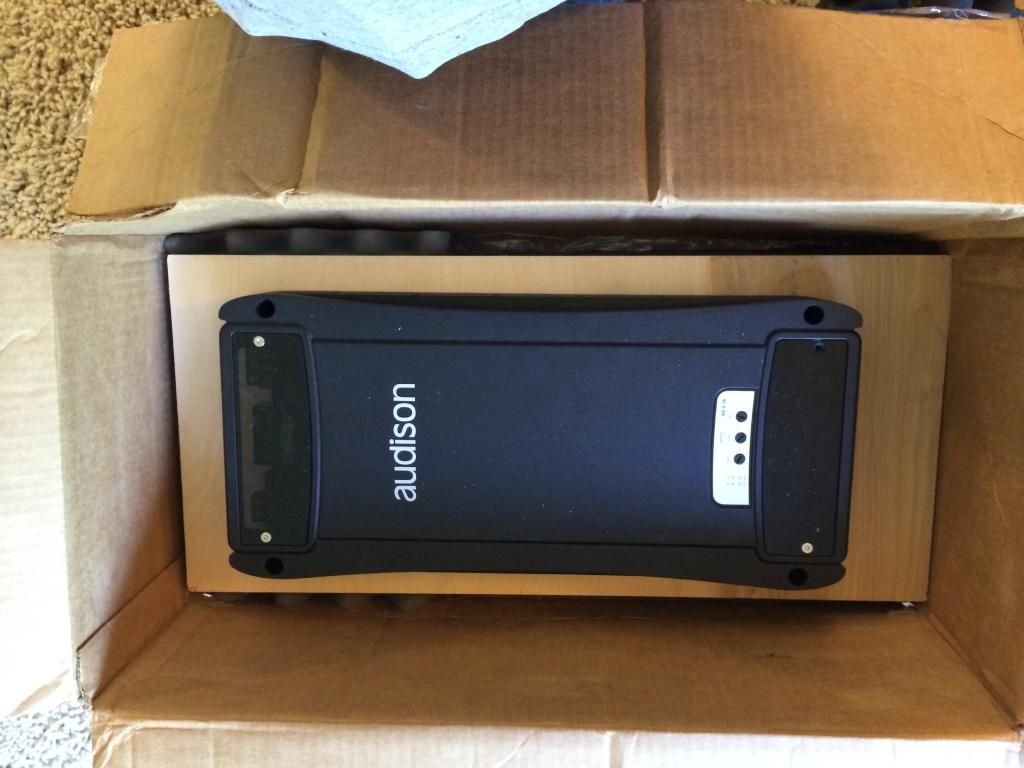
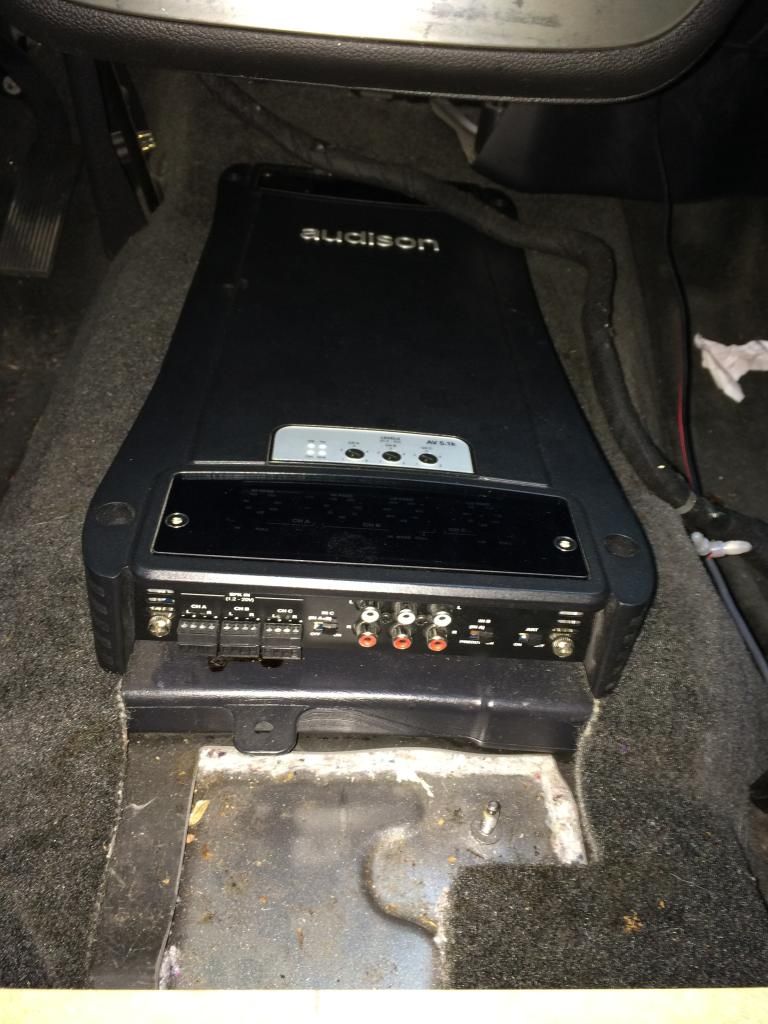
This amp came up for sale on the "other" place and I threw out an offer of $675 and just like that, I end up the owner of an audison amp. Thanks to BumpinJetta and JKnight for organizing the deal, I wouldn’t hesitate to do it again.
    At the same time the AV5.1k came for sale, Wheelieking71 put a couple of SI BM mkIV for sale at $300 shipped NIB factory sealed from the preorder earlier this year that he ended up not needing and I jumped. Thanks again Bill! I am very excited to see how this woofer works out for my needs.
    Gear Spend To Date $975
    May 30th – Picked up a 2’x4’ sheet of 3/4in MDF for box $13.50, tight bond wood glue $3.25 and 2’x4’ sheet of 1/8in hard board $6.25 to make a router template and it is good stuff to have around.


    Gear Spend to Date $991.75
    Tool Spend to Date $6.25

    Yup, half my budget already on an amp and sub...

  4. Back To Top    #4

    Re: 07 Yukon XL Metal Fab Center Console Build

    Week 2
    June 1st – 4 hours
    Finalized prelim box design and layed out MDF cuts on paper

    Figured out my redneck table saw and made the first cut for the speaker mount side of the box

    Dismounted the factory amp and pulled out the factory subwoofer

    Sized up what it looks like in the truck inside the console.

    Pondering and Building time to Date 4 Hours

    June 2nd – 3 hours
    Made up the router jig and made first cuts with it.

    In hindsight, I used a dull(or just crappy) 3/8 bit and tried to take too much material on each pass, it made for one burnt wood stinky garage.

    Loosened the seats enough to take out the console base plate and cut some carpet and jute material between the seats to get to the metal floor

    Pondering and Building time to Date 7 Hours

    June 3rd – 4 hours - Purchased a couple items on ebay today. 10 pair-RCA plugs($10) and a generic 150A circuit breaker($10) that I am not gonna end up using.

    Cut out speaker hole and spacer hole.Didn’t learn my lesson on the dull 3/8 bit... Took much less material at once, but took about 20 passes to get through the ¾ inch MDF and it still burned it. Finally used a new ¼ inch bit and cut through the speaker hole in 3 easy passes…let this be a lesson to you. Crappy bit = smelly nasty burned wood. New bit = cuts like butter… I have almost zero experience with a router, I inherited it many years ago.


    Pondering and Building time to Date 11 Hours
    Total Gear Spend to Date $1011.75
    Last edited by mike_mn; 08-26-2014 at 06:38 PM.

  5. Back To Top    #5

    Re: 07 Yukon XL Metal Fab Center Console Build

    Week 2 continued

    June 4th – 3 hours – Spent time finalizing the box design dimensions to insure that it fits in the console without touching anything. I am shooting for 1/4 inch from any interior surface of the console. I have a couple areas that are really close that I might just creatively sand/router some edges on the finished box. My final estimated volume is 0.52 cu ft empty. Since the sub is 0.05 cu ft, that leaves me with a final box area of 0.48cu ft. I am pretty excited about this. I was worried that I would only end up with 0.45 or 0.42 from some of my earlier dimensions.

    Audison Voce AV5.1k arrived. Wow…UPS tried their best to break this thing. I am soooo thankful that jknight and BumpinJetta packed this thing so well, it very well could have been much worse. They mounted the amp to ¾ inch birch base with 2 screws and used egg crate foam on all sides. The box was banged up pretty bad, but what had me concerned is the box had so much jarring that one of screws used to mount the amp to the birch base was sheared off and the other was bent as I took it off the birch base.


    I setup a little redneck amp bench test to make sure I was getting sound out of every channel and…all is right with the world! Yeah! Thanks BumpinJetta and jknight for your diligence in packaging this amp for me.


    I pulled the trigger and ordered 2 - 2x4 miniDSPs($160), mini Isolator($12), 2.1 plugin($10) and a umik-1($70) for measuring for $272 shipped. One 2x4 for the front stage and one for the sub channel. I figured that the second one might be able to be used for rear fill(or 3 way) later on. Since shipping is flat rate $20, I figured another $80 for the second 2x4 was worth it, I don’t think you can get 8 channels of DSP with this kind of functionality for ~$200 shipped anywhere else.
    Pondering and Building time to Date 14 Hours
    Total Gear Spend to Date $1283.75

    June 5th – 1 hour – cut sides to sub box and spent some time trying to figure out how to setup the skil saw to cut the angle cuts I needed…ended up giving up early for the day. Mosquito season has started already out in the garage…
    Pondering and Building time to Date 15 Hours

    June 6th – Stereo Integrity BM mkIV subwoofer arrived. It really is just as good looking in person as it is in the pictures, probably better.

    The only down side to this is that I missed the memo on the cutout with the gasket is 12.6inches. I cut my hole 12.5 based on the drawing, so I wont be using the gasket. I am planning on using oring material to seal it.
    Ordered up some 2awg welding cable and copper ring terminals for $41.50 shipped, also ordered 50 feet of cadence 14awg(yeah right...) speaker cable from Amazon for $13 shipped.
    Total Gear Spend to Date $1338.25

    June 7th – 9 hours
    I finally cut the rest of the pieces for the box this morning. It took about 3 hours.

    I had to figure out how to cut the angles, which took a little while.

    Also installed T-nuts for Sub installation, just in case I need to take it in and out a few times.


    The 11.125 inch cut out doesn’t seem to be big enough for the sub without the gasket, I think it will just take a round bit on the router to get it to drop in. I clamped the box together and did a test fit. It is tight in a couple spots in the console, but I think if I sand or router down the edges in a few spots, It will have the space necessary to decouple it from the console and cut down on vibrations.
    The rest of the day was spent pondering and starting the steel skeleton for the console to mount rigidly to. Bending 5/16 steel bar is a tedious task.

    I started with a coat hanger to get the basic shape, then started bending…after breaking my vice and getting a new one, things started going faster and the second side took only about 1.5 hours to bend up the way I wanted it.
    Bought some T-nuts and SS screws to mount the sub and got some oring gasket material to seal the sub $8.75
    Pondering and Building time to Date 24 Hours
    Total Gear Spend to Date $1347

  6. Back To Top    #6
    Team Knuckledragger papacueball's Avatar
    Real Name
    Jason
    Location
    Louisiana
    Vehicle
    2011 Dodge Charger
    Posts
    719
    Join Date
    Feb 2013

    Re: 07 Yukon XL Metal Fab Center Console Build

    What size/impedance is the stock sub? I'm curious because the one in the GF's Avalanche will see a good bit more than rated power in the near future. And

  7. Back To Top    #7
    ~Paw~Paw})]<^>¥ Hic's Avatar
    Real Name
    Hic
    Location
    Michigan
    Vehicle
    99 Contour SVT
    Posts
    3,164
    Join Date
    Jul 2013

    Re: 07 Yukon XL Metal Fab Center Console Build

    Looking good ( like the dual 4 ohm sub , looks nice ). Bending metal that thick is an undertaking.
    Viewing Smilies , you trying to access privileged system?¤Somewhere 0ut There¤}]

  8. Back To Top    #8

    Re: 07 Yukon XL Metal Fab Center Console Build

    Love the way yer keepin up with time and money.......lol.......As you get deeper and deeper into this madness, you'll have running proof of the insanity!

  9. Back To Top    #9

    Re: 07 Yukon XL Metal Fab Center Console Build

    Week 3
    June 8th – Created a metals list to purchase from a local supply house. 3/4x1/8x12ft Aluminum Angle, 1/8x1x12 ft cold rolled steel, 1/8x2.5x6ft cold rolled steel.
    June 9th – Received care package from MiniDSP. 2 – 2x4 balanced units, mini isolator and umik-1. Immediately went out and measured the factory front speakers. Need to get a fixture setup for the mic, that is for certain… Got a shipping quote from SDS…the sound deadening is going to be pretty expensive. Looks like it could be north of ~$500. I need to figure out what to do here. Planning to go to the local acoustical place and check it out and see what they think about what a car might need. Beginning to feel guilty about dropping all this cash in one month...gonna try and slow down more buying til July.
    June 11th – Ordered Steel and Aluminum for amp frame and console skelton ready, got some sample MLV from acoustical surfaces, a local biz.
    June 13th - picked up materials for console 3/4x3/4x1/8 aluminum angle 12ft long $11, 1x1/8x 12 ft cold rolled steel bar $8, 2.5x1/8x6 ft cold rolled steel bar $16.75

    Pondering and Building time to Date 24 Hours
    Total Gear Spend to Date $1363.75

    Week 4
    June 15th – 2hours - glued first section of box together. The top and front are just sitting there...
    Pondering and Building time to Date 26 Hours

    June 16th – 0.5 hours - put a dab of grease on the seated screws and filled t-nut backs with epoxy
    Pondering and Building time to Date 26.5 Hours


    June 17th – 0.5 hours - routered edge to get top to fit right. Touched up epoxy on tnuts. Considering plexi top...but not sure what sq impact might be without the recommended poly fill/fiberglass lining the box from SI.
    Pondering and Building time to Date 27 Hours

    Week 5
    June 22nd – 1 hour - cut some aluminum pieces for the amp rack. The preorder for the Kravchenko Audio KMXBLTWT group buy is here. I preordered one of the first sets for $125 shipped. I am buying based on an expectation that these will end up being what they are said to be...a higher qc'd version of the CSS LD25X...my XBL^2 tweeter...
    KMXBLTWT linky
    Pondering and Building time to Date 28 Hours
    Total Gear Spend to Date $1488.75
    June 23rd - 3 hours - more work on the amp rack. Did a trial fit of the amps and dsp. The amp hits a vent cover. Not sure if I want to cut it or not...
    Pondering and Building time to Date 31 Hours

    June 24th - found part numbers for gm connectors
    June 25th - 1 hour - felt the need to do some wiring so I connected the miniDSPs together and isolator and wired them all up together.

    Also cut a little nomex since this puppy will be out in the open with all it's beauty in the wild

    Pondering and Building time to Date 32 Hours
    June 28th - 1 hour - worked on the amp rack. Ended up cutting the vent cover. It is hidden behind the console, so not worried about it...Mounted the amp to aluminum bars.


    Pondering and Building time to Date 33 Hours
    Last edited by mike_mn; 08-26-2014 at 09:48 PM. Reason: Missing pic

  10. Back To Top    #10

    Re: 07 Yukon XL Metal Fab Center Console Build

    Week 6
    June 30th - contacted asi pro audio and talked to a guy who has done competitive car audio. He directed me down a path for sound control. I am going to start with cascade vmax alone, then use some CCF in isolated cases to control plastic / wire rattles. That should help with the budget, hopefully it will provide satisfactory results. Can always add more...
    Turns out after learning this guys name and a little googling, the guy I talked to was none other than Mr Pink Probe himself, Mike Mohs. I have not seen a picture of it, but apparently this thing was torn up majorly for the sake of audio goodness. With so many old timers here, I am sure some of you might remember it from the ~2000 or so era in car audio competition.

    Ordered Freud 42-104 1/2-Inch Bearing Flush Trim Bit for $16.25 from amazon. Ordered Molex harness connectors from mouser for $6

    538-34690-0160 - Molex # 34690-0160 - 16 pin Male

    538-34729-0160 - Molex# 34729-0160 - 16 pin Female
    538-33012-2003-CT - Molex #33012-2003 (Cut Strip) - female pins

    Tool Spend to Date $22.50
    Total Gear Spend to Date $1504.75

    July 1st - bought the DIY group denovo anarchy woofers 4 ohm for $139 shipped. Same build house and design as the Exodus version. Apparently the Exodus guy was done with it and agreed to let DIY sound group take over the design for another buy of the woofers. Finished with my all XBL^2 driver round up...now just to get them in my hands...
    Denovo Anarchy Linky
    Total Gear Spend to Date $1643.75

    July 3rd - received the flush trim bit. Can now restart the final assembly of the sub box.

    Week 7
    July 6th - 2 hours - routered the sub hole to allow it to fit properly. Mounted spacer ring and routered to size.

    Pondering and Building time to Date 35 Hours

    July 7th - side job... Spent some time cutting holes in joists to run~60 ft or so of 220v power wire for my welder to work on the console skeleton.

    The finished product.


    Week 8
    July 13th - The Anarchy woofers arrived while I was out on vacation. They look real nice. Pics to follow...
    July 15th - tested out the welder practiced some welding on some scraps. Sorry not humbled enough to share my poor but good enough welds...it has probably been 15 years since the welder was last fired up.
    July 16th - 3 hours - cut some pieces for skeleton and started welding frame to console. More pics to come.

    July 17th - bought 6 sheets cascade vmax for $51.25 locally. ~$3.18/sq ft
    July 18th - bought littelfuse mega fuse holder and fuse for $15.25. This fuse holder will piggyback on the factory fuse holder for a nice factory look. Also bought step bits for $12.25.
    July 19th - 3 hours - mounted the welded frame to the console and test fit. Also, started bending some more pieces for the console and broke the vice again...crap...warranty here we come...

    Tool Spend to Date $34.75
    Total Gear Spend to Date $1710.25
    Pondering and Building time to Date 41 Hours
    Last edited by mike_mn; 08-26-2014 at 09:54 PM. Reason: Missing pic

Posting Permissions

  • You may not post new threads
  • You may not post replies
  • You may not post attachments
  • You may not edit your posts
  •  
Back To Top